
Keyless chuck
Hand-tighten the jaws around a correctly sized bit shank with the battery removed. Check for secure grip before starting.
Match bit, speed range, clutch and workholding to the hole or fastener instead of relying on trigger pressure alone.
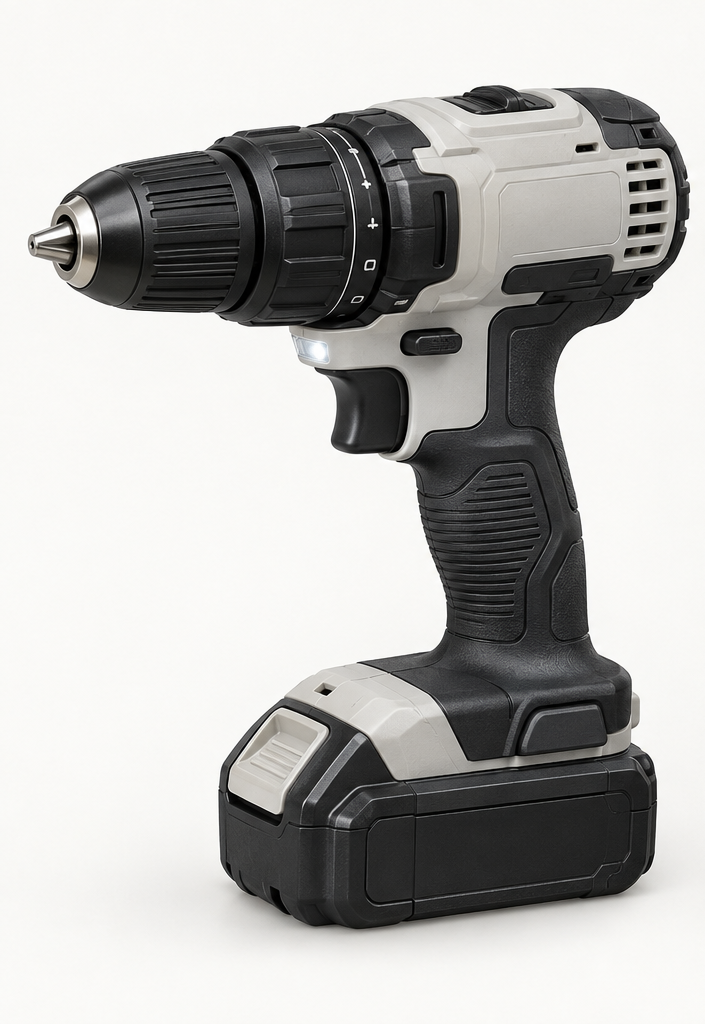
An original educational poster groups twelve model-grounded parts and systems. The numbered descriptions remain readable below the artwork on narrow screens.
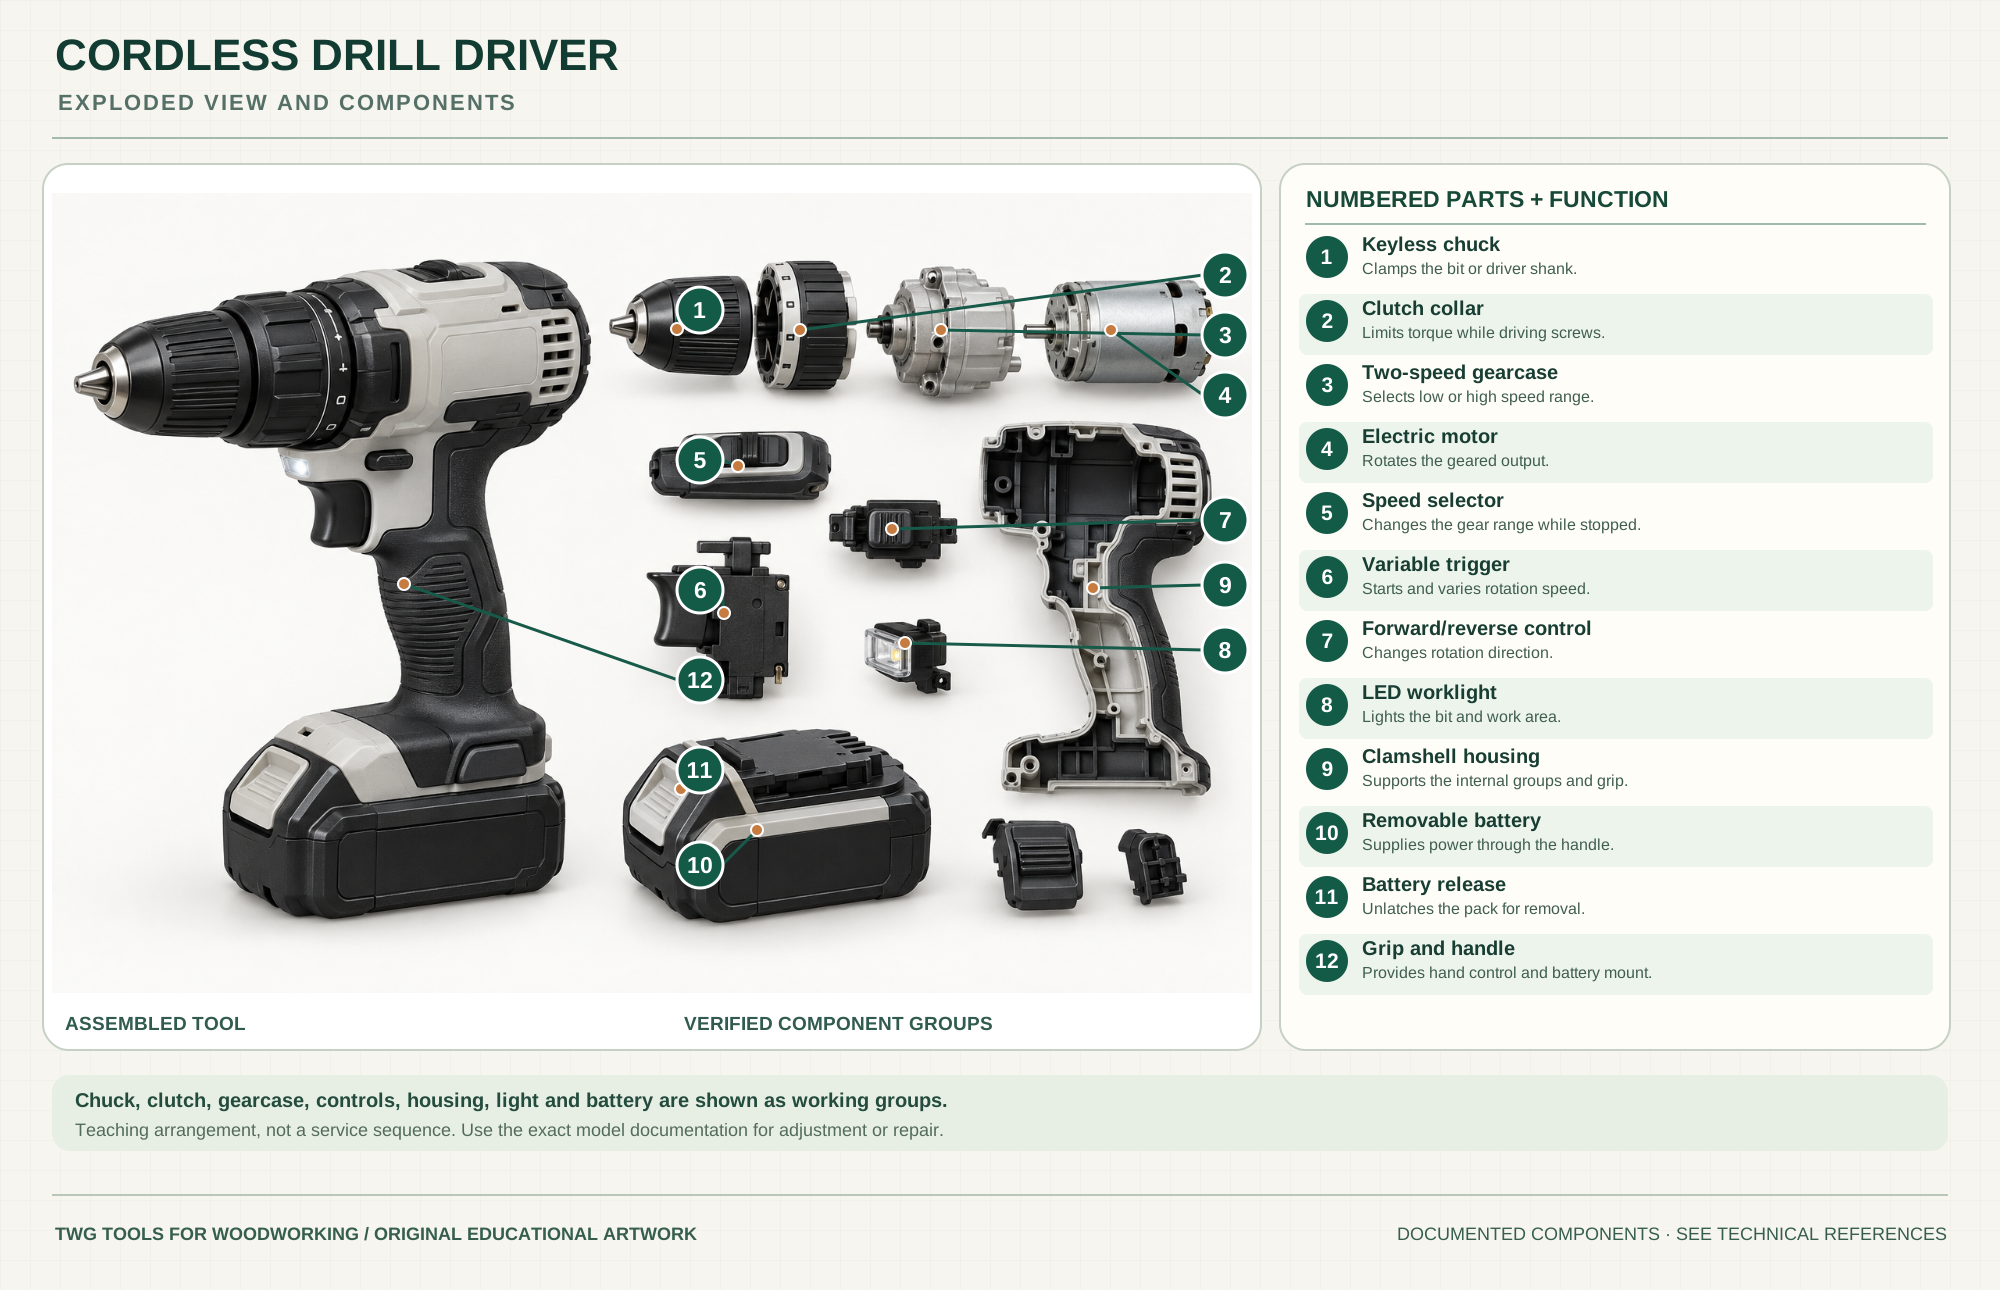
Clamps the bit or driver shank.
Manual chuckLimits torque while driving screws.
Manual clutchSelects low or high speed range.
Manual gearsRotates the geared output.
Manual driveChanges the gear range while stopped.
Manual controlsStarts and varies rotation speed.
Manual controlsChanges rotation direction.
Manual controlsLights the bit and work area.
Manual lightSupports the internal groups and grip.
Manual partsSupplies power through the handle.
Manual batteryUnlatches the pack for removal.
Manual batteryProvides hand control and battery mount.
Manual operationTechnical references: DeWalt DCD771 Type 2 instruction manual · DeWalt DCD771C2 official product page. Original educational artwork depicts verified component groups and their relationships; it is not a service sequence or a replacement for the exact model manual.
A cordless drill/driver rotates a bit or driver wherever a battery-powered handheld tool can reach. The DCD771 Type 2 has a half-inch keyless chuck, two mechanical speed ranges, variable trigger, reversing switch, clutch and worklight. It drills and drives, while a drill press offers a fixed vertical travel and an impact driver adds rotational impacts for fasteners. The 20V MAX label denotes the battery platform; nominal voltage is 18V.
The removable battery powers a motor through the trigger. A two-speed transmission changes the output range. The clutch can limit driving torque before the keyless chuck turns a compatible bit. A reversing control changes direction. The illustration groups only documented components and should not be interpreted as an exact service teardown.
Hand-tighten the jaws around a correctly sized bit shank with the battery removed. Check for secure grip before starting.
Use lower settings to protect small fasteners and work, then test on scrap. The drill setting bypasses the driving clutch for drilling.
The mechanical selector chooses lower speed for higher-torque tasks or higher speed for smaller holes and faster driving. Change it with the tool stopped.
Trigger travel varies speed; the selector changes direction and can lock the trigger in its center position.
The removable pack powers the tool and an LED lights the work area. The light does not replace a clear view of the bit and layout.
Hold the drill square and brace for a bit that binds, especially with large bits; use an approved auxiliary handle if the exact tool and task require one.
These decisions make the mechanism useful at the bench.
Choose speed range for bit size, material and task with the tool stopped; follow the bit maker's speed limits.
Test the clutch on scrap of the same wood and fastener before final installation.
Move the direction selector to center and remove the battery before fitting a bit, clearing a jam or servicing.
Drill a pilot matched to wood and screw, then a clearance hole where the joint requires the top piece to pull tight.
Use a fitted driver bit, appropriate clutch setting and straight alignment to limit cam-out and split wood.
Reach inside cases and frames with a compact body while keeping stock clamped and the screw path clear.
Use the steps for a first pass, then inspect the work before changing the setup.
The clutch limits driving torque but may slip while boring. Use the drill symbol for drilling when the manual directs.
A brad-point bit or pilot mark helps start on location; a guide or drill press improves repeated angle accuracy.
A backer and lighter final pressure reduce tearout and sudden bit grab.
Use the specified charger and battery system, keep contacts clean and follow temperature/storage instructions.
A hammer mode adds axial impacts for masonry; the DCD771 reference is a standard drill/driver.
An impact driver applies rotational blows and uses a hex collet; it differs from the DCD771's adjustable clutch and keyless chuck.
Smaller tools fit cabinets; heavier tools may better handle large holes, with stronger reaction torque.
Capacity changes run time and weight; match only batteries and chargers approved for the exact platform.
Stop the tool and disconnect power before investigating a fault or changing a part.
Remove the battery; clean and retighten the jaws on a compatible undamaged shank.
Reduce the clutch setting, use the correct bit and confirm a pilot hole on scrap.
Stop; inspect bit sharpness, feed pressure, selected speed, battery and task suitability.
Use the exact tool manual for setup, limits and replacement parts. These lessons, documents and model pages teach relevant techniques or help compare real variations.
These maker-owned links document relevant tools and tool brands. A product brand may use another company's factory; compare the exact model before choosing parts or accessories.
Cutters, abrasives, guards, guides, dust fittings and service parts vary by tool. Check the model plate and manufacturer manual before ordering or changing a component.
Compare the Drilling family →Continue through the Tools library