
Body, bed and sole
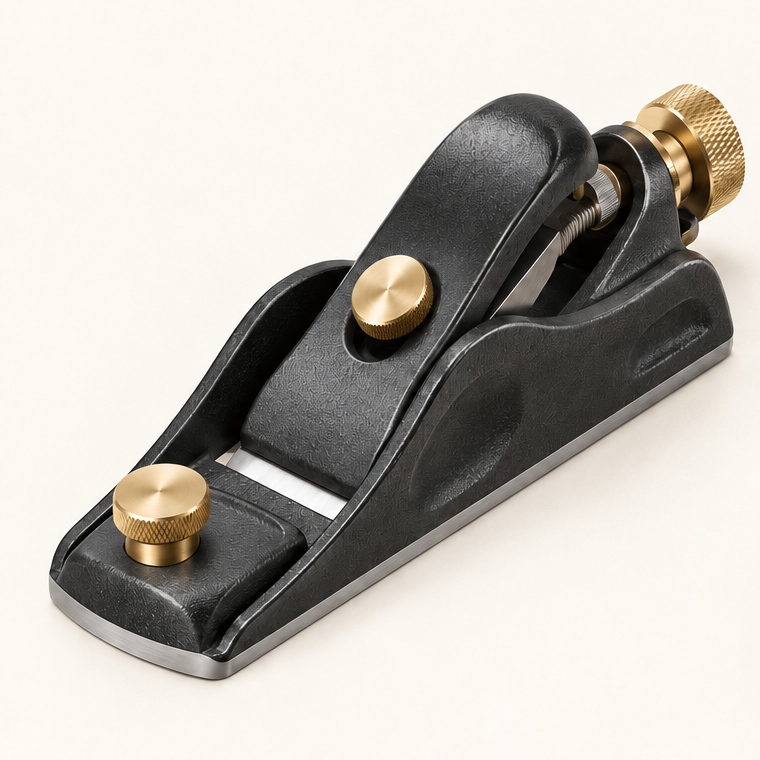
The machined body provides a flat work reference and holds the iron at a documented 12-degree angle.
Set a sharp bevel-up iron, mouth and sole reference for accurate end-grain and small-edge trimming.
An original educational poster identifies 7 documented construction features. The numbered descriptions remain readable below the artwork on narrow screens.
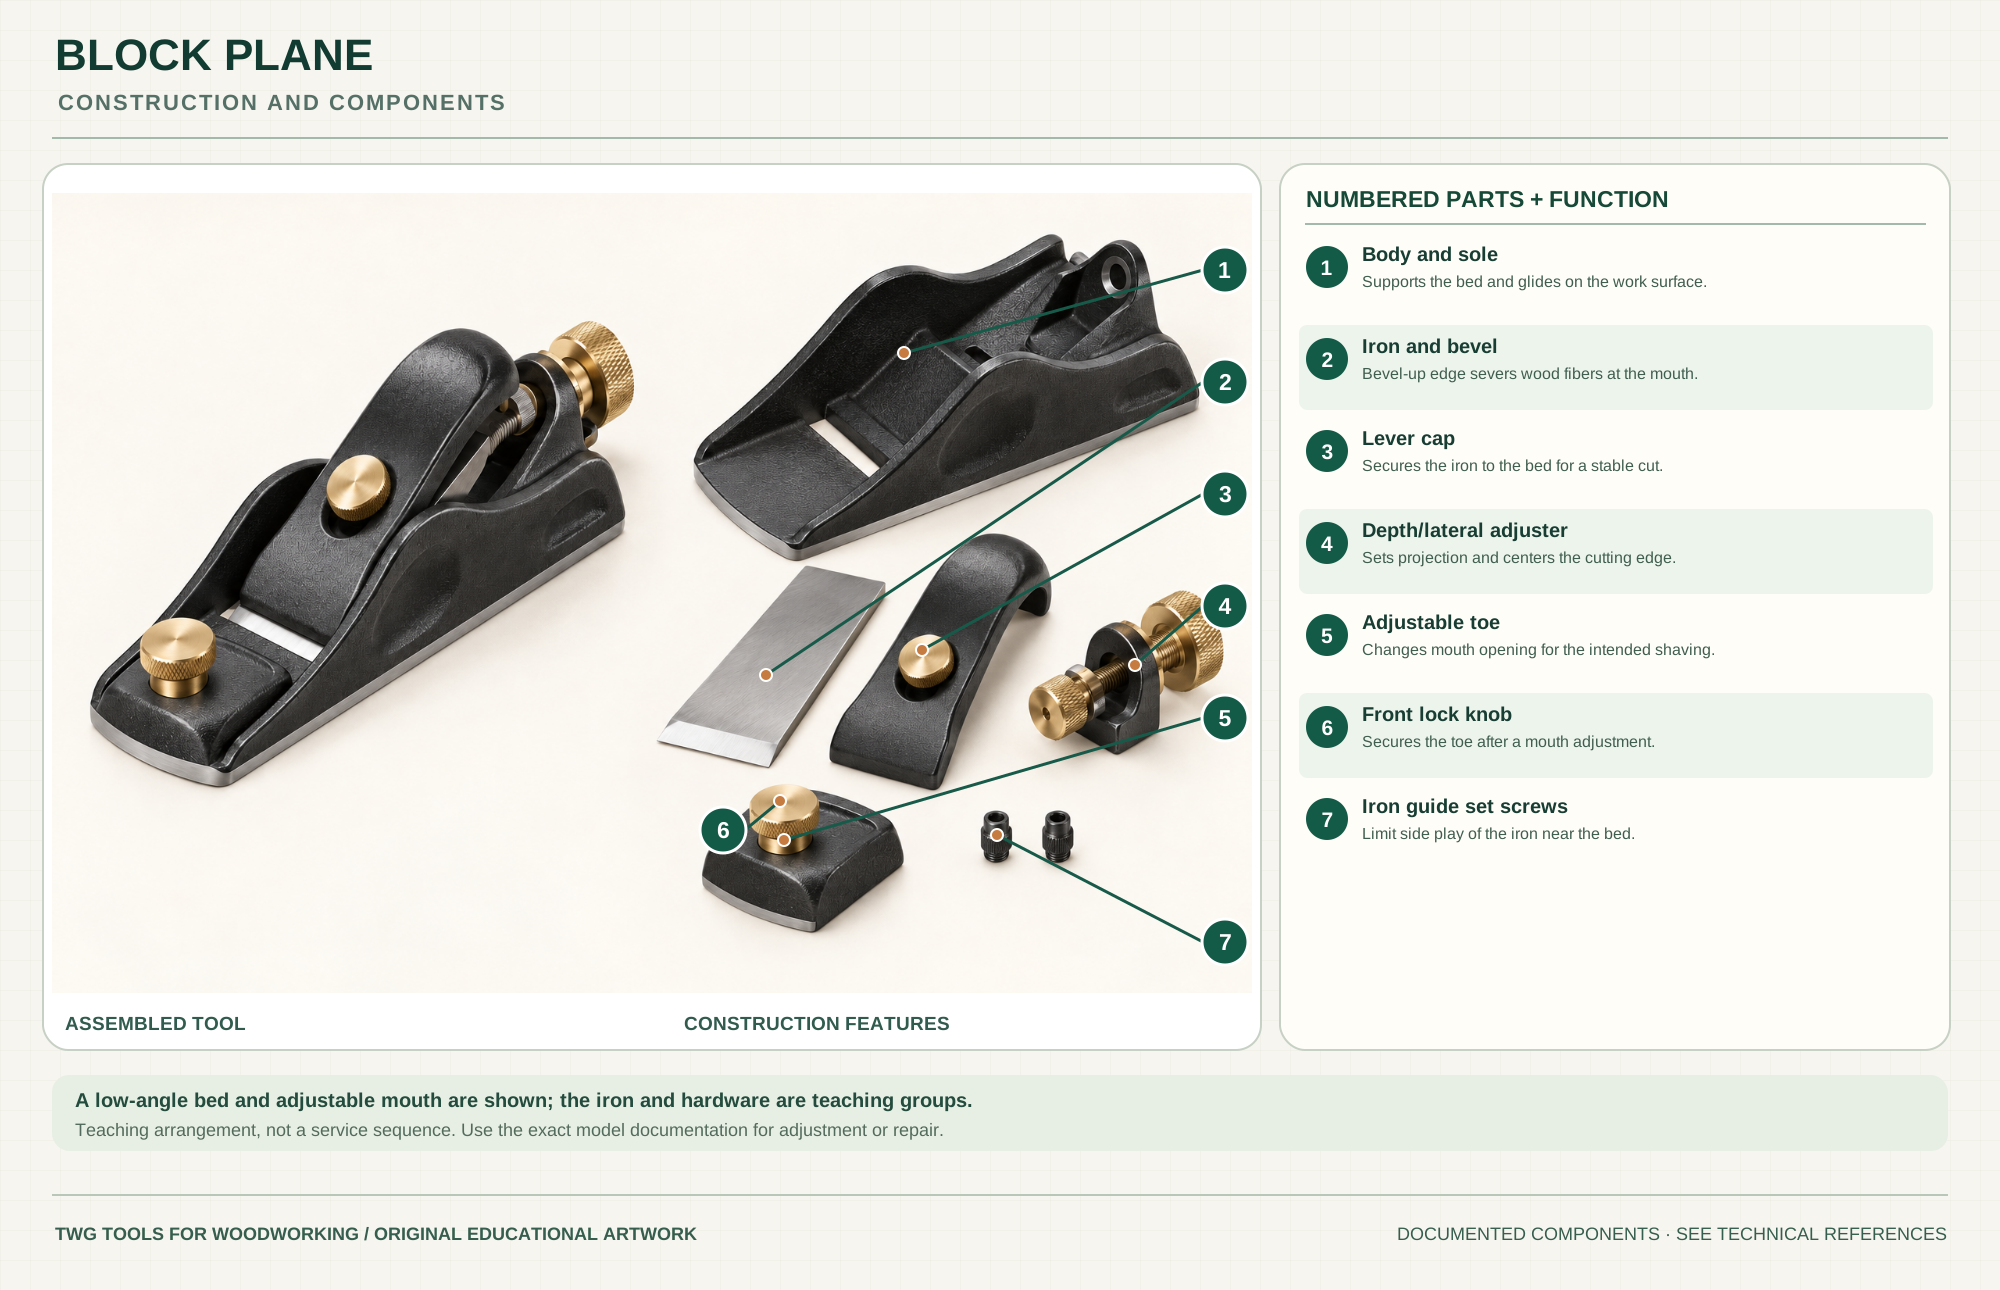
Supports the bed and glides on the work surface.
Bevel-up edge severs wood fibers at the mouth.
Secures the iron to the bed for a stable cut.
Sets projection and centers the cutting edge.
Changes mouth opening for the intended shaving.
Secures the toe after a mouth adjustment.
Limit side play of the iron near the bed.
Technical references: Veritas low-angle block plane model · Veritas block plane instruction PDF. The low-angle Veritas configuration has a 12-degree bed, bevel-up iron, adjustable mouth and combined depth/lateral adjuster. Original educational artwork depicts documented component groups and their relationships; it is not a service sequence or a replacement for the exact model manual.
A block plane is a small one-handed plane for trimming end grain, easing edges and fitting parts. The selected Veritas low-angle model has a 12-degree bed and bevel-up iron; with its supplied 25-degree bevel it has a nominal 37-degree effective cutting angle. Its adjustable mouth can be closed for fine work or opened for a heavier shaving. Standard-angle versions use a different bed; a long bench plane references a larger surface for flattening.
A sharp bevel-up iron projects through the sole's mouth. The lever cap holds it on the bed; the combined depth/lateral adjuster sets projection and centering. Two side set screws limit iron side movement, and the front knob locks the adjustable toe. The drawing separates documented groups for explanation rather than prescribing disassembly.
The machined body provides a flat work reference and holds the iron at a documented 12-degree angle.
The bevel faces upward. A 25-degree bevel on a 12-degree bed yields about 37 degrees at the wood; a higher honed bevel changes the effective angle.
The cap secures the iron while the rear combined adjuster changes depth and lateral registration. Lock tension should hold the iron without excessive force.
The sliding front toe and brass lock knob set the opening ahead of the edge. Never close the toe onto a projecting sharp iron.
The Veritas body has two guide screws beside the bed to limit iron side play after alignment.
These decisions make the mechanism useful at the bench.
Hone the iron's bevel and back as the instruction sheet directs; a dull edge needs too much force and tears fibers.
Retract the iron, seat it and secure the cap. Advance just enough for a fine cut, then center laterally. Set the mouth with clearance in front of the edge.
Clamp stock or use a shooting board. Plane across end grain with support at the far corner, or work toward the center from both edges to reduce breakout.
Trim a drawer side, door rail or small joint shoulder using a sharp edge and stable support.
Take small chamfers or soften a corner without changing the whole board's dimension.
A block plane can refine short surfaces when the work is secured; use a longer bench plane when flatness over length matters.
Use the steps for a first pass, then inspect the work before changing the setup.
A bevel-up plane's effective cutting angle is bed angle plus honed bevel. Raising the bevel changes its behavior without altering the cast body.
A tight mouth can support fibers for a thin shaving; open it enough to pass the chip. It does not compensate for a dull edge.
The far corner can break away. Back it up, or plane from both ends toward the center.
Keep the sole flat and fully supported. Tilting the compact body can round the edge unintentionally.
This Veritas model beds the iron at 12 degrees; the standard-angle model differs. Confirm the exact model before transferring adjustment advice.
An adjustable toe changes chip opening; simpler fixed-mouth planes trade this control for fewer adjustments.
Veritas offers alternative iron steels and blade geometries. Fit and sharpening guidance are model-specific.
A compact sole is agile on small work but does not bridge hollows like a long jointer or jack plane.
Secure the work, protect sharp edges and release any stored clamping pressure before adjustment or maintenance.
Confirm the iron is sharp, seated, correctly oriented and projected enough to cut; verify the mouth is not closed over it.
Sharpen, reduce shaving depth, support the exit edge and test a suitable bevel/mouth setting.
Center the iron laterally and check guide-screw clearance using the model instructions.
Use the exact model documentation for setup, limits and replacement parts. These lessons, documents and model pages teach relevant techniques or help compare real variations.
Official dimensions, bed angle, iron options and use cases for the reference plane.
Manufacturer explanation of bevel-up cutting angles and model differences.
Illustrated basic setup and hand-planing guidance; applies by tool type, not as the Veritas service instructions.
These maker-owned links document relevant tools and tool brands. A product brand may use another company's factory; compare the exact model before choosing parts or accessories.
Handles, irons, saw plates, clamping pads and other replacements vary by maker and model. Use the maker's documentation before changing a component.
Compare the Hand Planes family →Continue through the Tools library