
Hard maple handle
The handle is intended for controlled wooden-mallet blows. Its tapered end wedges into the steel socket; inspect its seating before each session.
Use a thick narrow blade and a secure wooden handle to chop a controlled mortise without confusing socket and tang construction.
An original educational poster identifies 5 documented construction features. The numbered descriptions remain readable below the artwork on narrow screens.
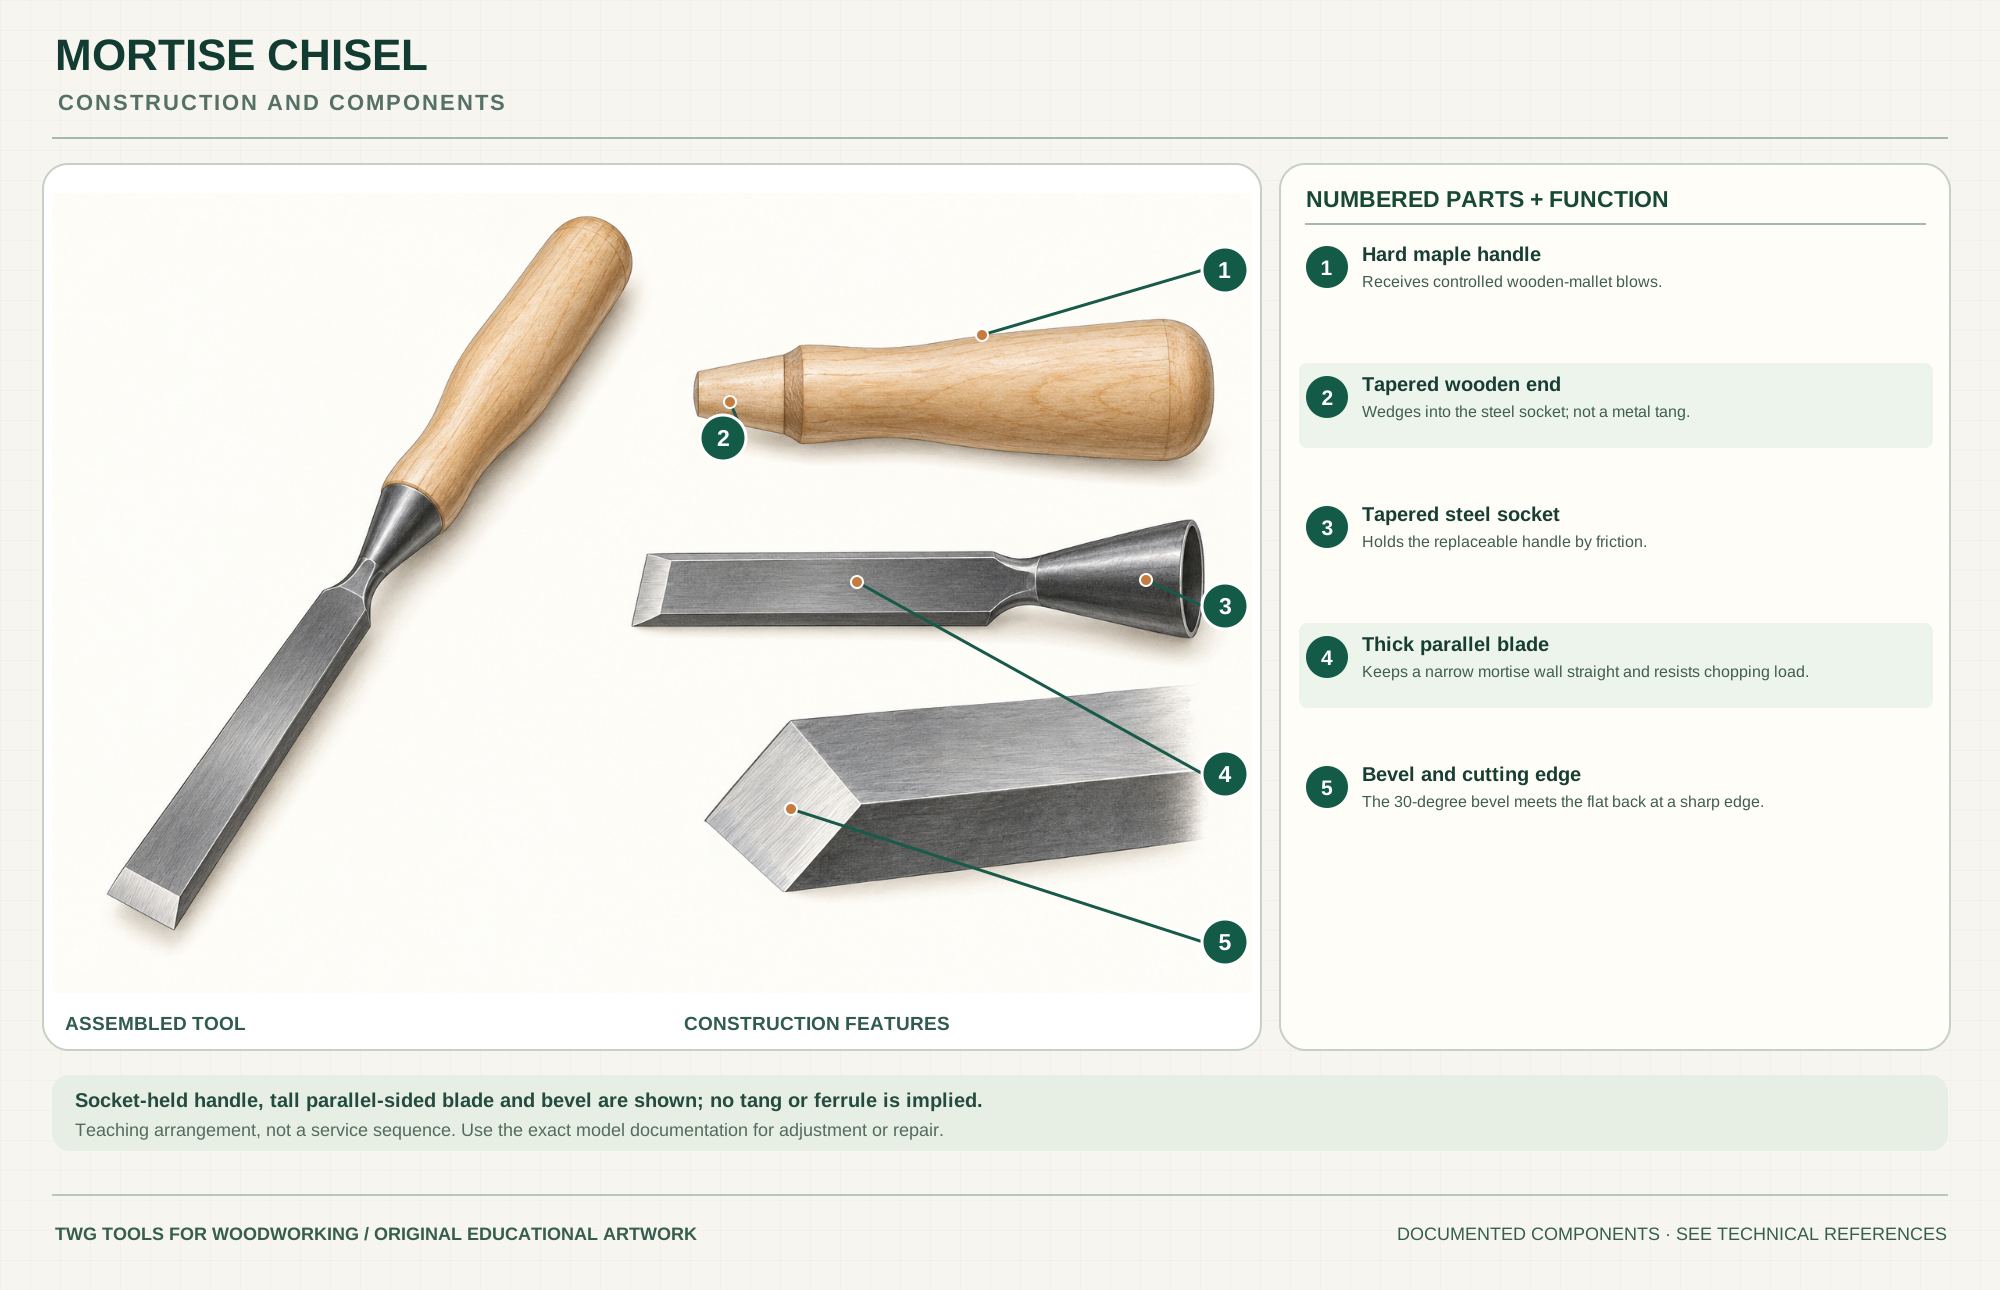
Receives controlled wooden-mallet blows.
Wedges into the steel socket; not a metal tang.
Holds the replaceable handle by friction.
Keeps a narrow mortise wall straight and resists chopping load.
The 30-degree bevel meets the flat back at a sharp edge.
Technical references: Lie-Nielsen 1/4-inch mortise chisel · Lie-Nielsen mortise chisel instructions. Five real features of a socket mortise chisel; the close-up repeats the bevel geometry for teaching and is not another loose part. Original educational artwork depicts documented component groups and their relationships; it is not a service sequence or a replacement for the exact model manual.
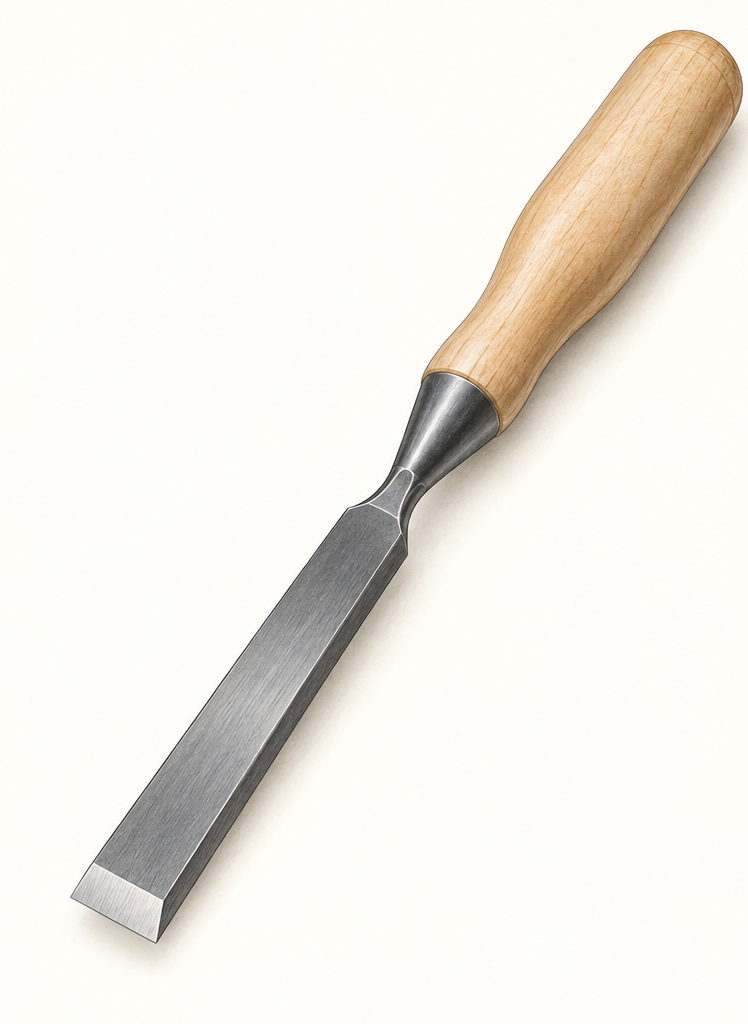
A mortise chisel chops and clears a narrow slot for a tenon. The selected Lie-Nielsen quarter-inch tool is an A2-steel socket chisel with a thick blade, parallel narrow sides and a hard maple handle wedged into a tapered socket. Unlike a lighter bevel-edge bench chisel, its section suits repeated mallet chopping. Other mortise chisels may use tangs and ferrules; those constructions are not depicted as part of this model.
A wooden mallet drives the handle and socket-supported thick blade into the waste. The sharp cutting edge severs fibers while the broad back and sides help register the mortise walls. The 30-degree primary bevel can receive a small higher microbevel according to the maker and timber. The poster enlarges the existing edge and socket features; it does not invent internal fasteners.
The handle is intended for controlled wooden-mallet blows. Its tapered end wedges into the steel socket; inspect its seating before each session.
The maker specifies a tapered socket. There is no separate metal tang or ferrule in this selected construction.
The blade is taller than it is wide, with narrow parallel edges to keep a straight mortise. Do not use it as an unrestricted pry bar.
The flat back references the cut; the 30-degree primary bevel meets it at a sharp edge. A microbevel may add durability in harder woods.
These decisions make the mechanism useful at the bench.
Use a mortise gauge referenced to one face. Mark ends and depth, and choose a chisel width that matches the planned tenon.
Secure the work over a firm support, chop within the waste in shallow increments and clear chips regularly. Stay shy of finished ends until final trimming.
Keep the blade controlled and plumb. Use the flat back for the final wall as the layout allows; avoid rolling the chisel into the kept fibers.
Chop a joint opening sized to its mating tenon, checking depth and wall position during the work.
Quarter-inch width suits appropriately scaled furniture joinery; wider or deeper structural work requires a suitable tool and plan.
Clean a mortise after drilling or routing only with the work secured and the edge controlled.
Use the steps for a first pass, then inspect the work before changing the setup.
Gauge both walls from one face and keep the blade upright. The chisel width alone does not guarantee a square mortise.
The thick section tolerates chopping pressure, but excessive levering can damage the edge, socket or mortise wall.
The handle is wedged in, so it can loosen with humidity changes. Follow the maker's reseating method rather than adding an invented metal fastener.
The maker supplies a 30-degree primary bevel and describes a small higher secondary bevel for tougher work; sharpen conservatively.
This tool uses a removable tapered socket handle. Many other mortise chisels have a tang, ferrule or striking hoop; follow that maker's maintenance guidance.
A lighter bench chisel can pare joinery, but its section and handle may not suit repeated heavy chopping.
Blade section, side relief and handle shape vary. Choose by mortise depth, width and available control.
This reference is quarter-inch A2 steel. Other widths and alloys change sharpening and edge durability; they do not change this model's construction.
Secure the work, protect sharp edges and release any stored clamping pressure before adjustment or maintenance.
Recheck gauge lines, chisel width and upright presentation; work in shorter stages.
Sharpen, reduce chop depth and consider the maker's higher microbevel guidance for hard wood.
Stop and follow the official tapered-socket reseating directions; do not improvise a ferrule or glue.
Use the exact model documentation for setup, limits and replacement parts. These lessons, documents and model pages teach relevant techniques or help compare real variations.
Specific blade, socket and handle design information.
Official maker example of a distinct ferruled-handle mortise chisel; do not transfer its construction to the socket model.
Official maker example with a different section and side relief.
These maker-owned links document relevant tools and tool brands. A product brand may use another company's factory; compare the exact model before choosing parts or accessories.
Handles, irons, saw plates, clamping pads and other replacements vary by maker and model. Use the maker's documentation before changing a component.
Compare the Woodworking Chisels family →Continue through the Tools library