
Motor and switch
The BO4556 parts breakdown lists switch, field, armature and fan inside the two-piece housing.
See how a quarter-sheet abrasive, paper clamps, pad and small orbital motion refine flat work and reach square corners.
An original educational poster groups twelve model-grounded parts and systems. The numbered descriptions remain readable below the artwork on narrow screens.
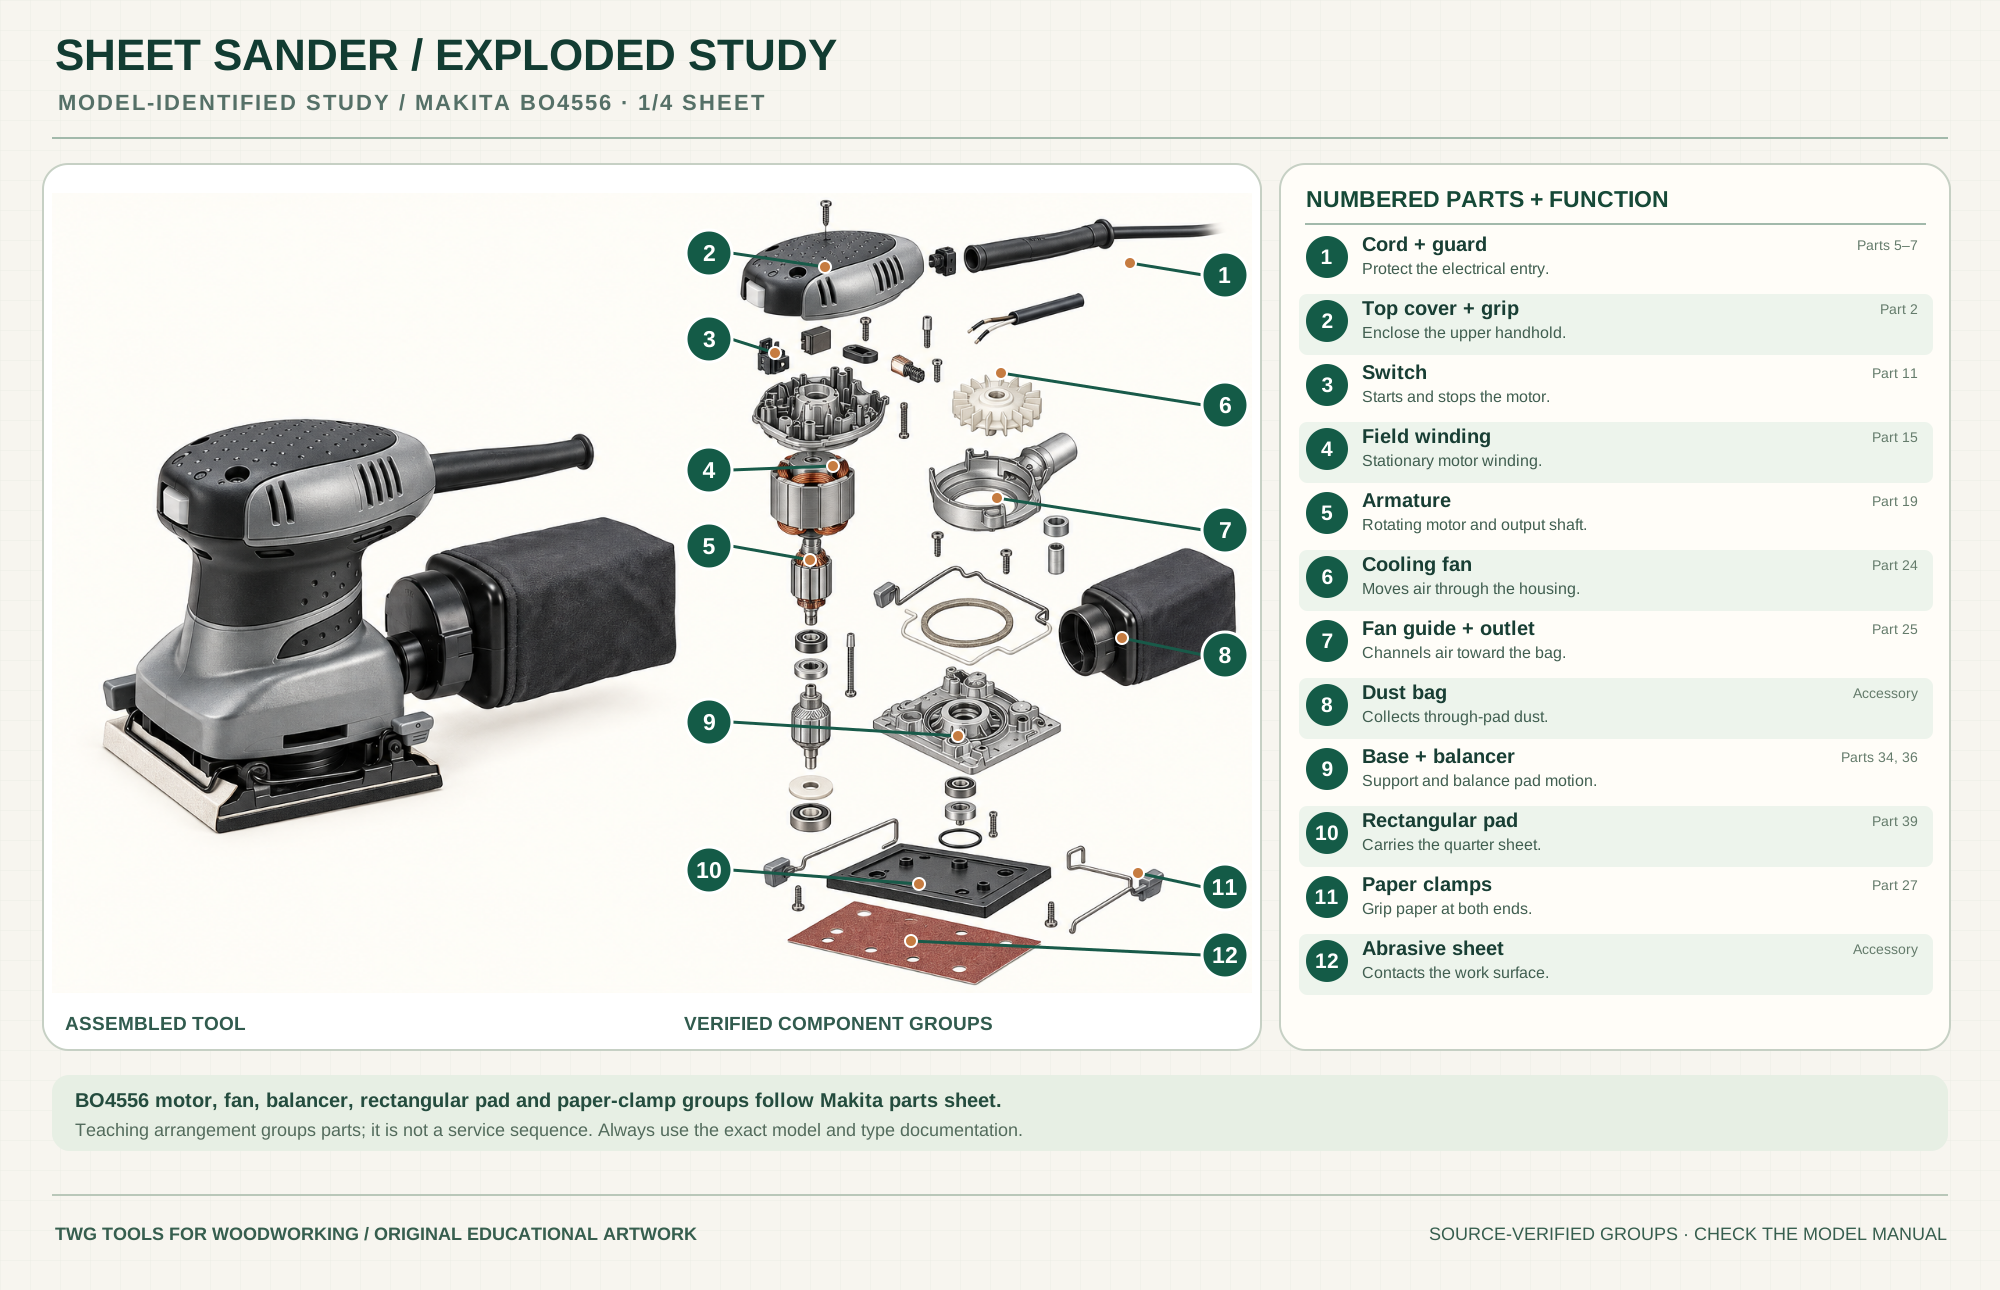
Bring power into the housing through a protected entry.
BO4556 parts 5–7Enclose the upper handhold and motor area.
Part 2Starts and stops the motor.
Part 11Stationary winding surrounds the rotating armature.
Part 15Rotating motor group transmits power to the sanding motion.
Part 19Moves air through the motor housing.
Part 24Guide airflow toward the bag connection.
Part 25Collects dust when fitted and emptied as instructed.
Listed accessorySupport and balance the small orbital pad motion.
Parts 34, 36Supports the quarter-sheet abrasive over the work.
Part 39Grip cut paper securely at both ends.
Part 27Contacts and refines the work surface.
Listed accessoryTechnical references: Makita BO4556 numbered parts breakdown · Makita BO4556 instruction manual. Original educational artwork depicts verified component groups and their relationships; it is not a service sequence or a replacement for the exact model manual.
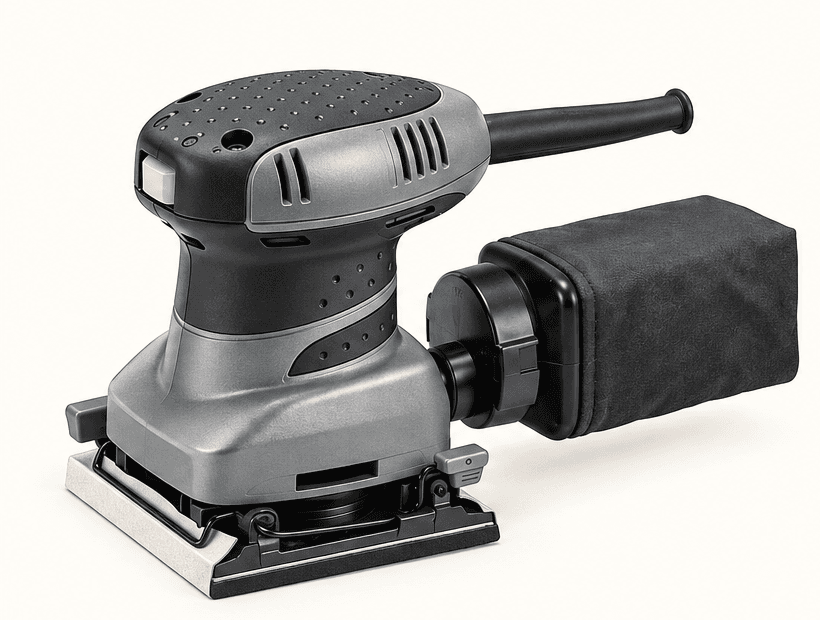
A sheet or finish sander holds a rectangular piece of abrasive beneath a moving pad. The Makita BO4556 reference is a quarter-sheet, fixed-speed finishing sander. Its squared pad can approach corners that a round random-orbital disc cannot, while its smaller orbit generally removes material more gently than an aggressive belt sander. Sheet and random-orbital sanding have different scratch patterns and abrasive formats.
The field and armature power a compact motor. The fan moves cooling air while an offset/balancer group moves the rectangular base and pad in small orbits. Paper clamps grip cut sheet abrasive; a dust path leads toward the bag when suitable perforated paper is fitted. The original poster is a documented teaching grouping, not a precision service sequence.
The BO4556 parts breakdown lists switch, field, armature and fan inside the two-piece housing.
The base and balancer support the small orbital motion rather than spinning a free round disc.
The pad supports a 4½ × 4-inch working face. Replace a damaged or uneven pad before finish sanding.
Clamping levers at both ends secure a 4½ × 5½-inch cut sheet; follow the manual's paper loading method.
Perforated abrasive and the tool's outlet help carry dust to its bag. Use a compatible extractor only where the manual permits.
The top grip guides light even pressure; keep the cord behind the sanding path.
These decisions make the mechanism useful at the bench.
Disconnect power, cut the correct sheet size, use the clamps and align dust openings using the supplied punch method where applicable.
Start only as coarse as the surface needs, progress through appropriate grits and clean dust between changes.
Let the pad move freely and travel evenly. Forcing down slows motion, increases swirl risk and can round an edge.
Sand with overlapping passes and inspect under raking light before a finish.
Bring the square pad near the corner without levering one edge into the work.
Use the finish maker's abrasion advice and a clean fine abrasive; avoid cutting through edges.
Use the steps for a first pass, then inspect the work before changing the setup.
Quarter-sheet labels describe the cut abrasive format; pad dimensions and clamping allowance are different measurements.
A finer sheet does not erase deep marks quickly. Remove the prior grit pattern before advancing.
Unpunched paper obstructs through-pad collection. Use the model's punch plate or compatible pre-punched sheets.
The rectangular pad reaches corners but can still gouge if tipped or held stationary.
Half-sheet machines have larger pads and different clamping layouts; paper is not interchangeable by name alone.
Some finish sanders accept both formats. BO4556 uses a clamp system for cut sheets.
BO4556 is fixed speed; do not attribute a speed dial to this reference model.
A sheet pad follows a smaller regular orbital path; a random-orbital round disc combines motion to reduce a regular scratch pattern.
Stop the tool and disconnect power before investigating a fault or changing a part.
Unplug; check sheet size, fold, clamp seating and lever condition.
Inspect grit sequence, trapped debris, pad flatness and pressure.
Check perforations, bag connection, fullness and suitable extraction.
Use the exact tool manual for setup, limits and replacement parts. These lessons, documents and model pages teach relevant techniques or help compare real variations.
Official operation, paper loading, dust bag and safety instructions.
Official numbered drawing for motor, fan, balancer, base, pad and clamps.
Manufacturer pad, abrasive and speed specifications.
Maker explanation of rectangular finishing-sander use; its RTS 400 controls and abrasive system differ from BO4556.
WoodWorkers Guild of America teaches grit progression; video playback may require membership, and the transcript is available on the page.
Demonstrates why final grit affects staining; general finishing guidance, not BO4556 service instructions.
These maker-owned links document relevant tools and tool brands. A product brand may use another company's factory; compare the exact model before choosing parts or accessories.
Cutters, abrasives, guards, guides, dust fittings and service parts vary by tool. Check the model plate and manufacturer manual before ordering or changing a component.
Compare the Sanding family →Continue through the Tools library