
Flat sole and mouth
The flat lower bearing surface works well on convex and nearly straight forms. A small mouth controls a fine shaving but can clog when set too tight.
Fair curves with a sharp blade between two handles, using the sole and grain direction to control each shaving.
An original educational poster identifies 6 documented construction features. The numbered descriptions remain readable below the artwork on narrow screens.
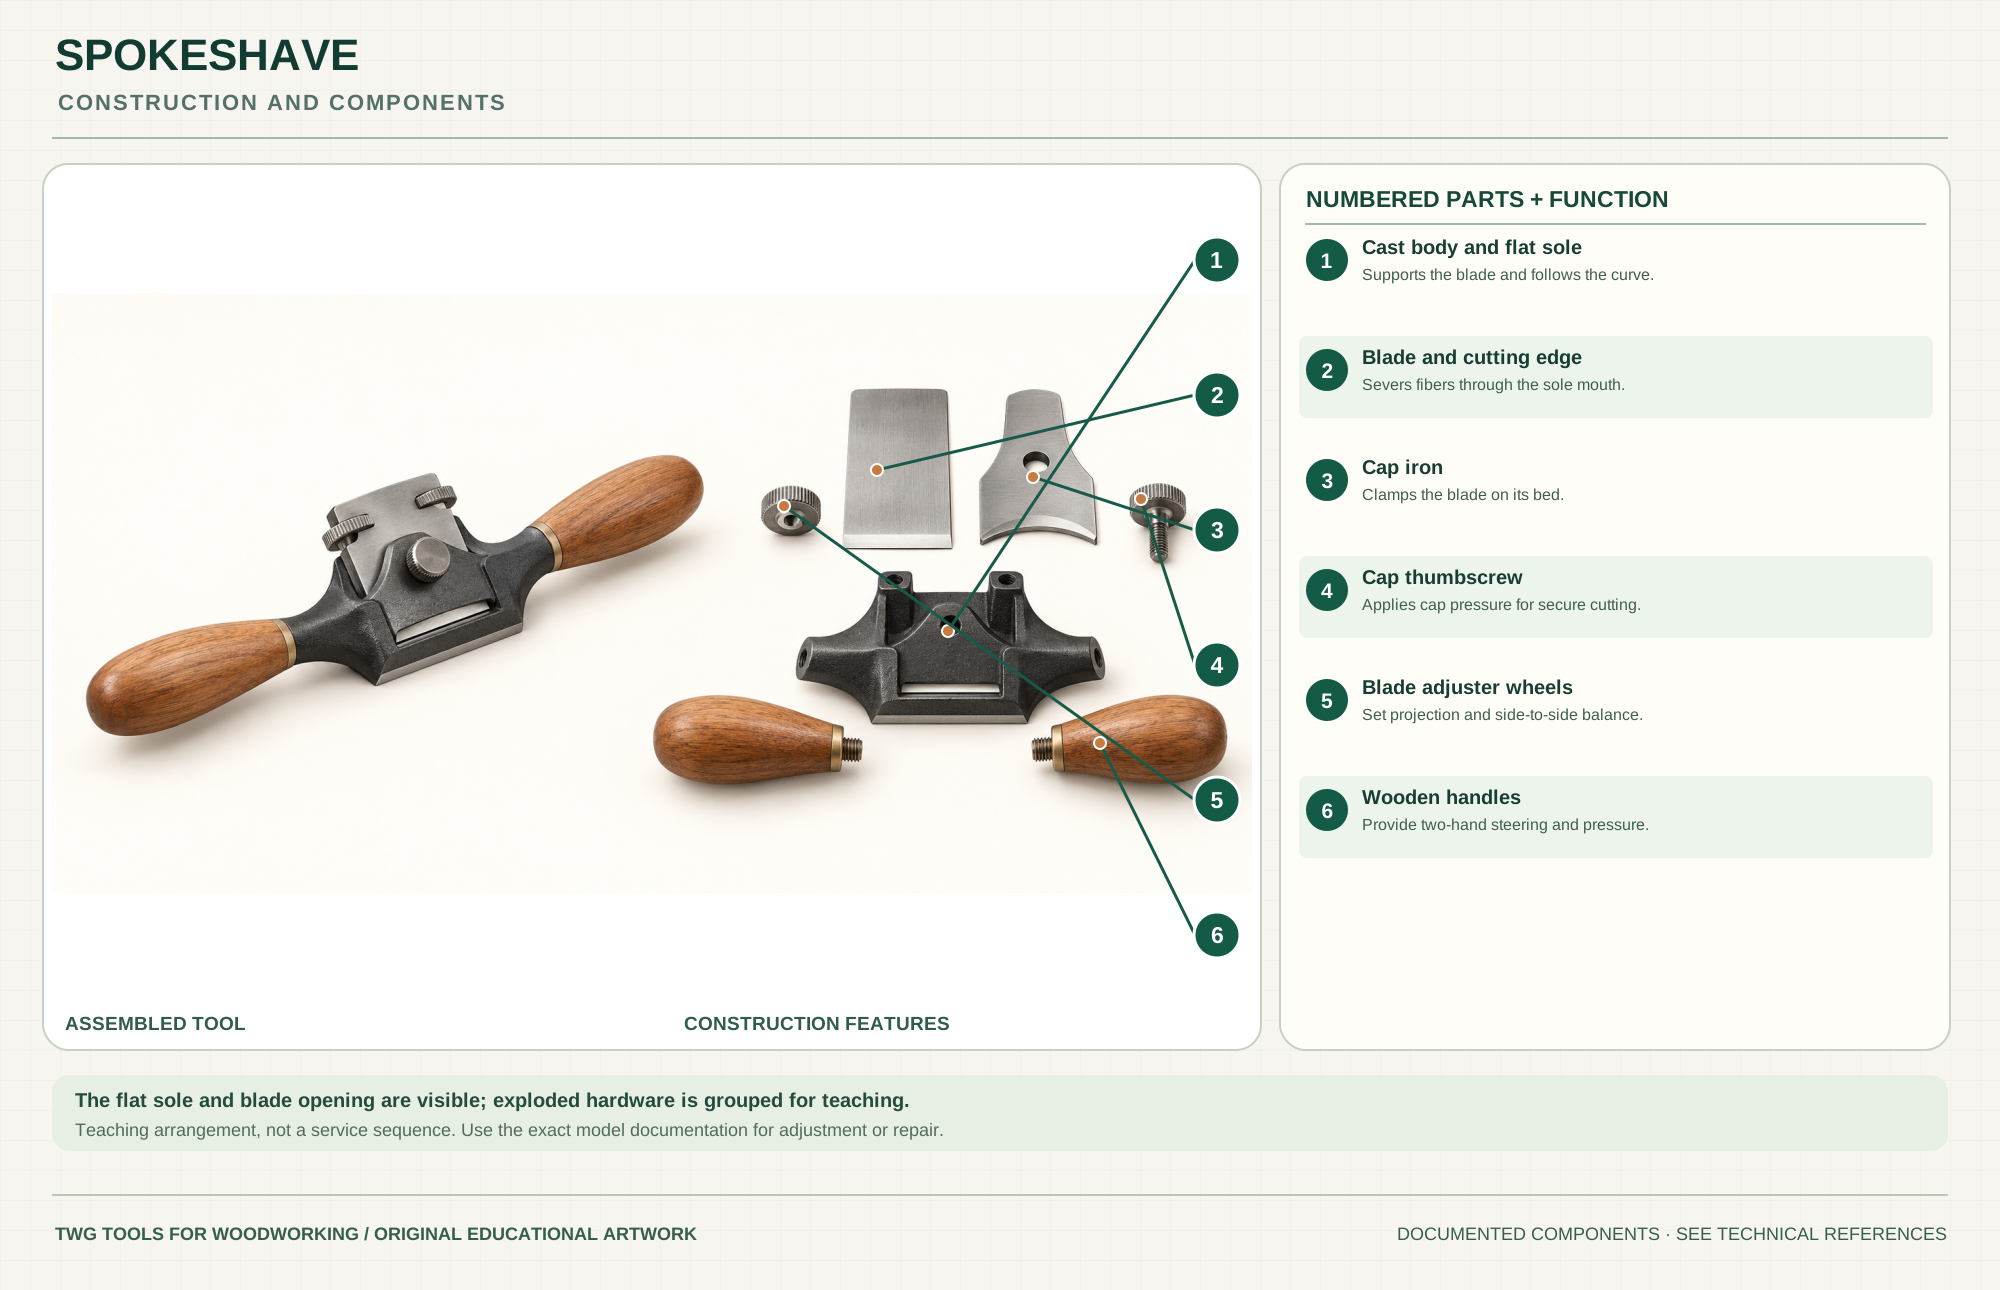
Supports the blade and follows the curve.
Severs fibers through the sole mouth.
Clamps the blade on its bed.
Applies cap pressure for secure cutting.
Set projection and side-to-side balance.
Provide two-hand steering and pressure.
Technical references: Veritas flat spokeshave 05P33.01 · Veritas flat, round and concave spokeshave instructions. The selected flat-soled spokeshave has a 45-degree blade bed, cap iron, twin blade adjusters and a mouth opening at the sole. Original educational artwork depicts documented component groups and their relationships; it is not a service sequence or a replacement for the exact model manual.
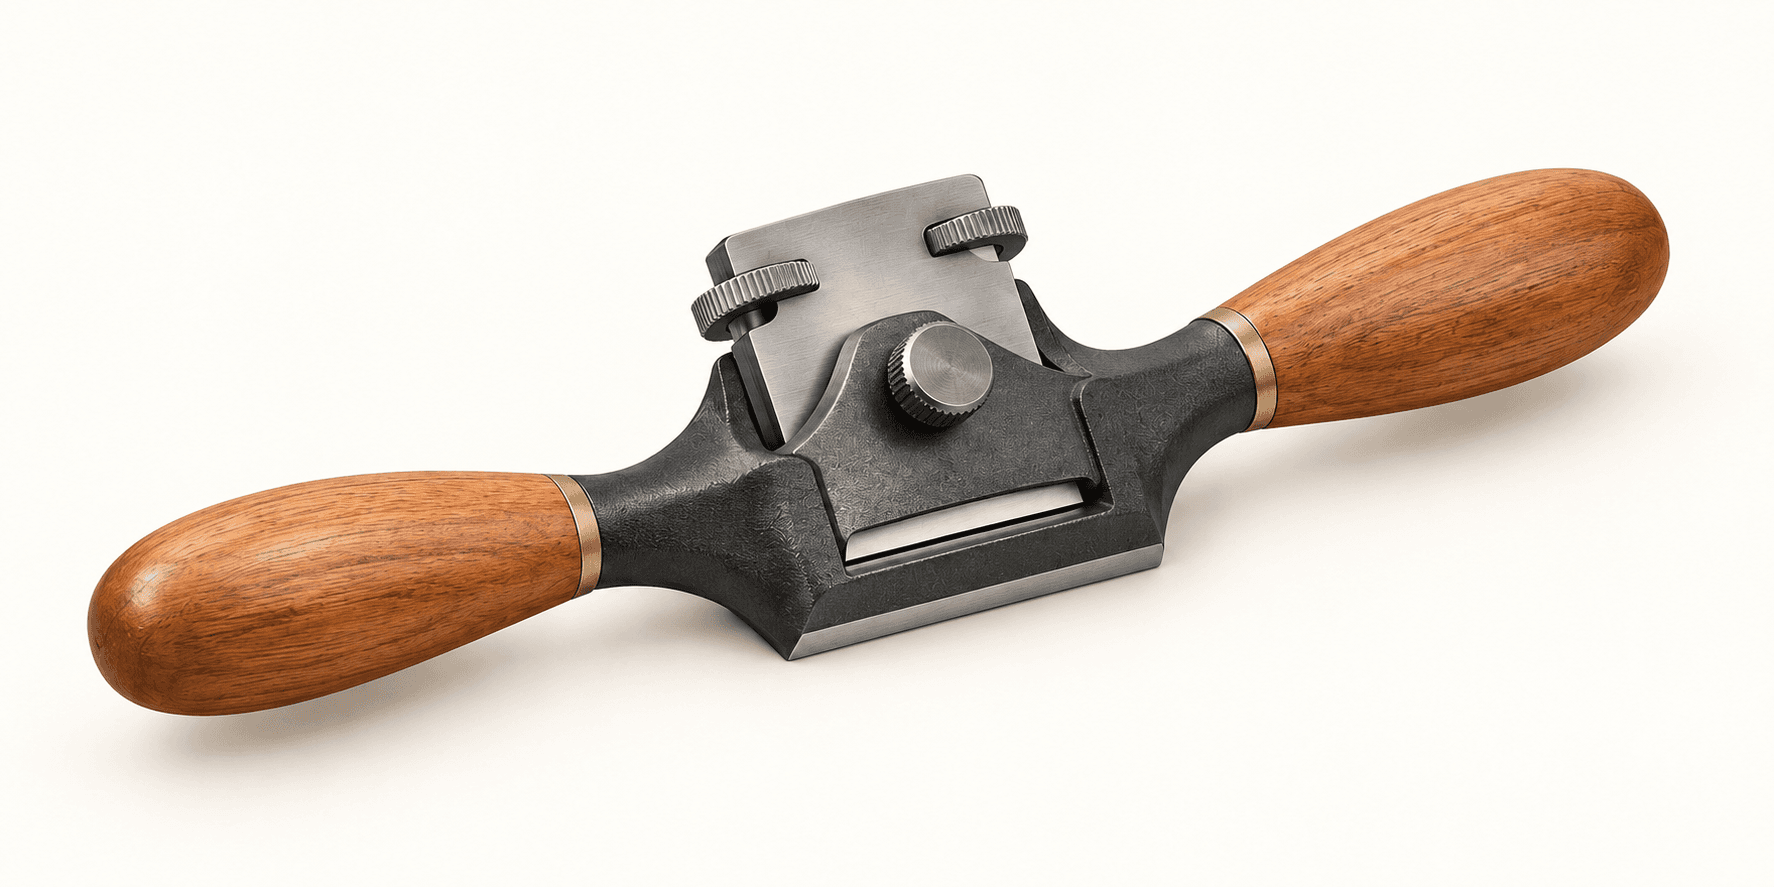
A spokeshave is a short, two-hand plane for shaping curved and straight edges. A flat sole follows convex curves, chair parts and broad transitions; rounded soles reach tighter concavities. It removes controlled shavings rather than the scored surface left by a rasp. The selected Veritas flat spokeshave 05P33.01 has a 45-degree bed, twin blade adjusters and an A2 blade about 2-1/8 inches wide. Those features are model-specific; other spokeshaves can use different blade clamps and handle geometry.
The hands steer the tool while the short sole registers on the wood. A projecting blade cuts through the mouth, and the cap iron holds it against the bed. Twin adjusters set blade projection and side-to-side balance. The illustrated components are spaced to show their roles; this is not a disassembly procedure.
The flat lower bearing surface works well on convex and nearly straight forms. A small mouth controls a fine shaving but can clog when set too tight.
A sharp blade severs the fibers. The reference model uses a 45-degree bed; its actual effective action depends on the fitted blade bevel and setup.
The cap iron and its fastener secure the blade. The cap must seat cleanly before the adjusters are used.
The two wheels balance projection across the edge; the wooden grips support a controlled push or pull stroke.
These decisions make the mechanism useful at the bench.
Mark the intended curve and test a light cut. Reverse the stroke direction when grain rises into the blade and causes tearout.
With the tool secure, set a very small projection, balance both ends and tighten the cap as the manual directs.
Keep the sole on the work and steer with both handles. Shift pressure gently rather than tipping the mouth into a gouge.
Fair convex facets after sawing or rough shaping, checking symmetry frequently.
Blend a chamfer into a continuous curve with light overlapping strokes.
Remove high spots from gentle curved templates before scraping or sanding.
Use the steps for a first pass, then inspect the work before changing the setup.
Curved stock can reverse grain across a few inches. Change stroke direction or take a lighter pass before a split begins.
A flat sole cannot register reliably deep in a tight hollow. Use a round or concave sole when the profile demands it.
Heavy projection is faster only until it tears or digs in; a shallow shaving is easier to steer.
Sole curvature changes which surface the shave can follow. The selected artwork shows the flat version only.
Bevel-up and bevel-down designs use different bed and effective angles. Follow the exact maker setup.
Some models add a mouth adjustment; others rely on blade position and a fixed opening. Do not infer one from this poster.
Secure the work, protect sharp edges and release any stored clamping pressure before adjustment or maintenance.
Retract that side, rebalance the blade and reduce pressure.
Reverse direction, sharpen and take a finer shaving.
Check blade seating, cap pressure, projection and whether the sole is supported on the curve.
Use the exact model documentation for setup, limits and replacement parts. These lessons, documents and model pages teach relevant techniques or help compare real variations.
These maker-owned links document relevant tools and tool brands. A product brand may use another company's factory; compare the exact model before choosing parts or accessories.
Handles, irons, saw plates, clamping pads and other replacements vary by maker and model. Use the maker's documentation before changing a component.
Compare the Rasps, Files & Shaping Tools family →Continue through the Tools library