Teen Skill Track
A longer, adult-supervised practice cycle for older builders who are ready to read plans, test on scrap, and reflect on setup decisions.
Practice cycle reference
Use this sequence to plan one skill, check a scrap result, and decide whether to build or practice again.
Adult preparation
- Choose one focused skill such as layout, joinery, routing, sanding, or workholding instead of introducing every tool at once.
- Read the relevant manuals and prepare the supervised setup before the session.
- Make an honest stop rule: if the learner cannot explain the setup, the adult resets it before continuing.
Materials
- Source plan or skill reference
- Practice scraps
- Pencil
- Notebook or build log
- Project material only after the scrap test passes
Tools
- Tool and accessory set chosen and controlled by the adult mentor
- Measuring and marking tools
- Clamps or fixtures
- Appropriate PPE and dust control
Vocabulary
Test cut
A practice cut or operation on scrap that checks a setup before final material is used.
Fixture
A purpose-built holder or guide that makes a repeated task more controlled.
Tolerance
How close a measurement or fit must be for the job to work.
Before you start: safety
- Adult approval is required before any new tool, accessory, bit, blade, finish, or machine setting is used.
- Use manufacturer instructions and workholding; never replace either with a shortcut.
- Keep a written stop rule and document unsafe or unclear setups instead of trying to push through them.
Teacher / mentor introduction
Treat each skill as a repeatable process: read, predict, practice, inspect, adjust, and only then make the final part.
Demonstration
- Adult explains the goal, tool path, workholding, and stop rule before the tool is used.
- Make or show one scrap test and inspect it together.
- Record the setup, result, and adjustment in the build log.
Build steps
1. Read and predict
Read the selected source step and write what the tool or layout move should accomplish.
2. Set up and explain
With the adult, identify workholding, tool path, PPE, dust plan, and stop rule.
3. Practice on scrap
Make the agreed test mark, joint, cut, or sanding pass on scrap.
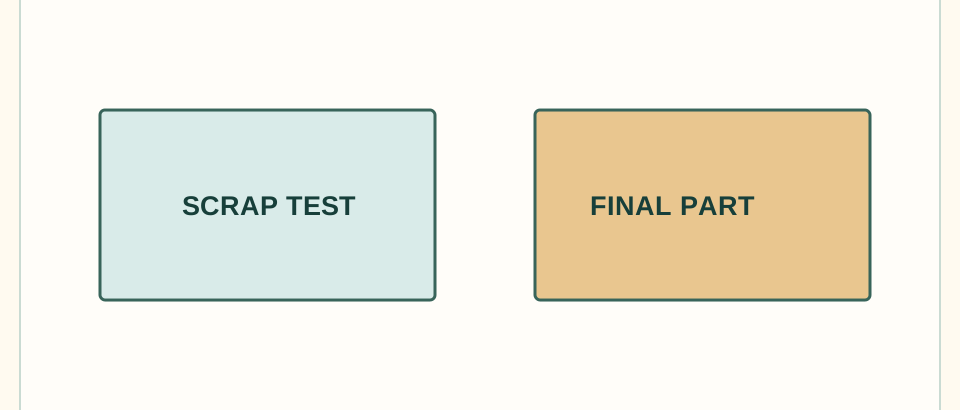
Practice versus final materialLabel practice scrap and final material separately before a bounded test.Swipe the drawing to see every part, or tap to open it full size. 4. Inspect
Measure, dry-fit, or side-light the scrap result and compare it to the stated goal.
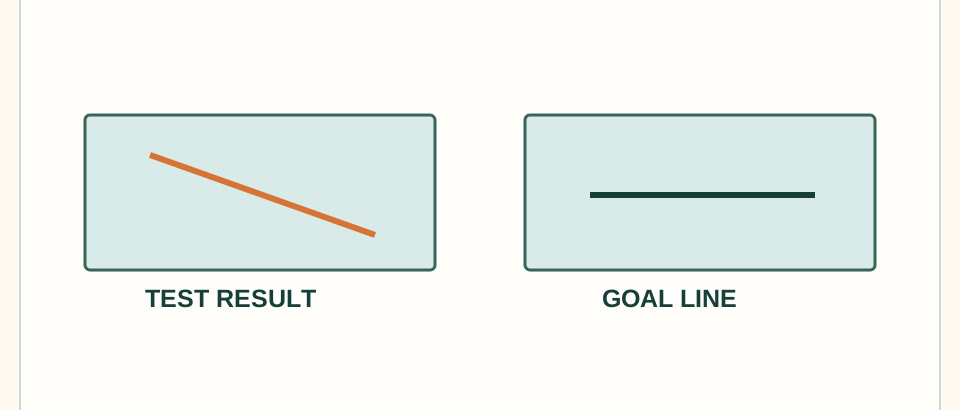
Compare result and goalA schematic mark comparison teaches inspection; it does not claim a physical test passed.Swipe the drawing to see every part, or tap to open it full size. 5. Adjust once
Change one setup variable with the adult, record it, and repeat the test if appropriate.
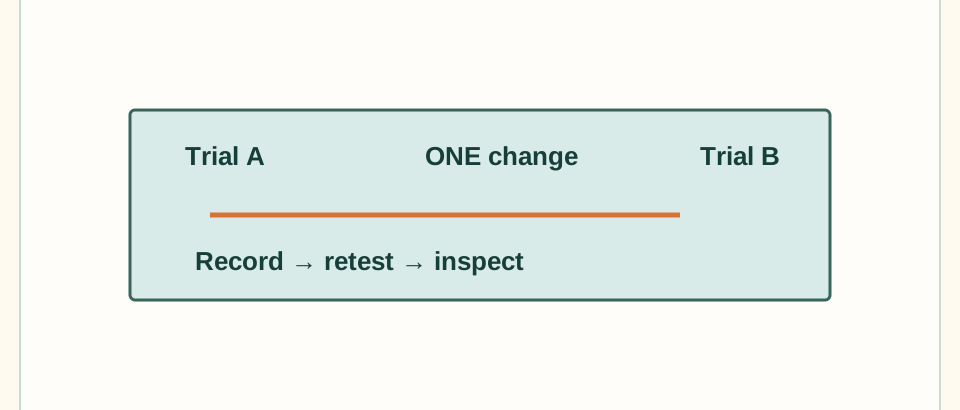
Change one variableRecord one adult-controlled setup change, retest if appropriate, and inspect again.Swipe the drawing to see every part, or tap to open it full size. 6. Build or defer
Use the final material only after the test meets the agreed goal; otherwise document the next practice step.
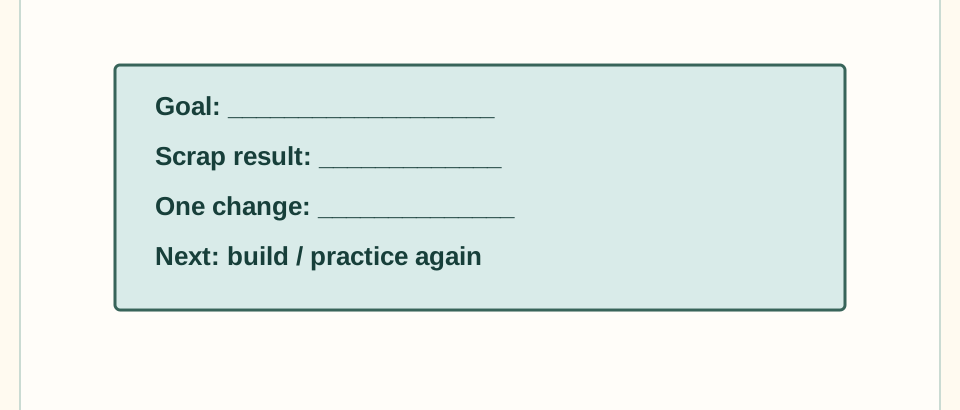
Build log exampleRecord goal, result, one change and the build-or-defer choice without personal information.Swipe the drawing to see every part, or tap to open it full size.
What learners should observe
- A clear test result makes a later final operation less mysterious.
- One adjustment at a time makes errors easier to understand.
- Good workholding changes both accuracy and safety.
Discussion questions
- What did the first scrap test teach you?
- Which setup choice made the largest difference?
- When is it smarter to defer the final part?
Assessment and reflection
Learner can explain their setup, show the test result, name one adjustment, and state whether the final material is ready.
Optional extension / challenge
- Make a small fixture for a repeated layout or sanding task.
- Compare hand-tool and machine-assisted approaches under adult guidance.
- Build a portfolio page that documents the object and skill, not personal information.
Cleanup
- Return the tool to the manufacturer-recommended safe state.
- Clear chips and dust using the shop's approved method.
- Store the build log with the project and label any incomplete setup for the adult's next review.
Adapt the lesson
One-on-one
Spend more time on the learner's own explanation and build log before moving to the final part.
Group or classroom
Use a shared demonstration followed by rotating supervised practice stations; no unsupervised tool queues or informal handoffs.