
Hex sleeve and bit
The front sleeve retains a compatible ¼-inch hex bit; use impact-rated bits and verify full seating.
Drive fasteners with intermittent rotary impacts while keeping the bit, material and torque setting under control.
An original educational poster identifies 9 documented construction features. The numbered descriptions remain readable below the artwork on narrow screens.
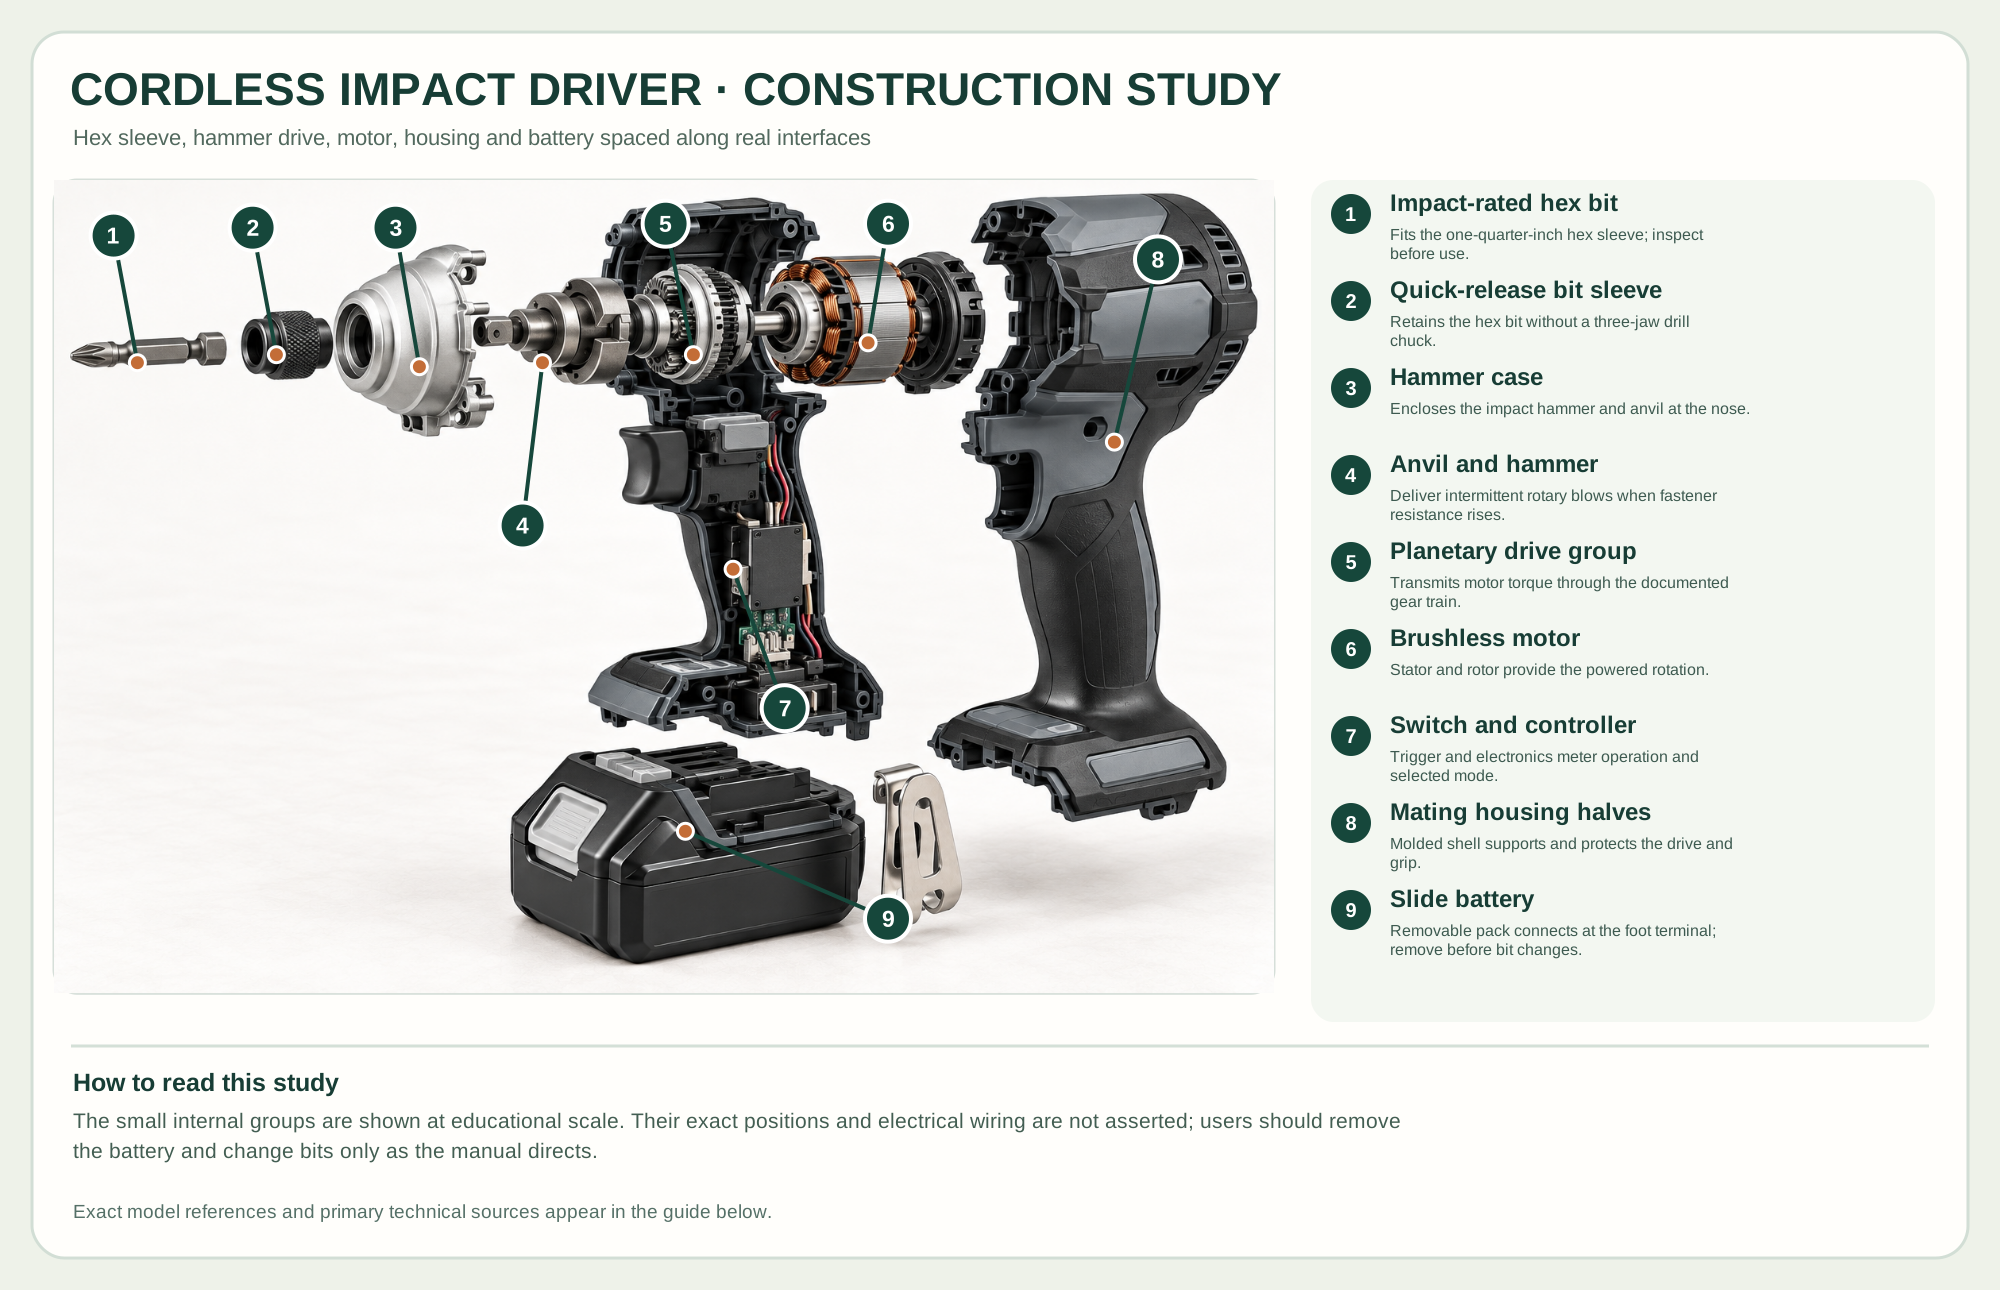
Fits the one-quarter-inch hex sleeve; inspect before use.
Retains the hex bit without a three-jaw drill chuck.
Encloses the impact hammer and anvil at the nose.
Deliver intermittent rotary blows when fastener resistance rises.
Transmits motor torque through the documented gear train.
Stator and rotor provide the powered rotation.
Trigger and electronics meter operation and selected mode.
Molded shell supports and protects the drive and grip.
Removable pack connects at the foot terminal; remove before bit changes.
Technical references: Makita XDT16Z official product · Makita XDT16Z official parts breakdown · Makita XDT16 instruction manual. The official XDT16Z parts drawing supports a sleeve, hammer case, anvil/hammer and gear groups, rotor/stator, controller/switch and housing set. A compatible battery and hook appear as removable accessories; the tool-only package does not include a battery. The arrangement explains the power path, not a user service sequence. Original educational artwork depicts documented component groups and their relationships; it is not a service sequence or a replacement for the exact model manual.
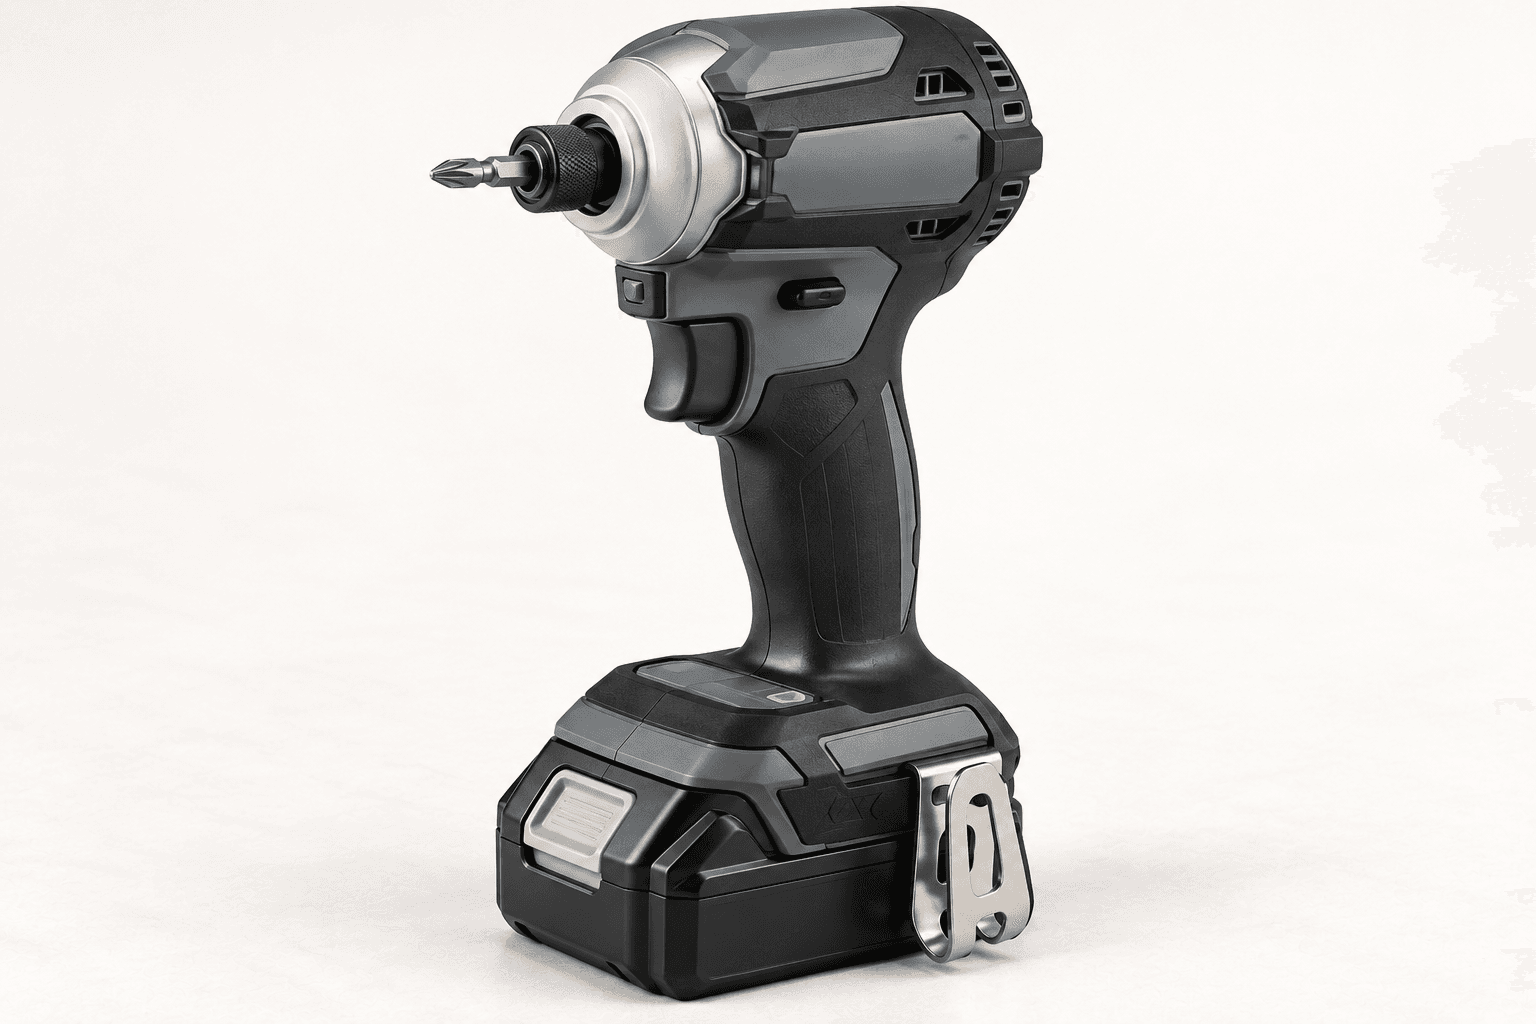
Makita's XDT16Z is an 18V LXT brushless four-speed impact driver with a one-quarter-inch hex quick-release sleeve. Its compact head and impact mechanism suit repetitive fastening; it is not a hammer drill or a precision torque wrench. Compared with a drill-driver, the impact group delivers rotational blows when resistance rises and accepts hex-shank bits rather than holding round bits in a three-jaw chuck. The educational exterior is neutralized; the compatible battery shown fitted for operation is sold separately with the tool-only model.
A compatible slide battery powers the controller and brushless stator/rotor. The gear train drives the hammer; under resistance, hammer and anvil deliver intermittent rotary impacts to the hex sleeve and bit. The trigger and mode controls meter the drive. The official XDT16 parts drawing distinguishes housing halves, switch, controller, rotor/stator, gears, anvil, hammer, case and sleeve. The study spaces those groups for learning and does not imply that owners should open the housing or service the battery.
The front sleeve retains a compatible ¼-inch hex bit; use impact-rated bits and verify full seating.
Enclosed groups convert motor rotation to intermittent impact when the fastener loads the drive.
Rotor and stator sit in the housing; the trigger, direction lever and mode controls shape operation.
A compatible pack slides onto the foot; remove it before bit changes, inspection and storage.
These decisions make the mechanism useful at the bench.
Choose an impact-rated bit that fits the screw recess tightly and a screw appropriate for the wood and connection.
Use a lower speed or assistance mode where appropriate; hold the tool square to the head and begin with light trigger pressure.
Stop when the fastener seats. For specified torque, verify with a calibrated tool instead of trusting impact feel.
Drive suitable fasteners through pilot holes without forcing the bit out of a shallow recess.
Fasten a jig or bench accessory where repeated screws call for compact access.
Use the specified pilot, fastener and driver setting; follow the connector maker's installation instructions.
Use the steps for a first pass, then inspect the work before changing the setup.
The mechanism adds rotary impulses; it does not strike the bit forward like a hammer drill.
A worn recess or bit promotes cam-out and damage. Replace a rounded bit before increasing force.
Four speed settings improve control but do not replace a measured tightening specification.
Standard ¼-inch hex drivers differ from square-drive impact wrenches, which take sockets.
Choose packs specifically compatible with the exact model and charger.
Other drivers vary in mode count and behavior; read their own manuals rather than transferring this model's controls.
Stop the tool and disconnect power before investigating a fault or changing a part.
Remove the battery, inspect hex size, sleeve travel and retention; replace damaged parts through service.
Use a fresh correct-size bit, keep the tool square and begin more slowly with adequate pilot clearance.
Stop, inspect the pilot and fastener suitability; do not force through a bind or concealment.
Use the exact tool manual for setup, limits and replacement parts. These lessons, documents and model pages teach relevant techniques or help compare real variations.
Primary bit, battery, control and safety guidance for the selected model.
Official exploded component names and real service groups used to constrain the teaching image.
These maker-owned links document relevant tools and tool brands. A product brand may use another company's factory; compare the exact model before choosing parts or accessories.
Cutters, abrasives, guards, guides, dust fittings and service parts vary by tool. Check the model plate and manufacturer manual before ordering or changing a component.
Compare the Drilling family →Continue through the Tools library