
Closed housing and vents
The body encloses the motor and electronics. Keep air openings clear; no internal winding or bearing geometry is asserted by the artwork.
Select the right burr and collet, secure the work, and shape small wood details with a light, controlled pass.
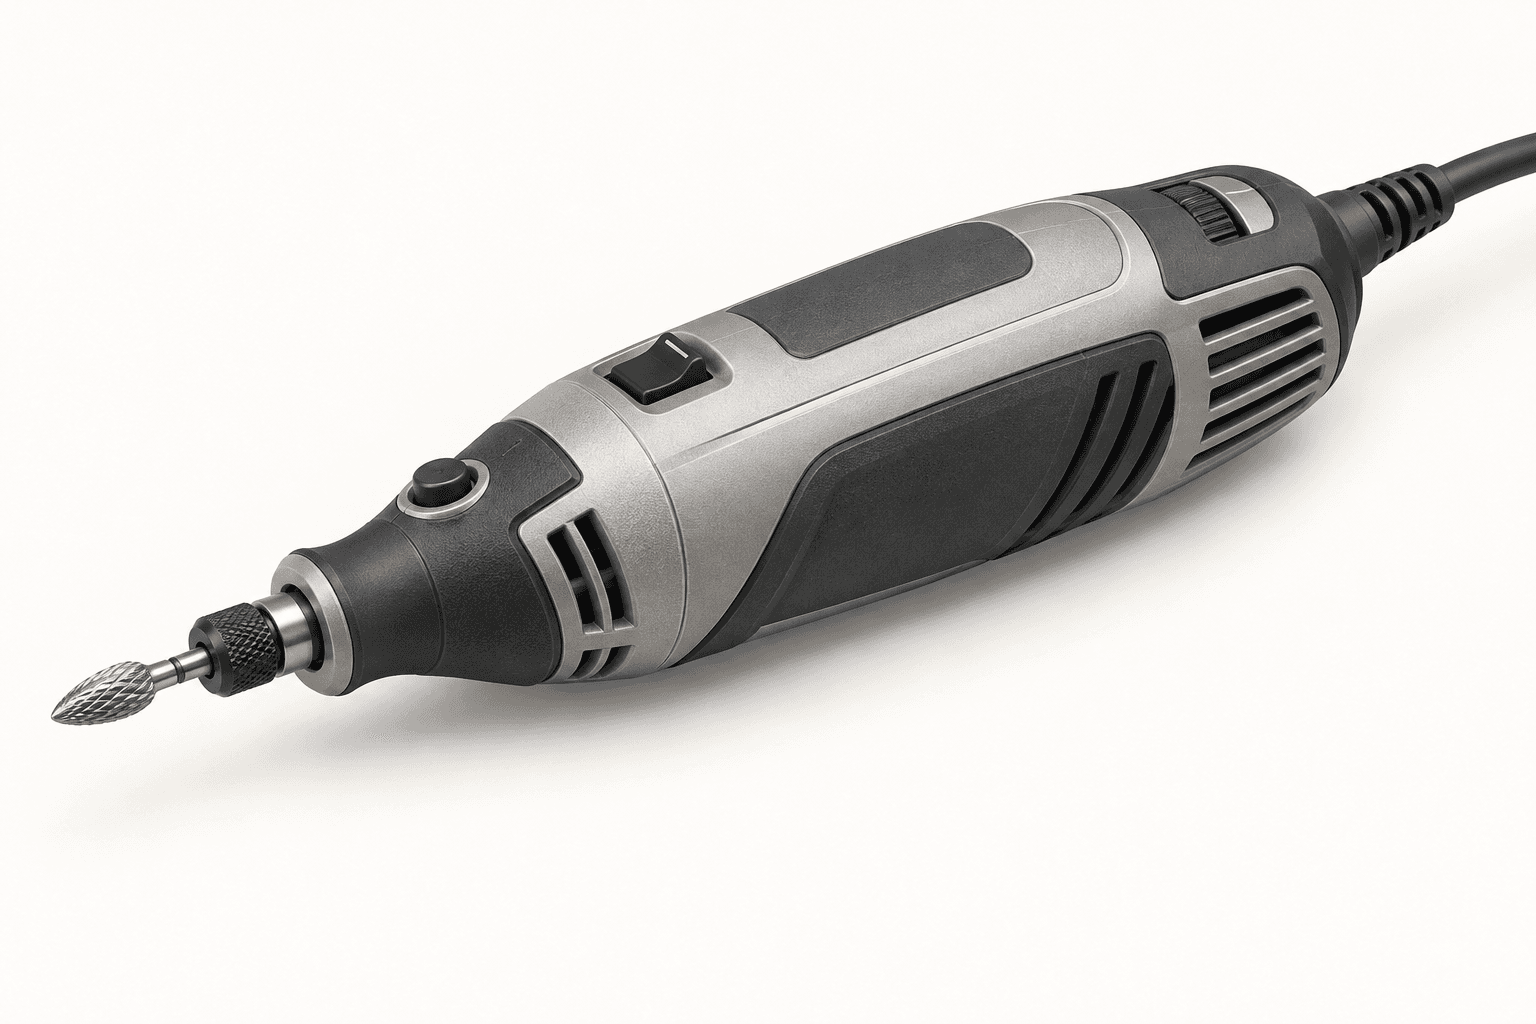
An original educational poster identifies 9 documented construction features. The numbered descriptions remain readable below the artwork on narrow screens.
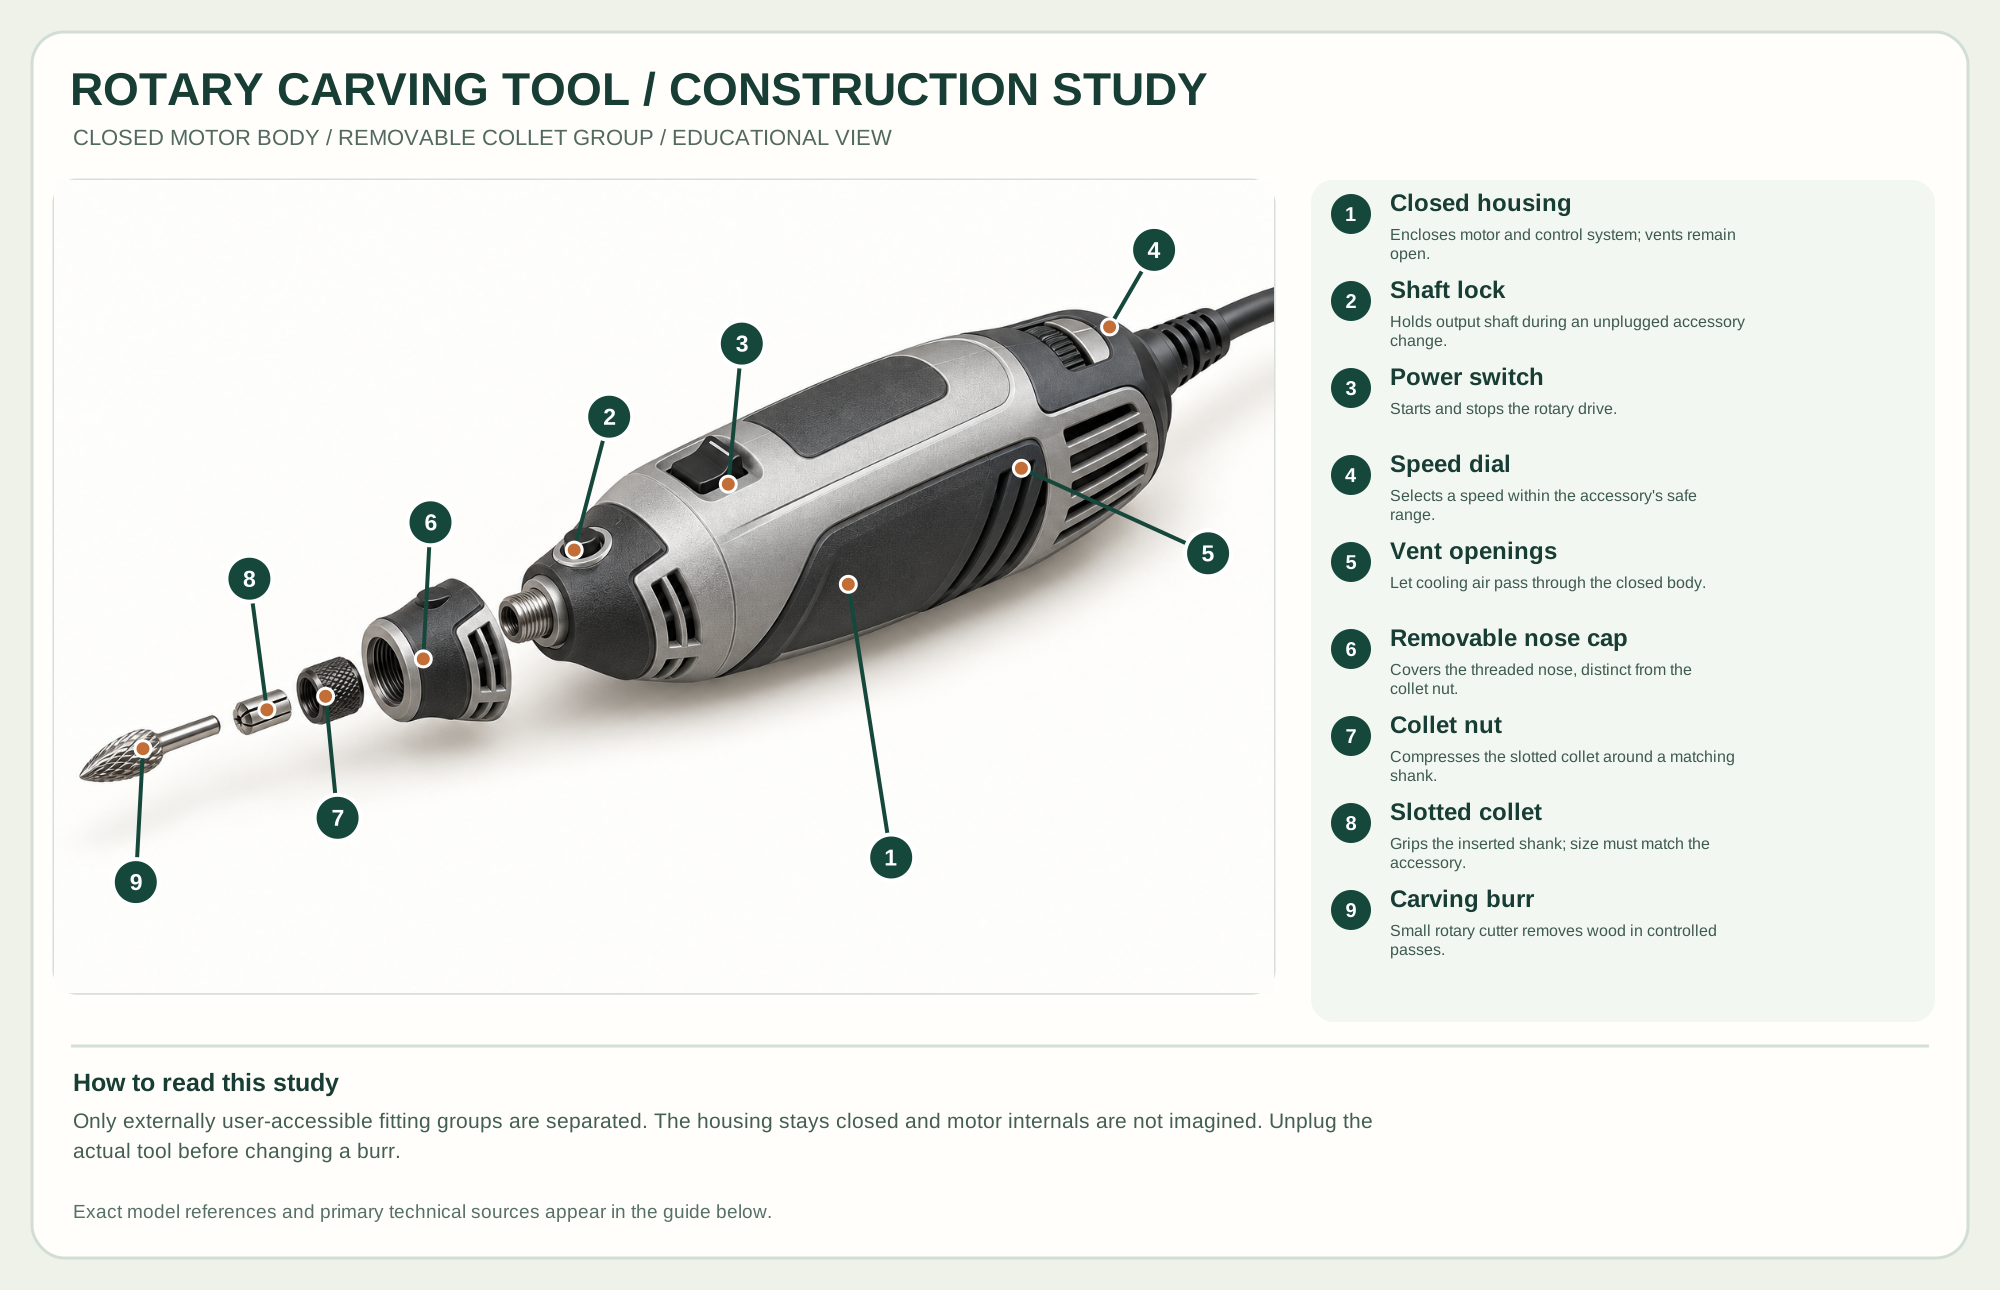
Encloses motor and control system; vents remain open.
Holds output shaft during an unplugged accessory change.
Starts and stops the rotary drive.
Selects a speed within the accessory's safe range.
Let cooling air pass through the closed body.
Covers the threaded nose, distinct from the collet nut.
Compresses the slotted collet around a matching shank.
Grips the inserted shank; size must match the accessory.
Small rotary cutter removes wood in controlled passes.
Technical references: Dremel 4300 official owner's manual · Dremel 4300 official product. The Dremel 4300 manual grounds the switch, speed dial, vents, shaft lock and exterior collet assembly. This study depicts the collet setup rather than the alternative keyless chuck and does not assert an internal service sequence. Original educational artwork depicts documented component groups and their relationships; it is not a service sequence or a replacement for the exact model manual.
A handheld rotary tool spins small cutters for detail carving, texturing and cleanup. The Dremel 4300 manual grounds the closed housing, shaft lock, switch, speed control, removable nose cap and collet assembly shown. The 4300 kit can also use a keyless chuck; this educational study depicts its collet configuration, not both chuck types at once. It is not an internal motor teardown.
The enclosed motor drives the output shaft. A correctly sized slotted collet is compressed by its threaded nut around a burr shank; the nose cap covers the nose region. The shaft lock holds the shaft only during accessory changes with power disconnected. Select speed and burr for the wood and accessory rating, then allow the cutter to do the work.
The body encloses the motor and electronics. Keep air openings clear; no internal winding or bearing geometry is asserted by the artwork.
The switch controls power and the dial sets speed on this reference model. Follow the maker's chart for each accessory.
A button immobilizes the shaft for changing accessories only after the tool is off and unplugged.
The removable cap covers the threaded nose and is separate from the collet nut.
The slotted collet grips a matching shank as the nut tightens. A small woodcarving burr cuts at the exposed end.
These decisions make the mechanism useful at the bench.
Use a collet size that fits the selected accessory. Do not force an oversize shank or tighten an empty collet.
With power disconnected, insert the burr to the maker's specified depth and tighten the nut using the documented lock and wrench method.
Start at a suitable speed, hold the body securely, and move lightly through supported wood; avoid a stalled or bouncing cutter.
Small burrs remove material in lettering, shallow relief and tight concavities.
Different cutter profiles can add controlled surface marks after the form is established.
A rotary cutter can refine a tight spot that is awkward for a larger gouge, within its access and dust limits.
Use the steps for a first pass, then inspect the work before changing the setup.
The depicted 4300 assembly uses a slotted collet and nut. A keyless chuck is a different attachment path.
Heavy stock removal can overheat the bit, burn wood or reduce control.
The construction study separates only accessible exterior fitting groups. It makes no claim about unseen service parts.
Battery tools trade runtime and weight against portability; follow each model's control layout.
A matching collet gives positive grip on one shank size; a compatible chuck handles a range, with its own limitations.
Wood carving burrs, sanding drums and abrasive stones work differently and have different speed ratings.
Stop the tool and disconnect power before investigating a fault or changing a part.
Stop, unplug and check shank-to-collet fit, insertion depth, nut threads and tightening method.
Reduce pressure, inspect burr sharpness and choose a suitable speed and pass depth.
Stop and inspect accessory damage, seating, collet condition and tool bearings per the manual.
Use the exact tool manual for setup, limits and replacement parts. These lessons, documents and model pages teach relevant techniques or help compare real variations.
These maker-owned links document relevant tools and tool brands. A product brand may use another company's factory; compare the exact model before choosing parts or accessories.
Cutters, abrasives, guards, guides, dust fittings and service parts vary by tool. Check the model plate and manufacturer manual before ordering or changing a component.
Compare the Power Carving family →Continue through the Tools library