
Handle
The shaped wooden grip supports hand control and, where the model permits, controlled mallet work.
Read the gouge's sweep, width and bevel, then make controlled cuts that follow the form and grain.
An original educational poster identifies 6 documented features of this one-piece tool. The numbered descriptions remain readable below the artwork on narrow screens.
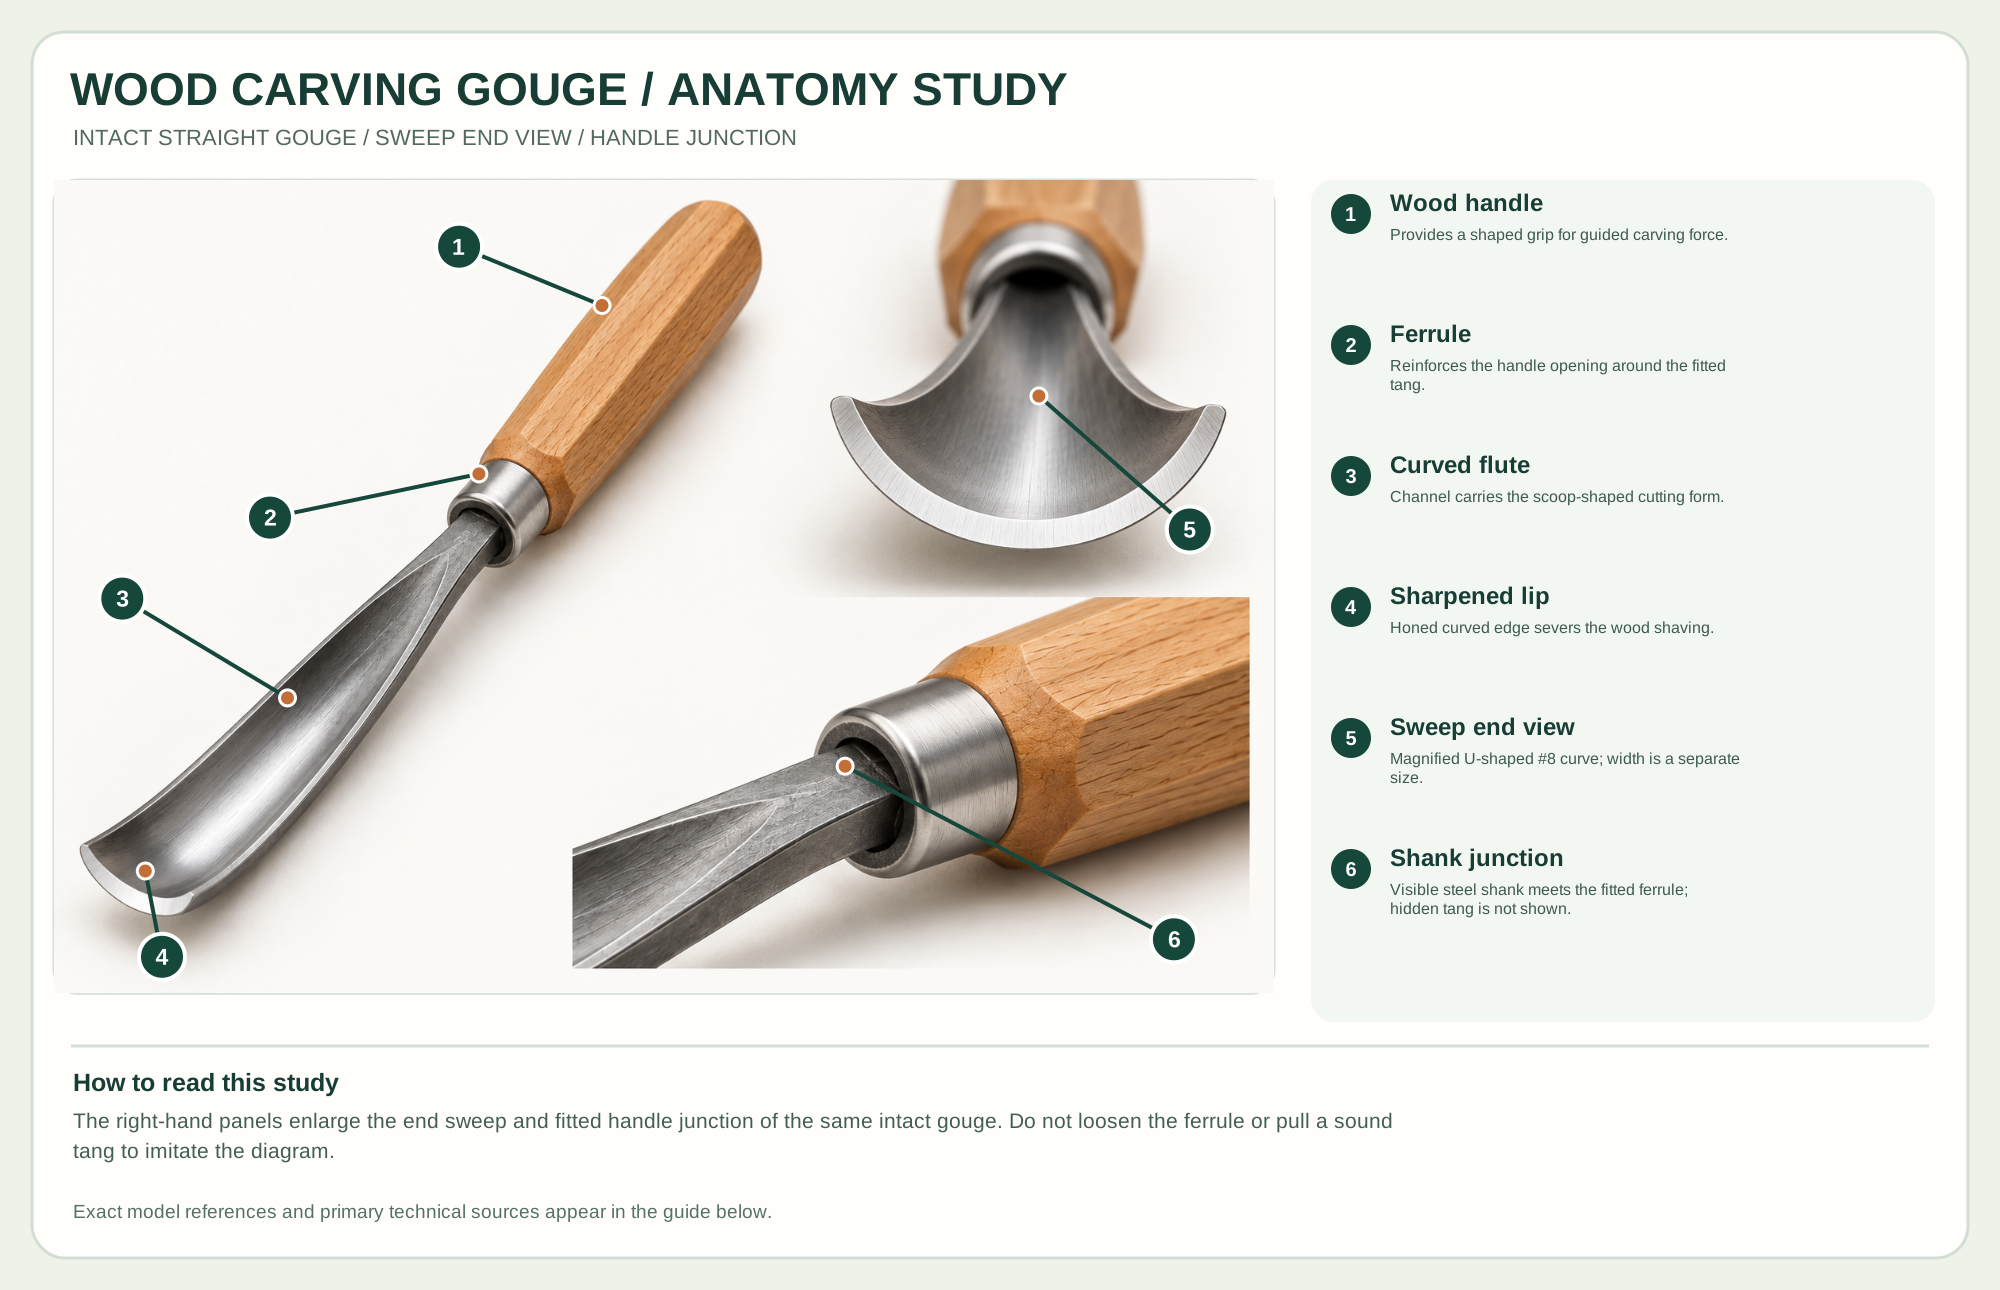
Provides a shaped grip for guided carving force.
Reinforces the handle opening around the fitted tang.
Channel carries the scoop-shaped cutting form.
Honed curved edge severs the wood shaving.
Magnified U-shaped #8 curve; width is a separate size.
Visible steel shank meets the fitted ferrule; hidden tang is not shown.
Technical references: Two Cherries official 2021 carving-tool catalog · Two Cherries straight-gouge product. The Two Cherries catalog grounds the straight #8 sweep and 12 mm example. The handle, ferrule, shank, flute, lip and end-view arc are identifiable features of one intact tool; this is not a service disassembly. Original educational artwork depicts the intact tool and magnified features; the additional views are not detachable parts.
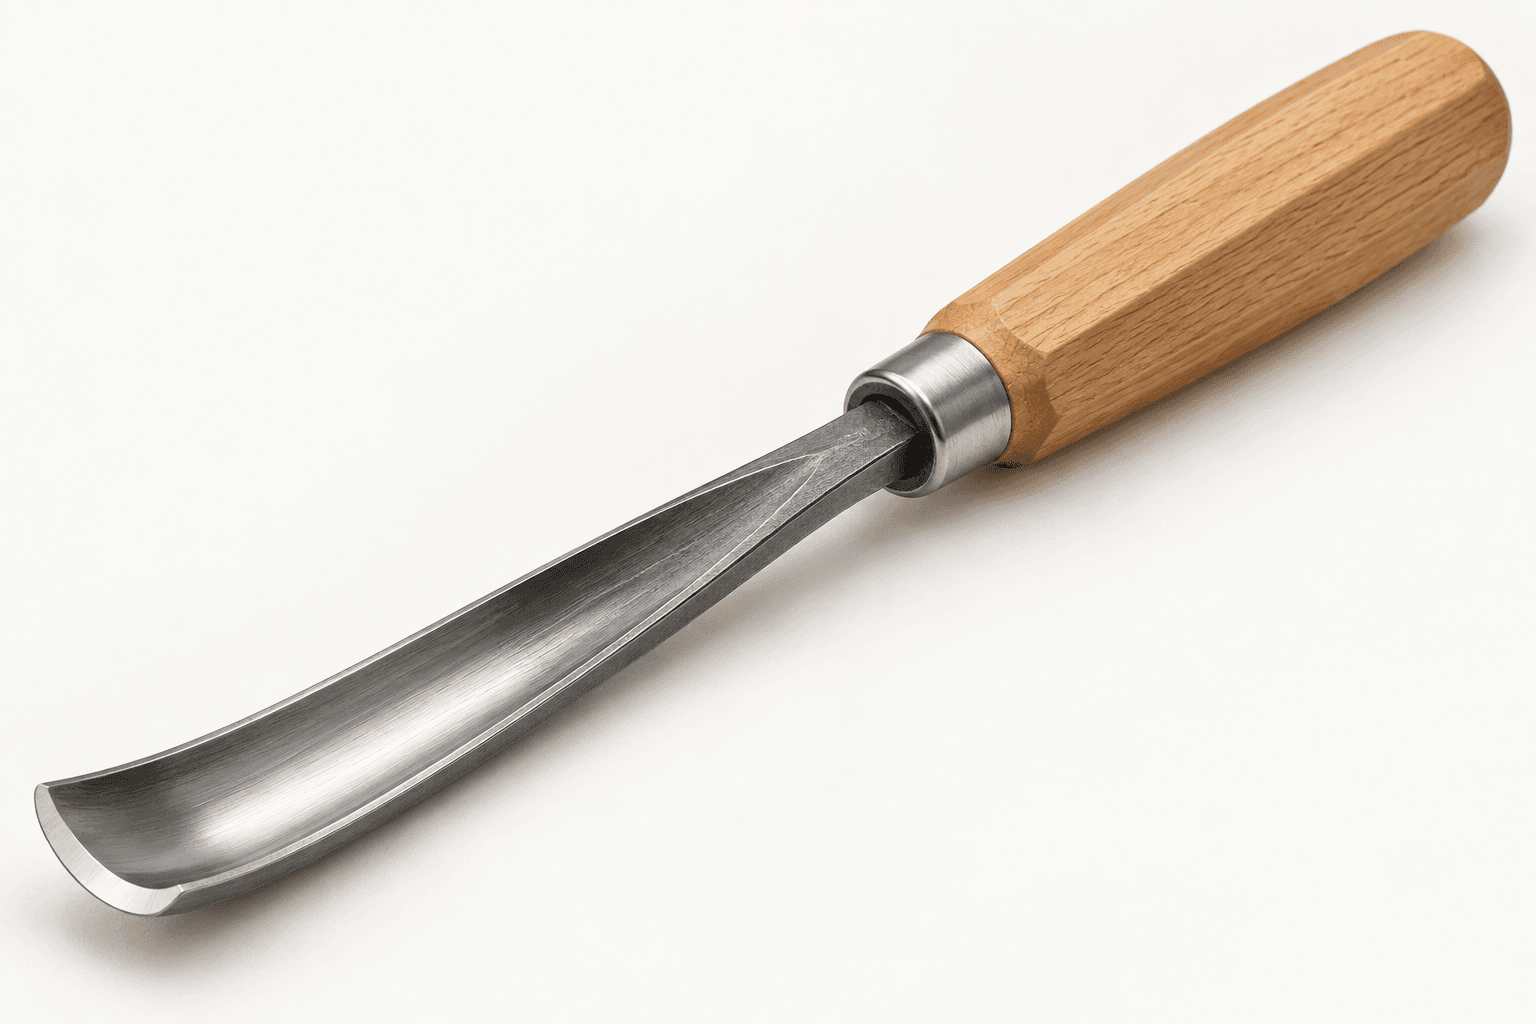
A carving gouge is a curved-edge hand tool. The Two Cherries catalog's straight #8 sweep grounds the educational shape; sweep numbers and widths vary across makers. The study uses an intact full view plus enlarged sweep and handle-junction views. It does not suggest disassembling a sound handle or ferrule.
The curved, sharpened lip shears a concave shaving. Sweep describes curvature and width describes the span of the edge; neither alone tells you how aggressively the tool cuts. Handle force or a maker-approved light mallet stroke drives the steel while the bevel and grain direction guide the cut.
The shaped wooden grip supports hand control and, where the model permits, controlled mallet work.
The metal ferrule reinforces the handle opening around the fitted steel tang. The fitted junction is not a routine user adjustment.
The U-shaped channel carries the curve toward the cutting end; a smooth polished flute helps shavings escape.
A #8 sweep is relatively deep; the selected 12 mm catalog example is one size, not a universal gouge dimension.
The honed bevel supports the curved edge. Its angle and inside polish affect steering and surface quality.
These decisions make the mechanism useful at the bench.
Select sweep and width to suit the hollow or relief cut; test on scrap because numbered sweeps are not perfectly uniform across brands.
Clamp carving stock so a slip cannot put a hand in front of the edge.
Take shallow cuts following grain, using the bevel to control depth and avoid levering against fragile detail.
A deeper sweep removes pockets and shapes transitions around raised forms.
Overlapping cuts develop curved surfaces before finer refinement.
The gouge can leave purposeful curved tool marks or prepare material for smaller tools.
Use the steps for a first pass, then inspect the work before changing the setup.
A higher or lower sweep number refers to the edge arc in a maker's system; it is not the blade width.
A smooth cut in one direction can tear out when the grain reverses. Change approach before driving deeper.
The sweep and junction panels magnify one intact tool for inspection; no separation is implied.
Blade geometry changes access to deep or awkward hollows. The illustrated tool is a straight gouge.
Short palm tools suit close hand force; longer handles give more reach or maker-approved mallet use.
A matching hollow may call for a different arc or narrower edge rather than more force.
Secure the work, protect sharp edges and release any stored clamping pressure before adjustment or maintenance.
Reverse direction, take a shallower cut and inspect edge sharpness.
Reduce force, lift the bevel and choose a sweep that better fits the curve.
Stop use and inspect the fitted tang, ferrule and wood; follow the maker's repair guidance.
Use the exact model documentation for setup, limits and replacement parts. These lessons, documents and model pages teach relevant techniques or help compare real variations.
Maker's product and sweep information.
Maker teaching resource on sweep, cut depth and stropping; apply exact-model advice to the illustrated reference.
Official range showing alternative sweeps and widths.
Maker example of a similar sweep in another tool line.
These maker-owned links document relevant tools and tool brands. A product brand may use another company's factory; compare the exact model before choosing parts or accessories.
Handles, irons, saw plates, clamping pads and other replacements vary by maker and model. Use the maker's documentation before changing a component.
Compare the Carving Hand Tools family →Continue through the Tools library