
Slotted stainless blade
The long steel edge follows a slope or transfers it to another board. The lengthwise slot permits adjustment around the pivot.
Capture an angle from the work, lock it, and transfer it without guessing at a number.
An original educational poster identifies 6 documented construction features. The numbered descriptions remain readable below the artwork on narrow screens.
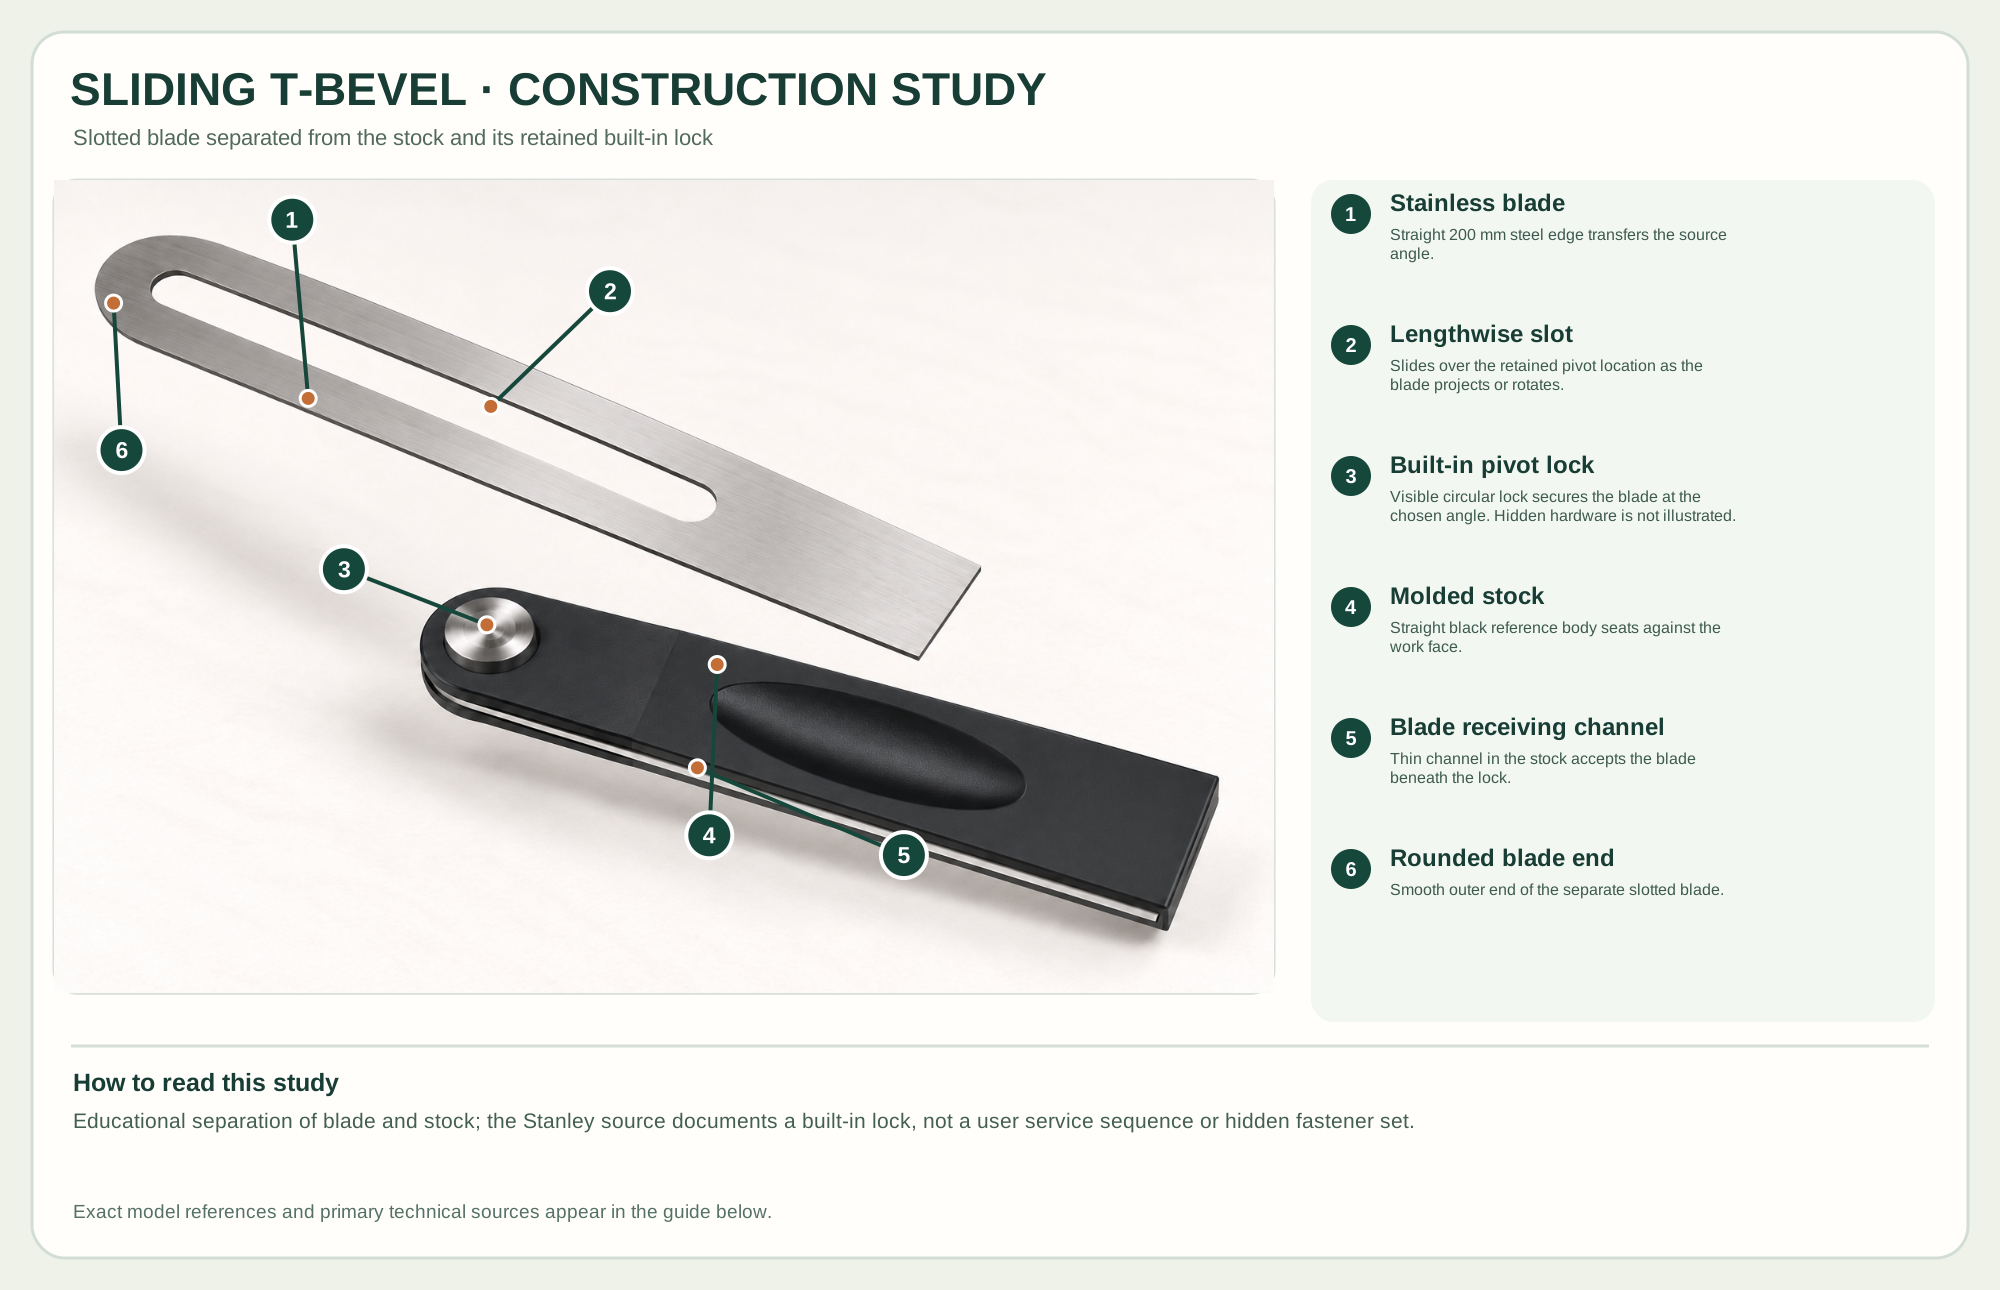
Straight 200 mm steel edge transfers the source angle.
Slides over the retained pivot location as the blade projects or rotates.
Visible circular lock secures the blade at the chosen angle. Hidden hardware is not illustrated.
Straight black reference body seats against the work face.
Thin channel in the stock accepts the blade beneath the lock.
Smooth outer end of the separate slotted blade.
Technical references: Stanley 46-825 official product · Johnson Level T-bevel technique. The slotted stainless blade is separated from the molded stock to show its physical relation to the built-in pivot lock and blade channel. Hidden lock hardware is not depicted. Original educational artwork depicts documented component groups and their relationships; it is not a service sequence or a replacement for the exact model manual.
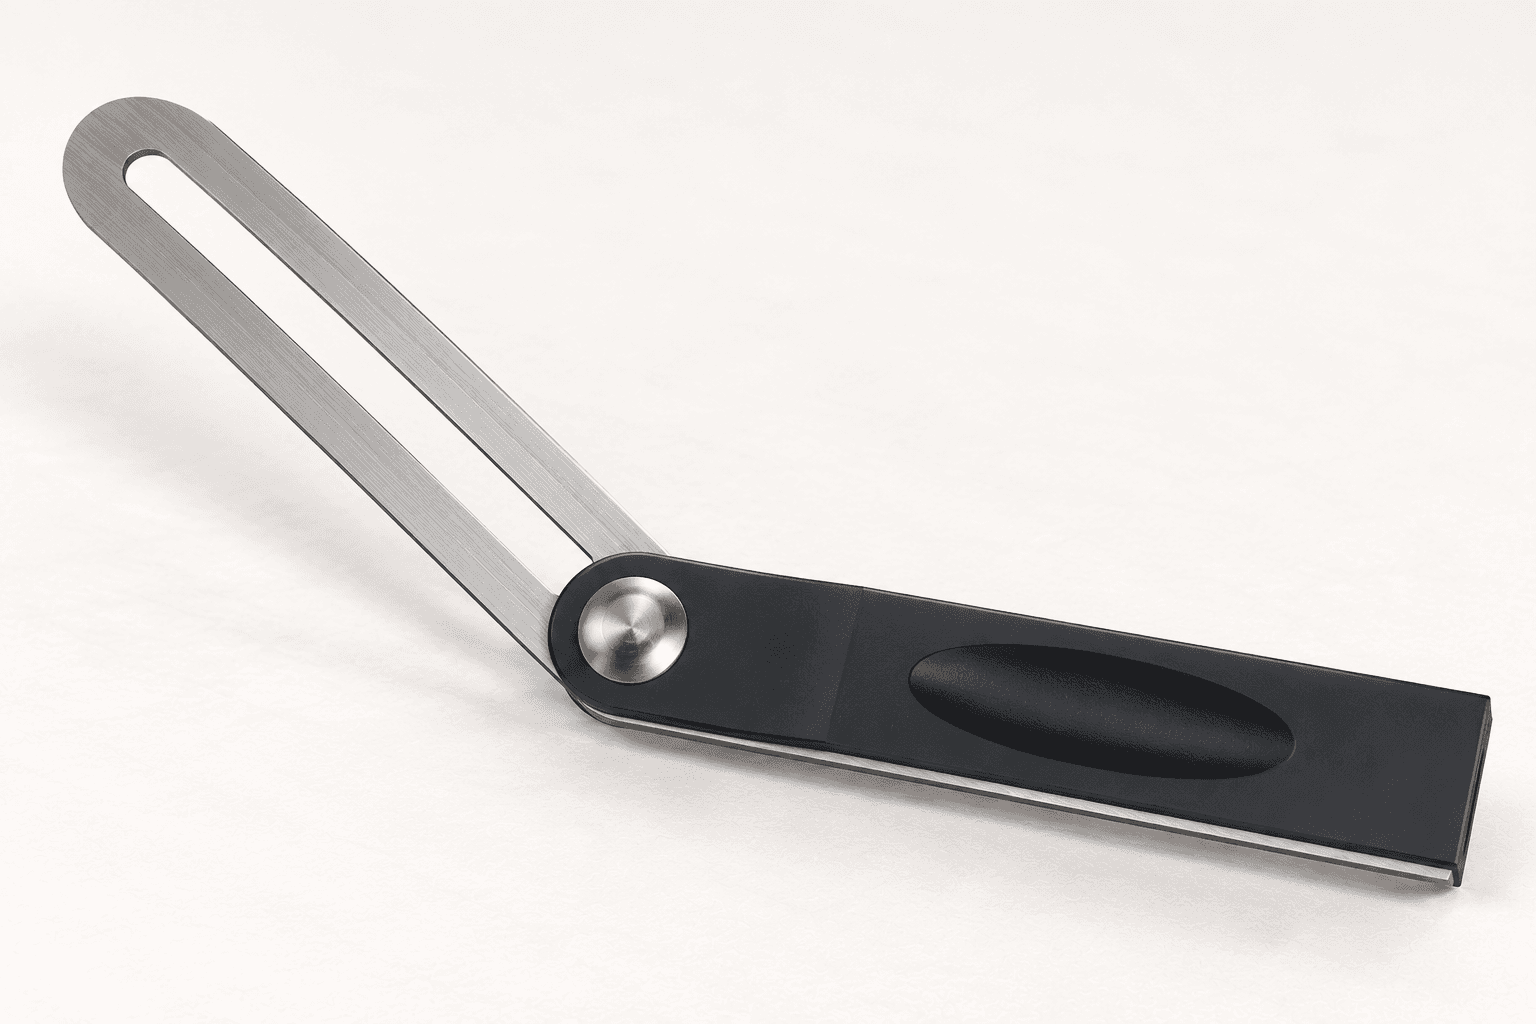
The Stanley 46-825 has a 200 mm stainless-steel blade, a black molded handle and a built-in blade lock. The blade pivots and slides to copy an existing angle. It is an angle-transfer tool, not a calibrated protractor: use a protractor or digital angle gauge when a numeric reading is required. The illustrated model does not have a spirit vial or engraved angle scale; those belong to other bevels.
Loosening the circular pivot lock frees the slotted blade to rotate and shift through its permitted travel. Seat the straight stock against one face and the blade against the other, then tighten while both stay in contact. The construction study separates the blade from the stock to explain its slot and retained built-in lock; it does not portray hidden lock hardware or a service procedure.
The long steel edge follows a slope or transfers it to another board. The lengthwise slot permits adjustment around the pivot.
A round metal lock holds the set angle and blade projection. Tighten enough to prevent drift without damaging the joint.
The straight side of the black handle registers on the reference face; its recessed grip helps keep fingers off the marking edge.
The rounded end avoids a sharp corner at the far end of the slot. It is not a marking point or a graduated scale.
These decisions make the mechanism useful at the bench.
Clean both mating faces of the source angle and select the face and edge that will also locate the transferred line.
Let the stock and blade lie flat against their references, then lock the pivot while holding the setting steady.
Check the lock on scrap, place the same stock edge against the destination face and mark with a sharp pencil or knife.
Take the angle from a full-size template or mock-up and transfer it to mating rails or shoulders.
Copy an existing corner when the actual built angle differs from a nominal drawing angle.
With equipment isolated as its manual requires, transfer a bevel setting to a saw or fence and verify it on scrap.
Use the steps for a first pass, then inspect the work before changing the setup.
A physical angle often transfers more reliably than rounding a protractor reading, provided both datums are clean.
The blade can slide as well as rotate; choose enough exposed length to reach both faces without the stock rocking.
This model carries no displayed degree measurement. The poster identifies visible construction only.
Wood, molded composite and metal stocks differ in weight, wear and grip; check a particular model's face straightness.
Thumbscrews, levers and circular locks make the same basic angle transfer in different ways.
A protractor reads degrees; a bevel gauge excels at matching and transferring an existing shape.
Secure the work, protect sharp edges and release any stored clamping pressure before adjustment or maintenance.
Reseat both reference edges, retighten the lock and check for a changed blade projection.
Clean the pivot and slot, inspect the lock for damage and avoid relying on a worn joint.
Check whether the stock or source face is bowed, chipped or covered in dust.
Use the exact model documentation for setup, limits and replacement parts. These lessons, documents and model pages teach relevant techniques or help compare real variations.
These maker-owned links document relevant tools and tool brands. A product brand may use another company's factory; compare the exact model before choosing parts or accessories.
Handles, irons, saw plates, clamping pads and other replacements vary by maker and model. Use the maker's documentation before changing a component.
Compare the Layout Tools family →Continue through the Tools library