
Graduated rule
The hardened rule has photo-engraved markings. Read from the chosen edge and use the same face of the stock for repeated layout.
Use one sliding rule and two clean reference faces to measure, mark square and transfer a 45-degree line.
An original educational poster identifies 8 documented construction features. The numbered descriptions remain readable below the artwork on narrow screens.
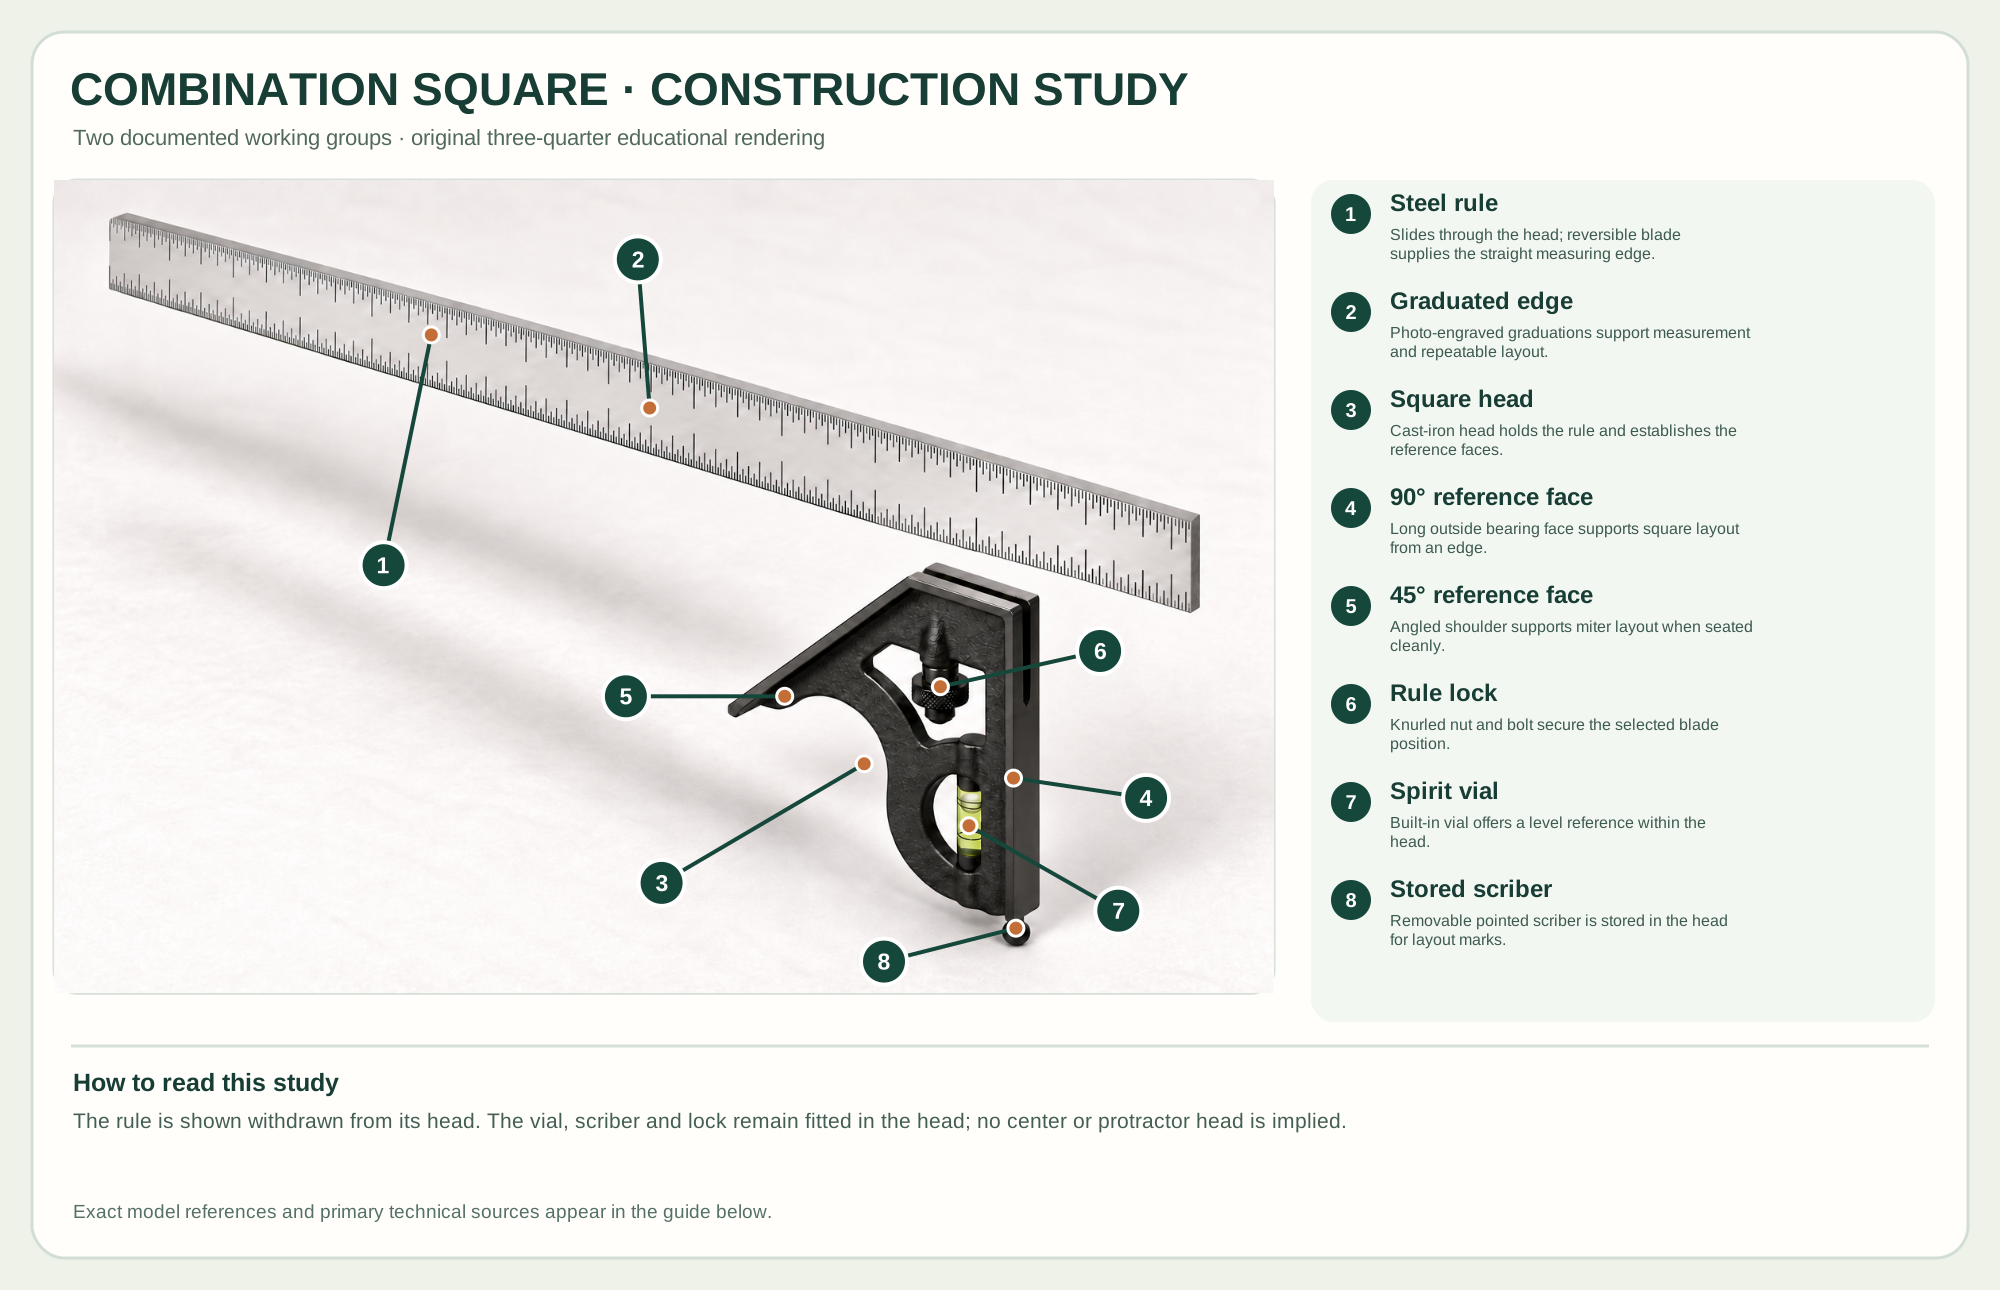
Slides through the head; reversible blade supplies the straight measuring edge.
Photo-engraved graduations support measurement and repeatable layout.
Cast-iron head holds the rule and establishes the reference faces.
Long outside bearing face supports square layout from an edge.
Angled shoulder supports miter layout when seated cleanly.
Knurled nut and bolt secure the selected blade position.
Built-in vial offers a level reference within the head.
Removable pointed scriber is stored in the head for layout marks.
Technical references: Starrett C11H-12-4R official product · Starrett combination-square instructions. The rule slides through the square head and can be reversed. The lock, vial and stored scriber are features of the head; this arrangement is educational, not a service disassembly. Original educational artwork depicts documented component groups and their relationships; it is not a service sequence or a replacement for the exact model manual.
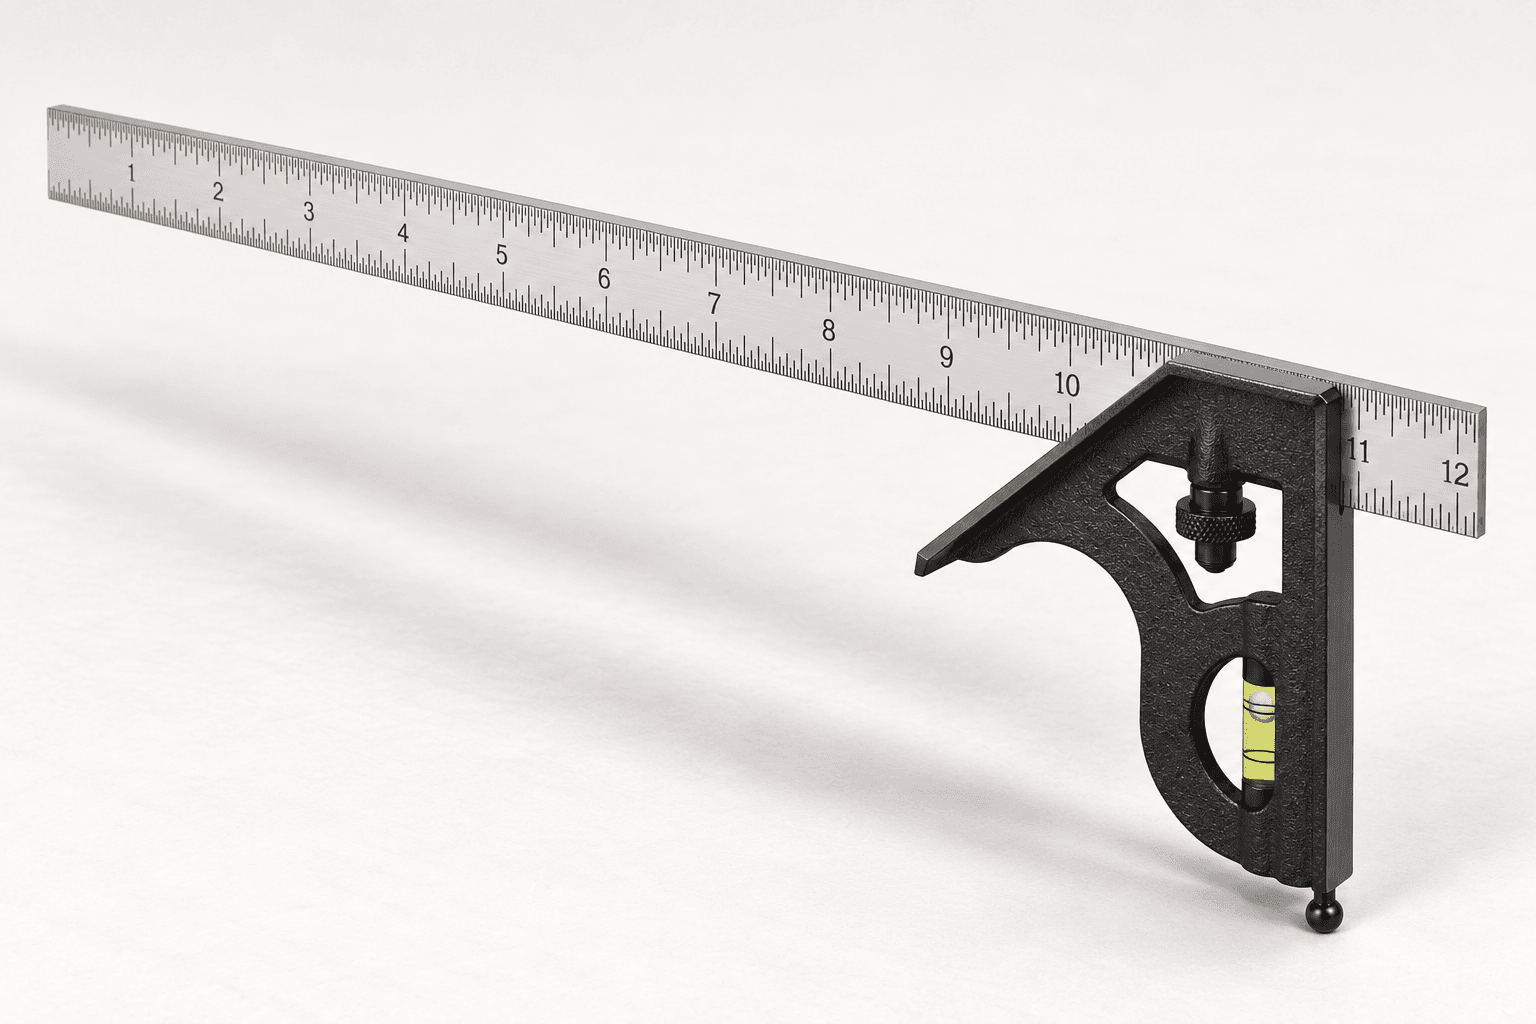
The Starrett C11H-12-4R is a two-piece combination square: a 12-inch satin-chrome graduated steel rule slides through a black cast-iron square head. The head also carries a spirit vial and stored scriber. This selected model does not include the optional center or protractor heads offered in other combination-square sets. A dedicated engineer's square is simpler for a single fixed 90-degree check; the sliding rule adds repeatable offsets and depth readings.
The rule's longitudinal groove engages a reversible lock bolt in the head. Loosen the knurled nut to slide or withdraw the rule, seat it fully against its bearing surfaces, then tighten without forcing it. The two machined head faces reference 90 and 45 degrees to a clean work edge. The educational construction view withdraws only the rule; it does not propose removing the vial or dismantling the head.
The hardened rule has photo-engraved markings. Read from the chosen edge and use the same face of the stock for repeated layout.
The cast-iron head carries the blade channel and machined 90- and 45-degree reference faces. Chips between head and wood spoil accuracy.
The knurled nut and bolt hold the rule at a chosen projection. The blade can be reversed or withdrawn as the official instructions describe.
A built-in spirit vial gives a rough level reference. The removable scriber stores in the head; it is a marking aid, not a cutting blade.
These decisions make the mechanism useful at the bench.
Wipe the head face and board edge, then inspect for burrs before relying on a line.
Loosen the lock, set the rule to the intended offset, fully seat it in the head and tighten gently.
Keep the selected head face against a known straight edge and draw a fine line with a pencil or the stored scriber.
Mark crosscuts at 90 degrees or miters at 45 degrees from a prepared reference edge.
Slide the rule to read a recess depth or transfer a repeated distance from a board edge.
With a machine off and safe, compare blade or fence offsets using a common rule datum and appropriate guarding.
Use the steps for a first pass, then inspect the work before changing the setup.
A precision scale cannot rescue layout taken from a rough edge or a head lifted by sawdust.
Comparing lines from opposite orientations reveals head or seating error without assuming the printed graduation is perfect.
The poster depicts the C11H square head and rule. Optional protractor and center heads are other configurations, not hidden parts.
Choose a blade long enough for the work and a graduation pattern readable for the chosen unit system.
Cast-iron, forged and die-cast heads differ in durability and cost; verify the actual model's accuracy.
Center and protractor heads expand tasks but require their own handling and calibration checks.
Secure the work, protect sharp edges and release any stored clamping pressure before adjustment or maintenance.
Clean the head and reference edge, reseat the rule, then inspect the head for damage or lost square.
Inspect groove, lock bolt and nut for debris or wear; use the maker's replacement parts.
Confirm the reading edge, unit scale and rule orientation before remarking the work.
Use the exact model documentation for setup, limits and replacement parts. These lessons, documents and model pages teach relevant techniques or help compare real variations.
These maker-owned links document relevant tools and tool brands. A product brand may use another company's factory; compare the exact model before choosing parts or accessories.
Handles, irons, saw plates, clamping pads and other replacements vary by maker and model. Use the maker's documentation before changing a component.
Compare the Layout Tools family →Continue through the Tools library