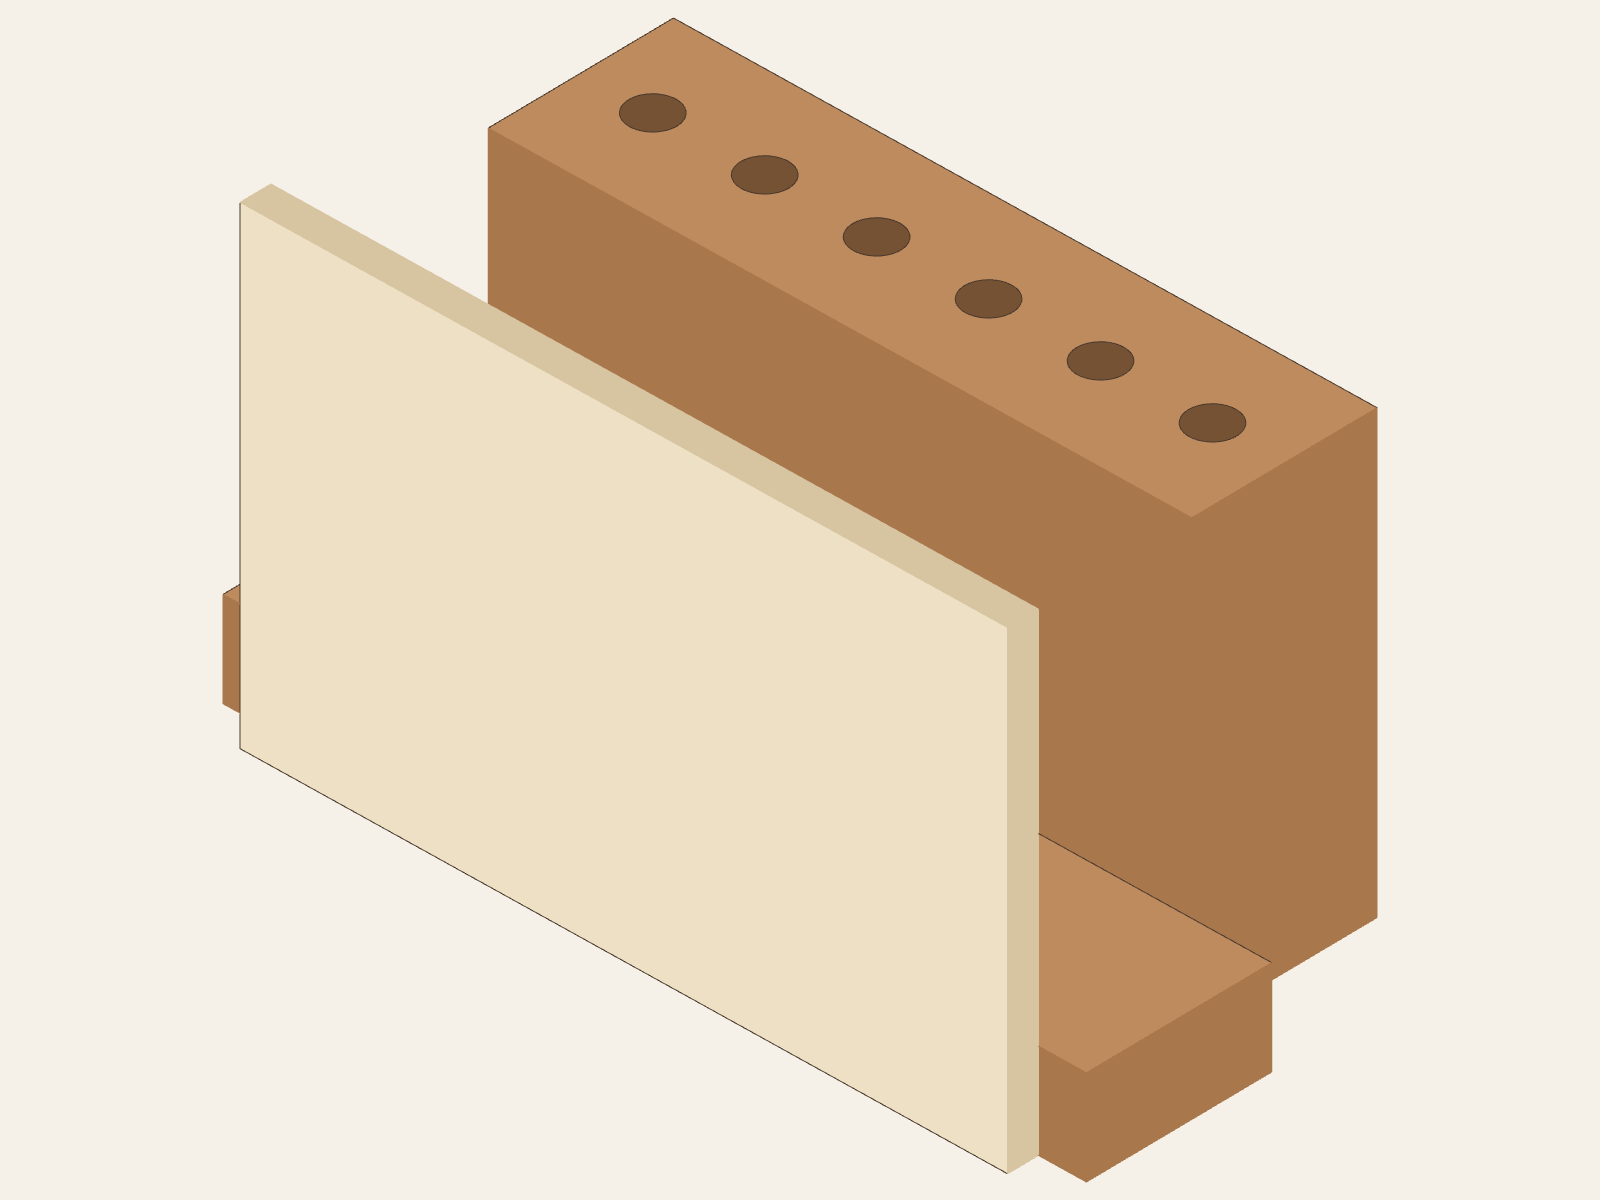
What you'll make
This holder combines a pencil block, a low support, and a solid upright panel. Letters stand in the open space above the support between the panel and the block; the space is not a cutout or enclosed pocket in the panel.
Parts you'll need
- Pencil block
- Purdue lists nominal 2 × 4 × 5½ in; actual size is about 1½ × 3½ × 5½ in. The model uses those primary actual dimensions.
- Lower support
- Nominal 1 × 2 × 6¾ in; actual size is about ¾ × 1½ × 6¾ in.
- Upright panel
- ¼ in plywood or paneling, 3¾ × 6 in; the panel is solid.
Purdue also permits 5/4 material for the block but does not give its actual dimensions. Check that variant separately; it is not represented by these model views.
Before you start
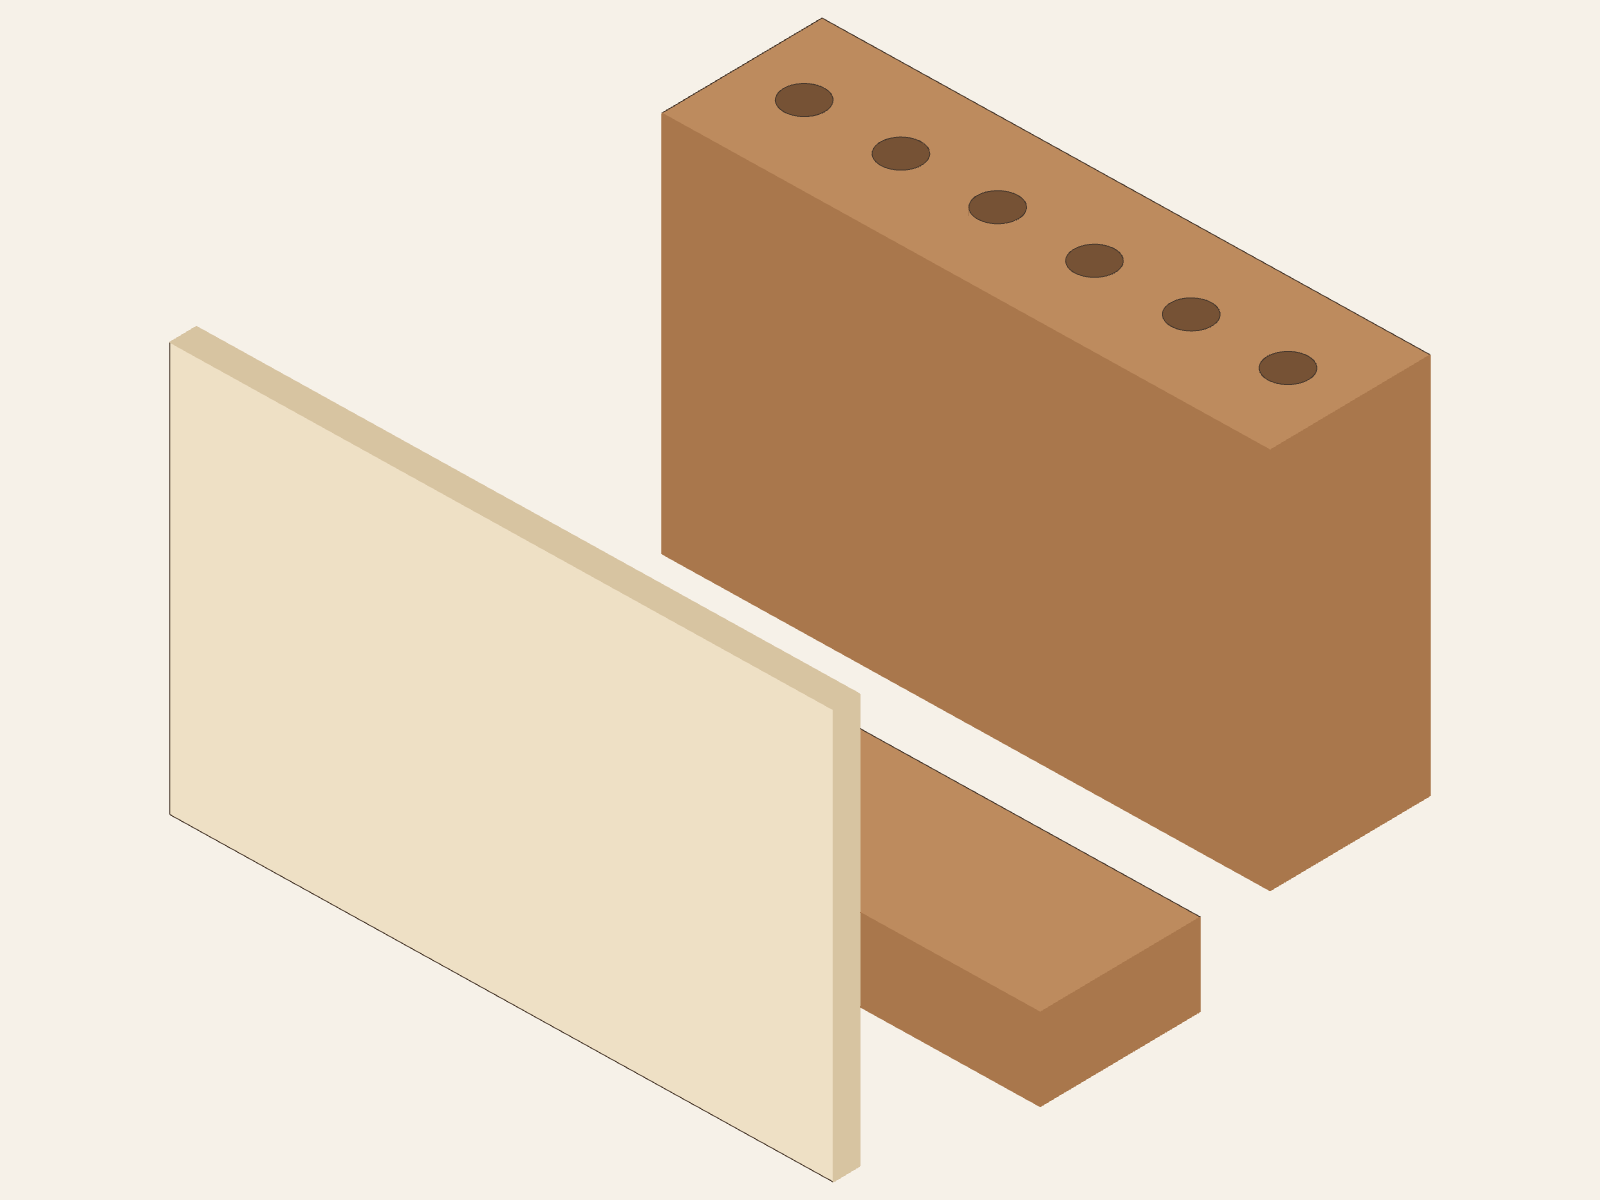
Adult preparation: Open the original page, verify the actual stock and prepared parts, and control all cutting and drilling. Purdue permits either 11/32 or 3/8 in pencil holes, 2 in deep, with centers 7/8 in apart. This model selects the allowed 3/8 in option. The written plan does not set a hole count, first-center offset, or row location.
The picture uses six holes, a 9/16 in first-center offset, and centered block/support/panel registration. Those are explicit model choices, not Purdue dimensions or a drilling template.
Purdue says to drill pilot holes for the block/support nails but gives no pilot-hole size or coordinates. The adult selects and prepares suitable pilots for the actual material and fasteners. No added tool setup or hand placement is specified here.
Build and check
Identify and compare
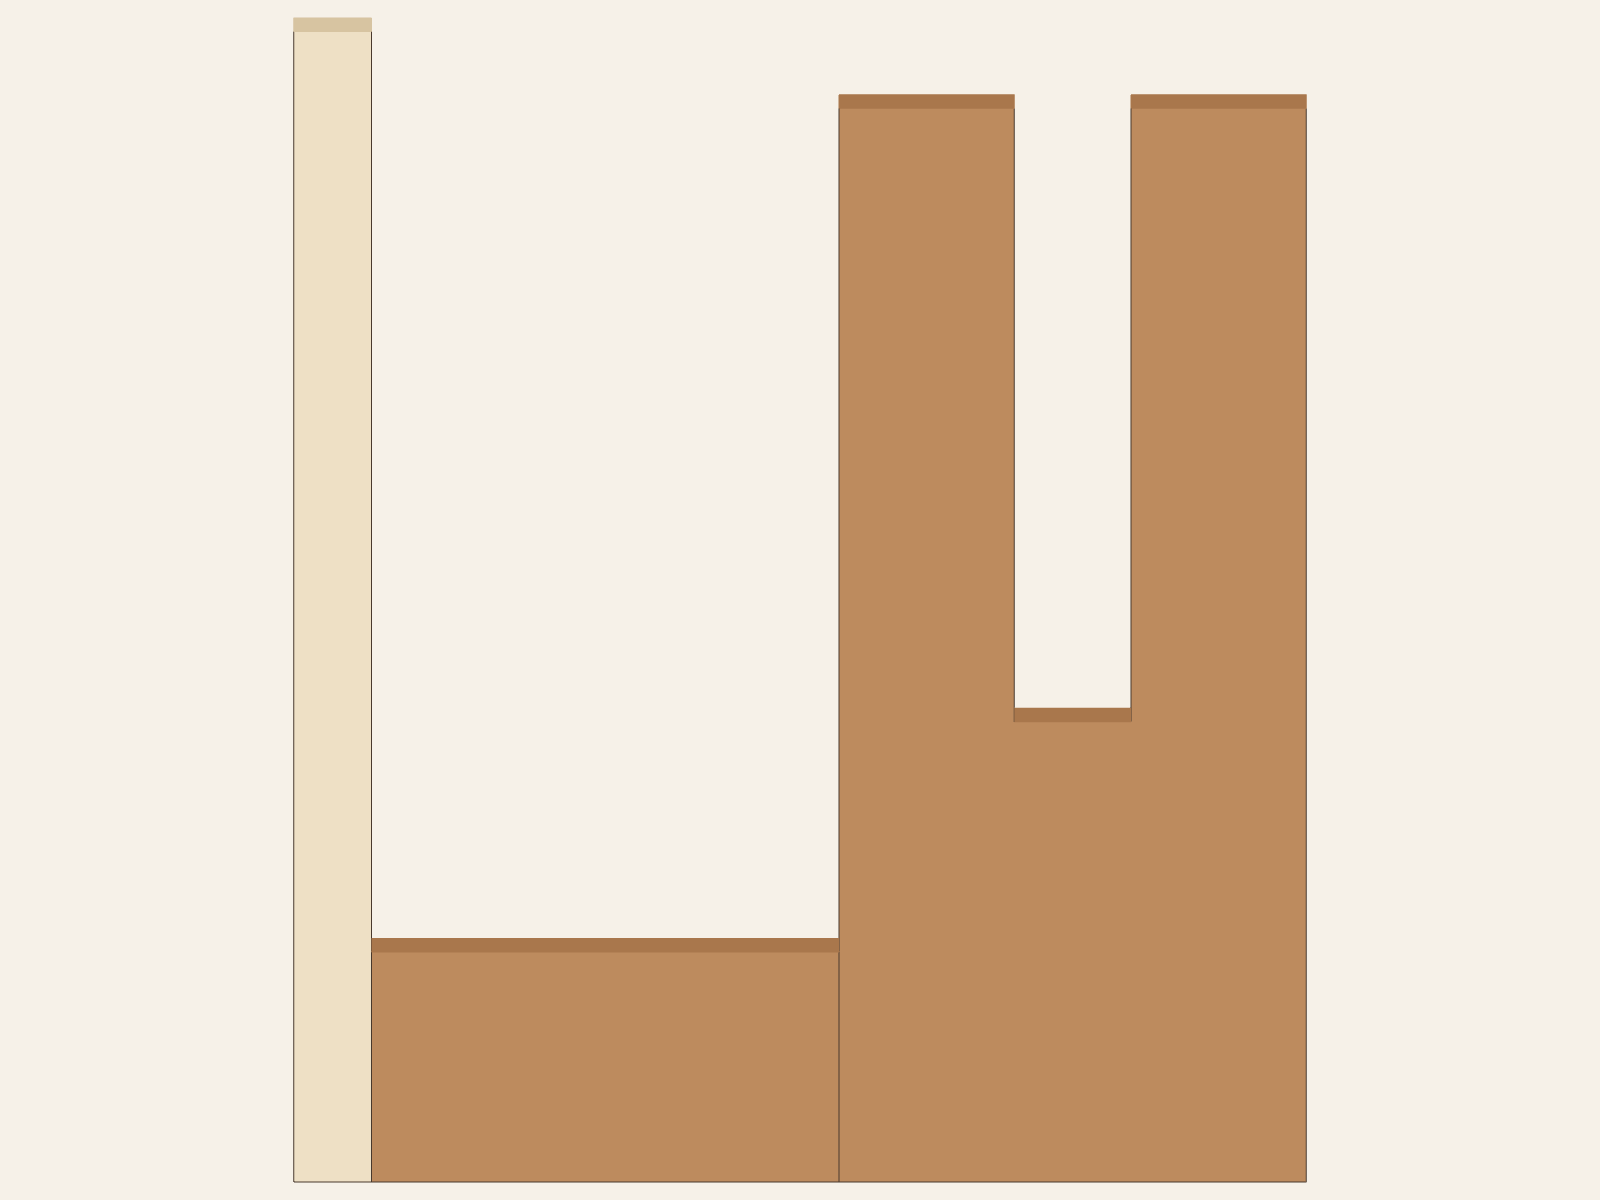
With the prepared parts, point out the block, support, and panel. Name the reference faces and the pencil-hole face before arranging anything.
Dry-fit the block and support
Place the loose parts together in the source relationship shown. Check whether their real contact faces meet without forcing them. If a part rocks or the edges do not meet, pause and ask the adult to check the parts.
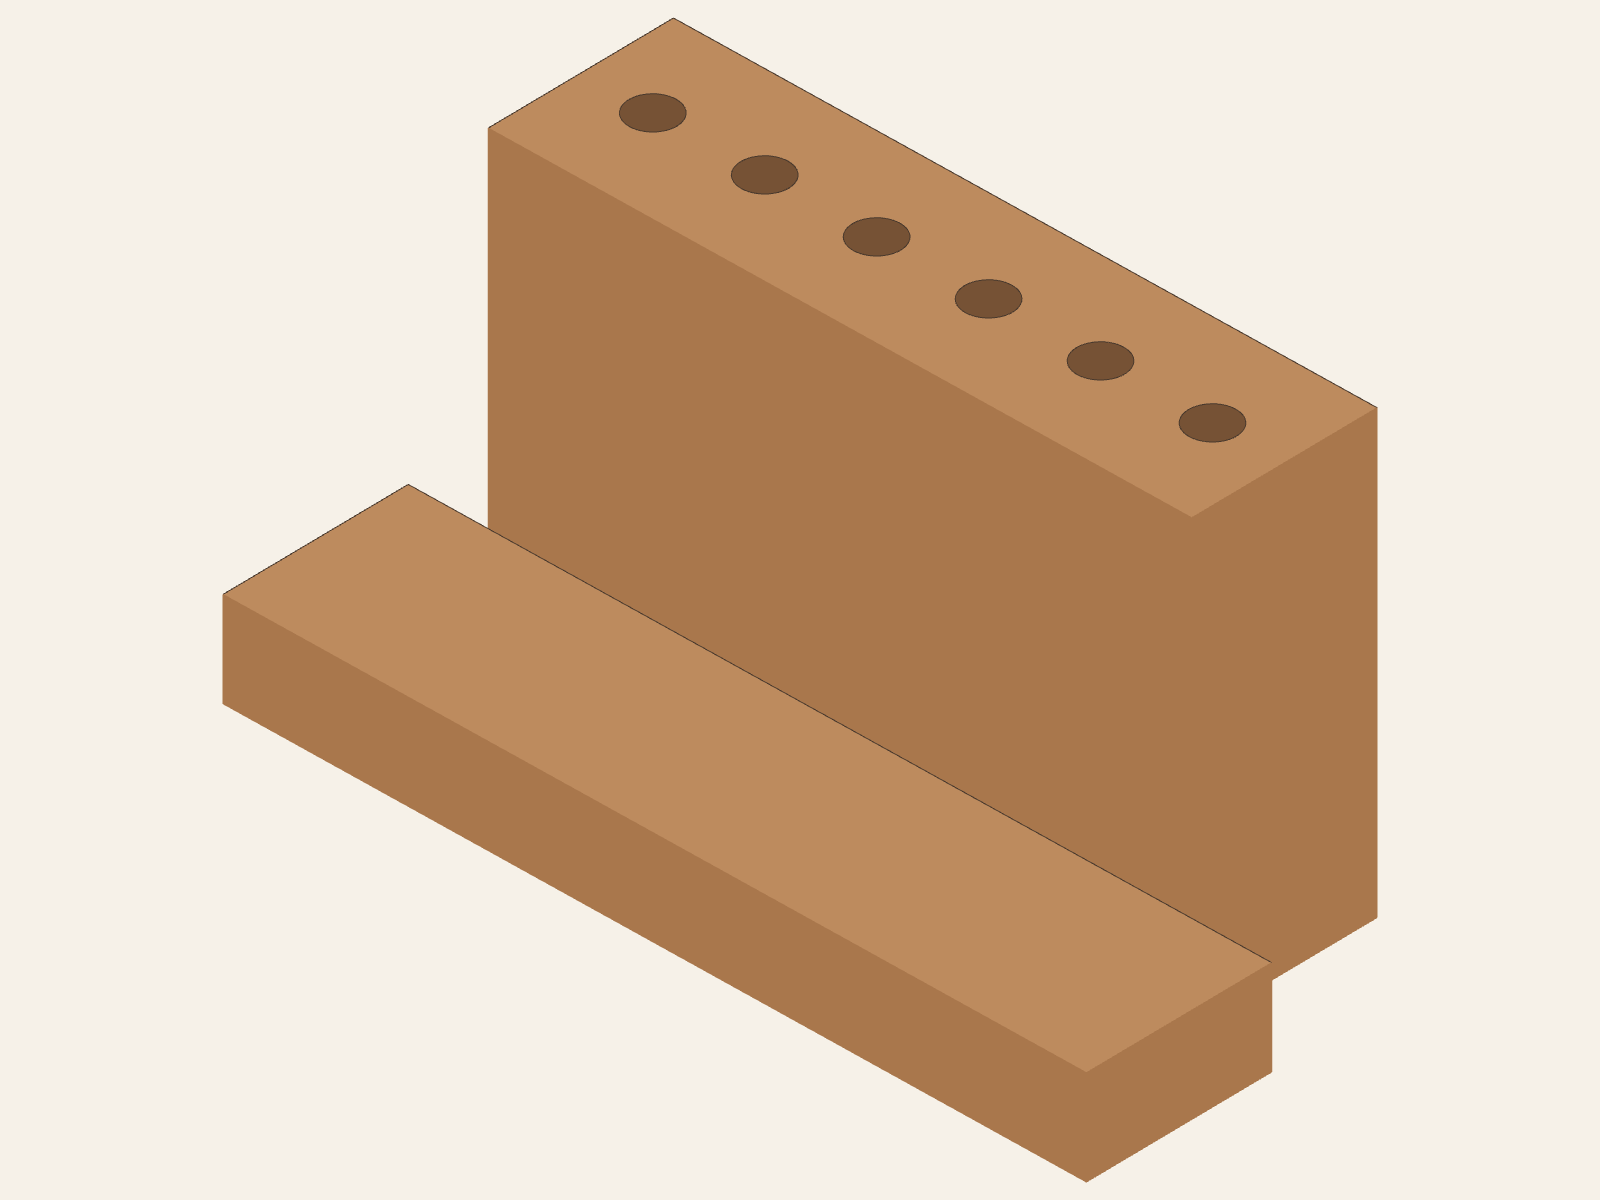
Dry-fit check: block and supportThe unfastened view shows the block and lower support meeting along one face. Check the real prepared parts together without forcing them; the picture gives no nail positions. Dry-fit the panel and find the letter space
Bring the loose panel to the opposite side of the support. In the complete arrangement the support is the floor, and the letter space stays open between the upright panel and pencil block. Check the real parts together; do not glue or fasten during this check.
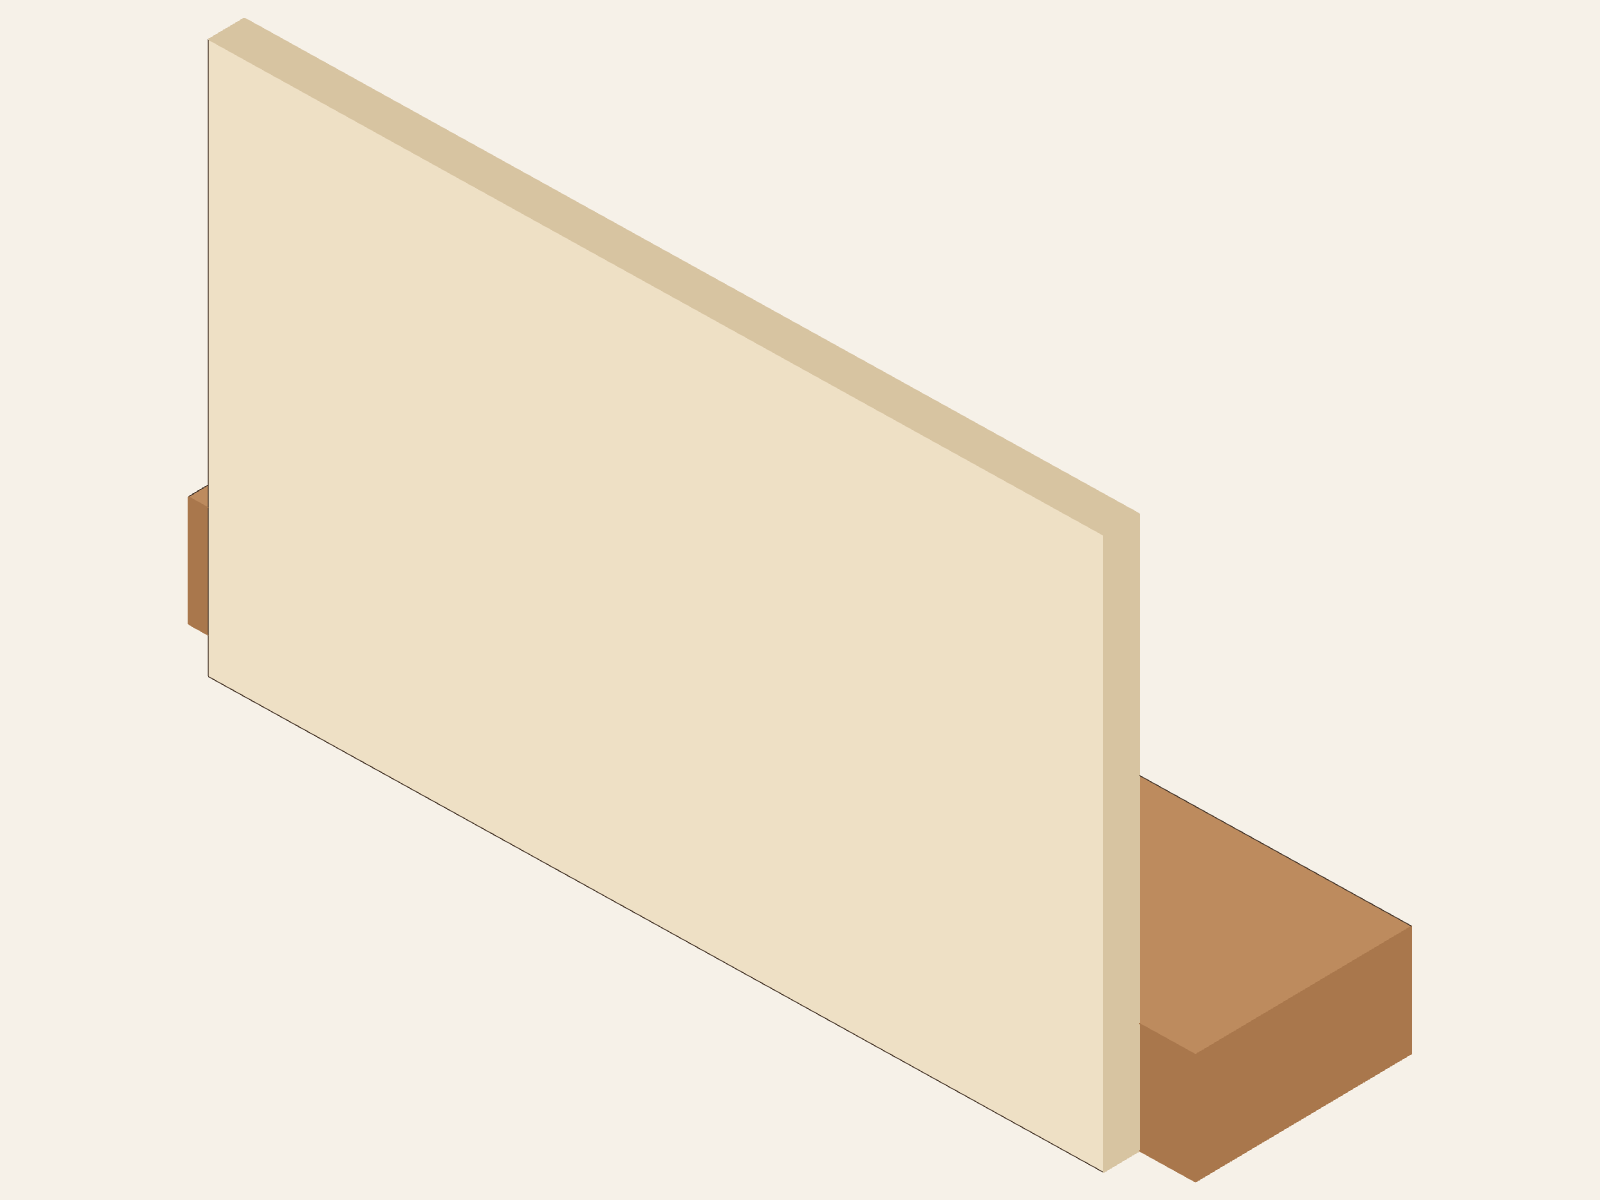
Dry-fit check: support and panelThe panel meets the opposite face of the low support. In the complete arrangement, the support is the floor of an open letter space between the panel and pencil block. Adult-led source assembly
Purdue's hint attaches the 1 × 2 support to the 2 × 4 block with two 8d finishing nails and glue, after pilot holes are drilled. It then attaches the panel to the support with ¾ in wire brads and glue. The materials list separately names three 8d finishing nails; the page does not explain the third nail's allocation or give nail/brad locations. The adult owns product and fastener decisions and performs all glue and fastening; none is released by this learning path.
Finish and inspect
The adult chooses and applies any finish and follows its current product directions. After the adult confirms the product is ready, check for loose parts, exposed or proud fasteners, rough edges, and blocked pencil holes or letter space. Report anything uncertain; this inspection does not establish strength, load capacity, physical fit, or safe-use certification.
Original plan
Open Purdue plan · printed page 7
Source: Purdue 4-H, Woodworking Plans — Measuring Up, Level 1, “Letter & Pencil Holder,” printed page 7. The drawing is not to scale. Use Purdue for construction details; this companion explanation distinguishes source dimensions from the selected layout.
Fastener placement, pilot-hole dimensions, the third 8d nail's use, the 5/4 alternate's actual size, and finished overall dimensions remain unspecified. Preparation, fastening, and finish stay adult-controlled; no physical build or performance has been verified.