← TWG Kids

TWG Kids · Project Lab

Find a project you want to make.

Choose a project, look at its parts and plan, then decide with an adult which steps are right for your session.

8 of 8 projects shown8 project paths · 7 official external plans · 1 TWG original
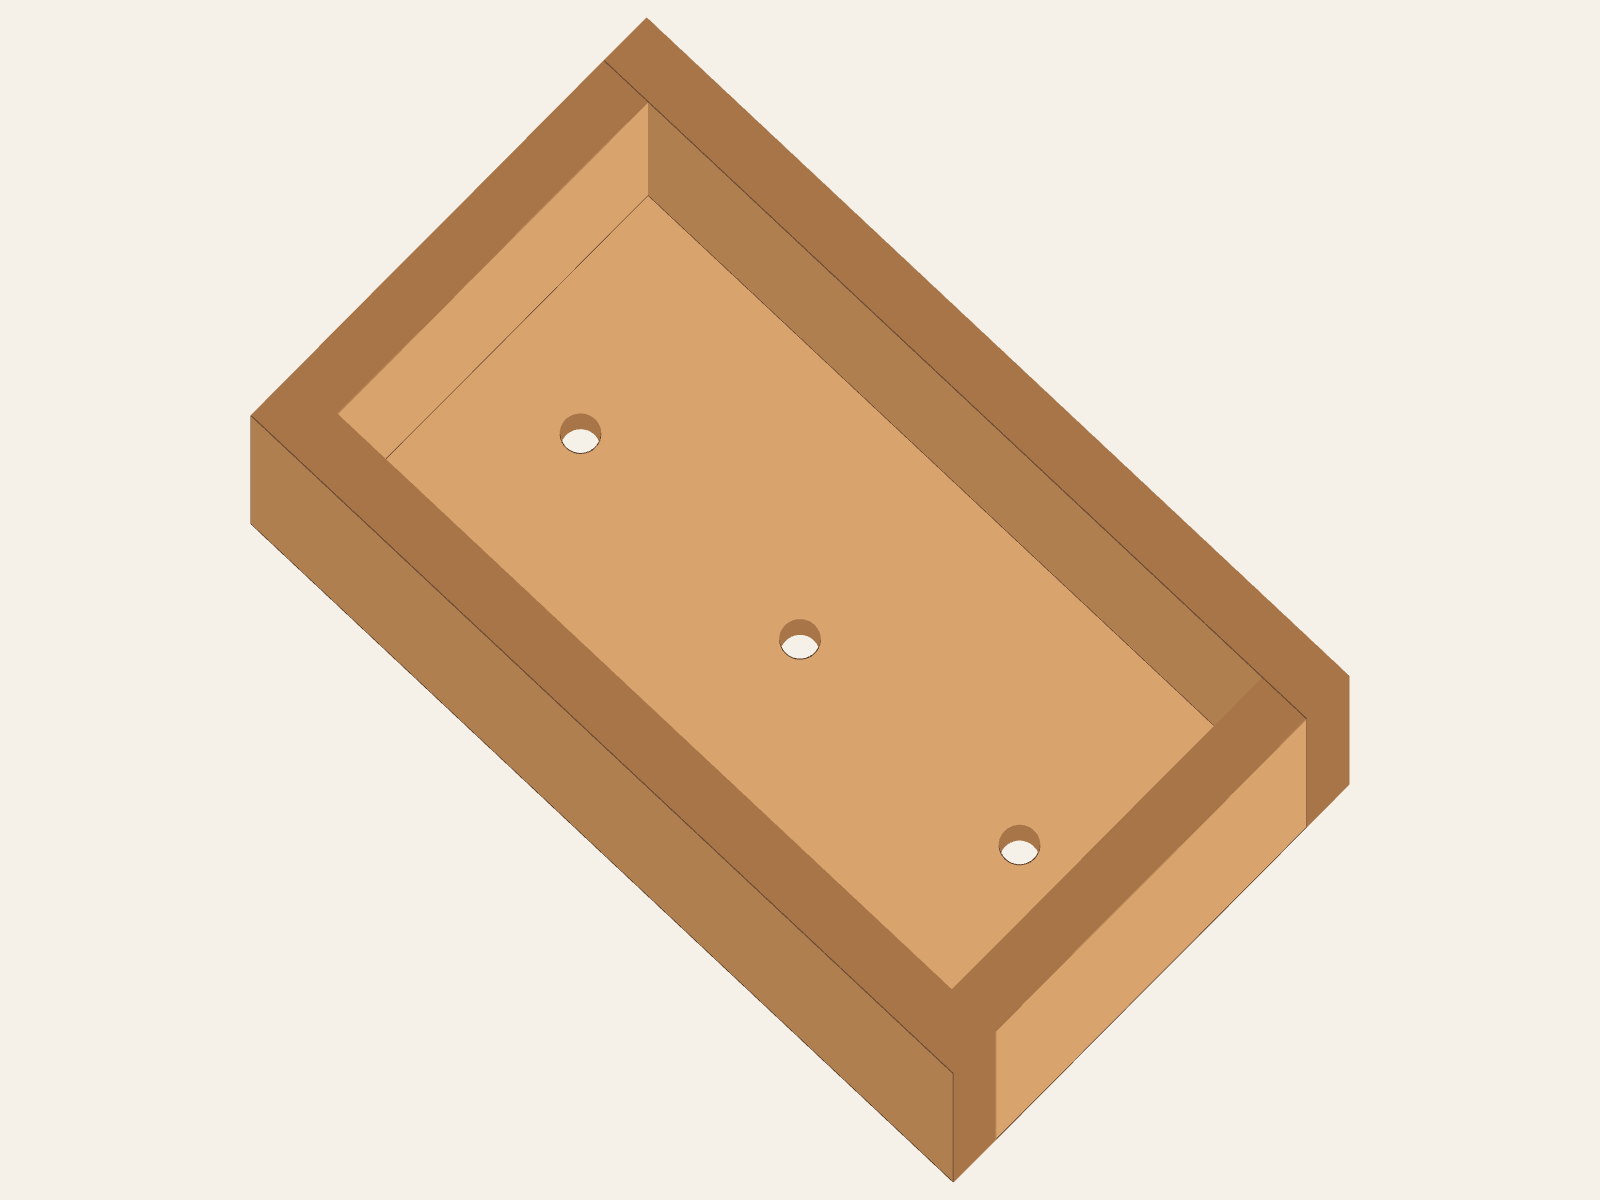
Open Flower Box form with five wood parts and three holes through its bottom. Hole positions are illustrative; the linked Illinois activity is the construction source.
Stage 1 · Start at the BenchIllinois 4-H

Flower Box

A source-linked five-part Flower Box path for reference measurement, square checks, drainage orientation, supported sanding, and butt-joint dry-fit inspection.

Who does what?
What you can check
  • Identify and sort the two sides, bottom, and two ends against the source cut list.
  • Measure from one marked reference edge and recheck each line for square.
  • Hand-sand learner-safe edges with the work supported.
  • Dry-fit the five parts and identify the bottom, all three drainage holes, butt-joint contact, and drainage orientation.
Try with an adult
  • Release supported hand-sanding, optional glue application at a named joint, or the indicated paint area only after readiness, product/setup, and direct supervision are checked. No clamping, drilling, nail placement, nail driving, nail setting, or countersinking is released.
Adult-controlled steps
  • Select and prepare stock; control every cut and all three drainage holes.
  • Control all nail placement, driving, setting, and optional countersinking; no manual nail task is released through this card.
  • Select and control glue, paint, and any optional finish except for a specifically released glue/paint task; follow current product directions.
  • Inspect joints, surfaces, drainage, product readiness, and intended use.
Plan for: 1–2 short sessionsIllinois 4-H Spark Activity · page 1View project detailsOpen Illinois project plan
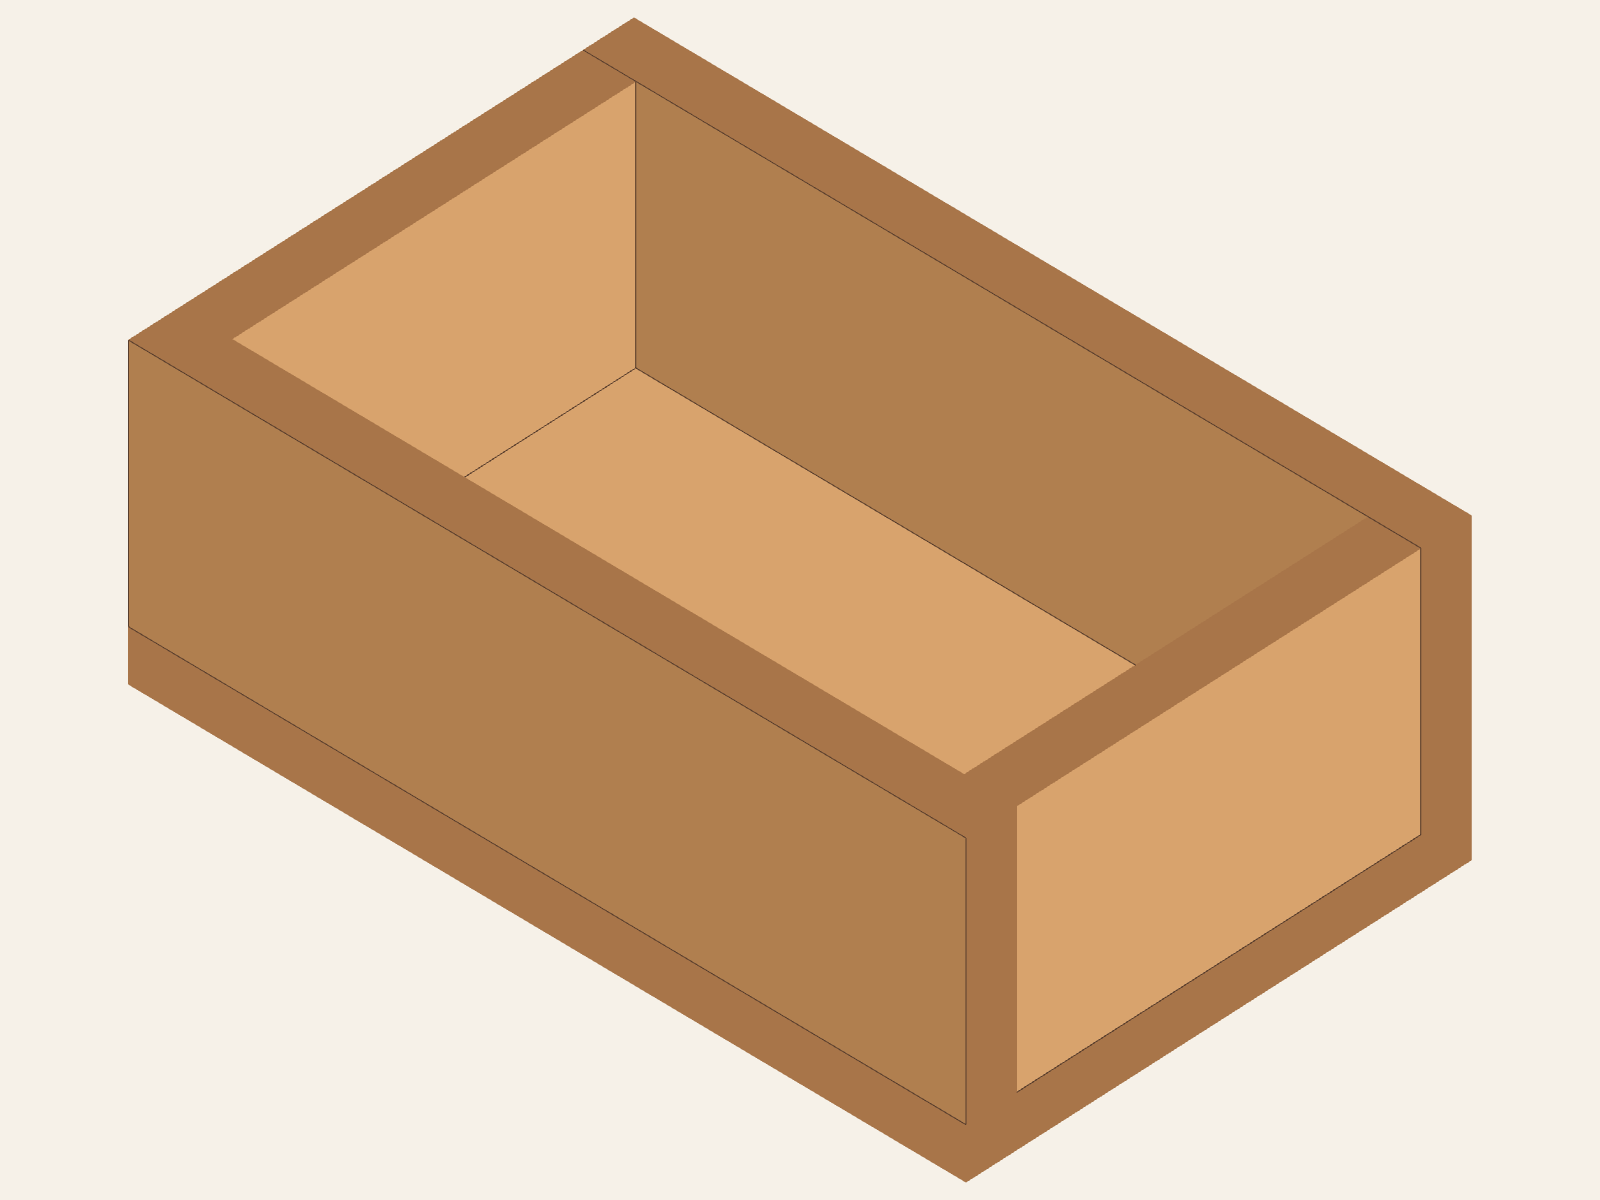
Open-top wooden box with the bottom beneath four walls; long walls outside and short ends between them. Fasteners are not shown.
Stage 2 · Build with ConfidenceTWG Original

Simple Wooden Box

An original TWG open-box design for reading a five-part cut list, practicing a dry fit, and checking adult-controlled fastening steps.

Who does what?
What you can check
  • Match the five prepared parts to the cut list and point out length, width, and thickness.
  • Keep marked reference faces oriented and dry-fit the bottom under all four walls; long walls outside, ends between.
  • Check the outside footprint against 8 × 5 in and call out square/flushness before fastening.
  • Explain that the adult pilots/countersinks from below and installs two lesson-specified screws per wall; inspect the stopped assembly afterward.
Try with an adult
  • Release glue application, squeeze-out cleanup, or gentle clamp placement only after selecting the setup and directly supervising the learner.
Adult-controlled steps
  • Verify stock and cut/label all parts.
  • Select and set the clamp arrangement; control every pilot hole, countersink, and eight screw installations.
  • Select glue/finish products and follow current labels; decide cure readiness and final intended use.
Plan for: 75 minutes after adult preparation, plus label-directed glue cureOriginal TWG mentor lessonView project detailsOpen TWG lesson
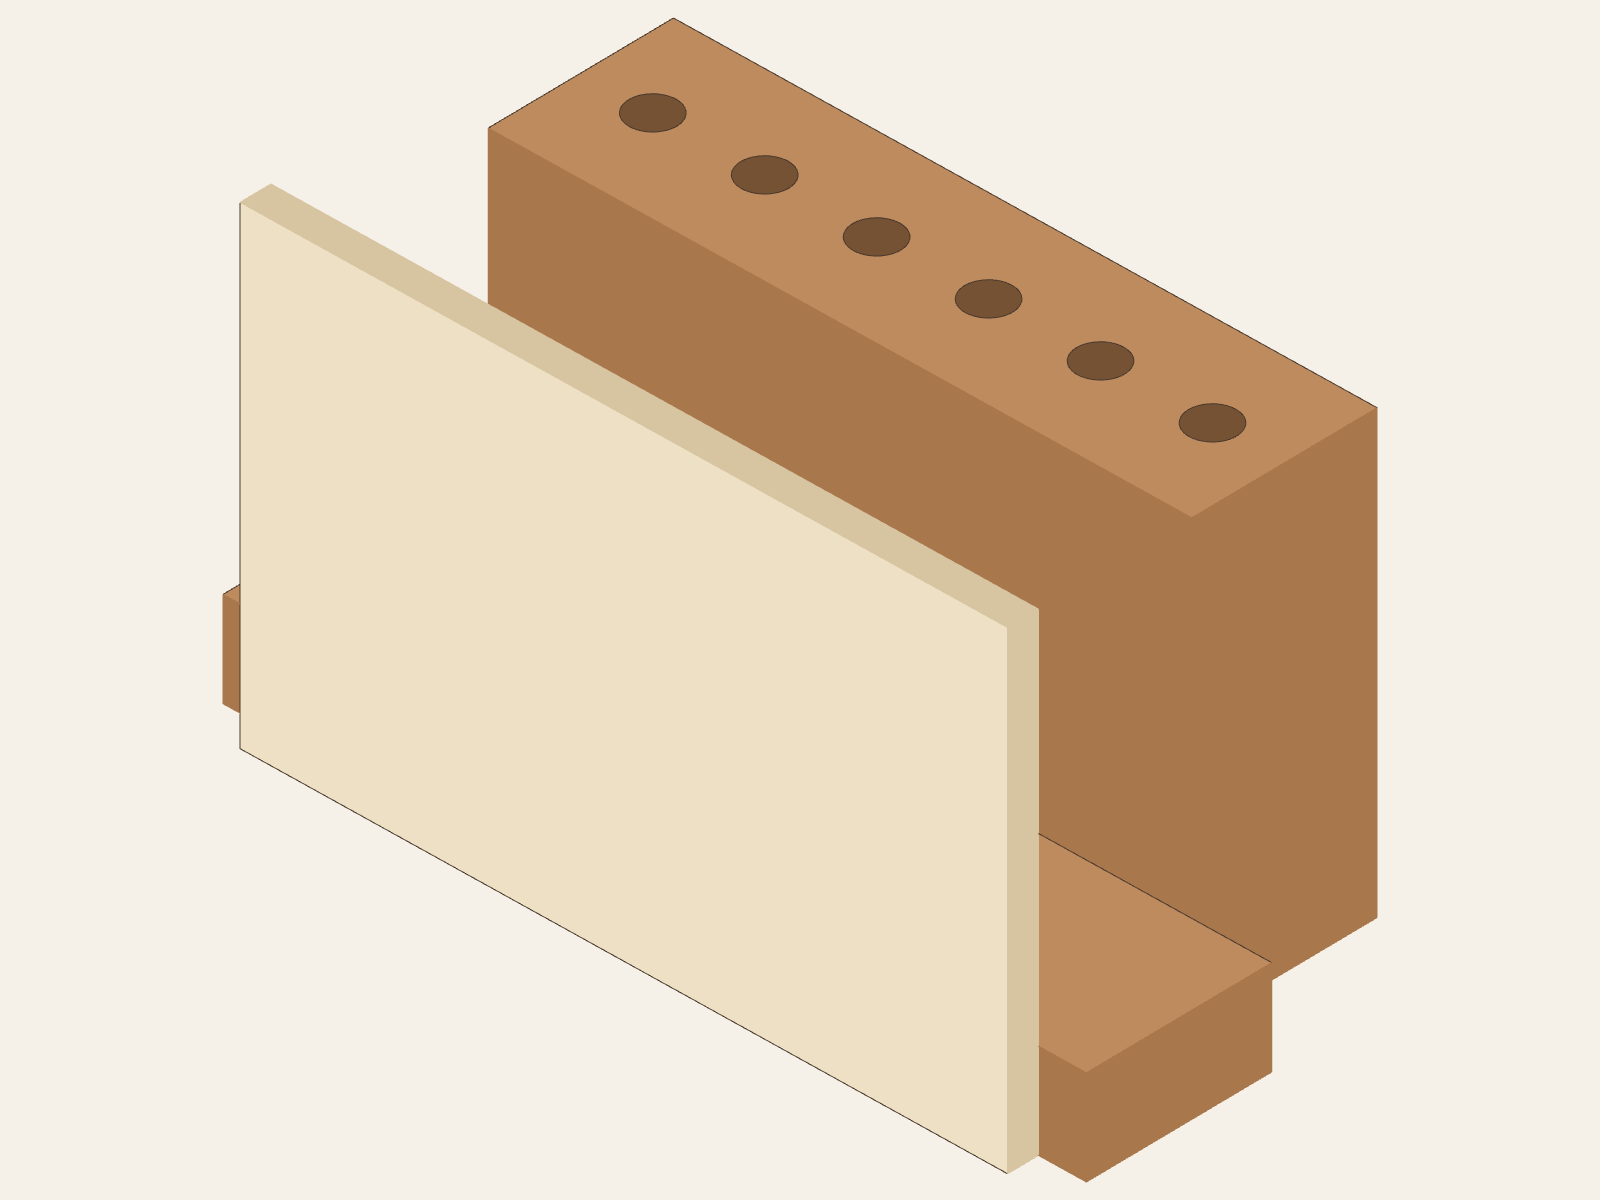
Model-derived Letter and Pencil Holder with a solid rectangular panel and six selected 3/8-inch blind holes at 7/8-inch centers. Hole count, diameter selection, and first offset are model choices; no fasteners or physical-test claim are shown.
Stage 1 · Start at the BenchPurdue Level 1

Letter & Pencil Holder

A Purdue-linked Letter & Pencil Holder path for matching three prepared parts, checking the letter space, and following adult-led hole preparation and source assembly relationships.

Who does what?
What you can check
  • Identify the prepared pencil block, lower support, and solid upright panel against Purdue's parts list.
  • Name the block, support, panel, pencil-hole face, and open letter space; keep the same reference faces during the comparison.
  • Compare the adult-prepared block and its holes with the model view, noting that six holes are a model choice while 3/8 in is one of Purdue's two permitted diameters; first-center offset and part registration are not specified by Purdue.
  • After the adult checks the actual parts, dry-fit the block, support, and panel without fastening; point to both contact faces and call out any gap, rocking, or alignment question for the adult.
  • After adult assembly and product readiness checks, look for loose parts or visible problems and report them; do not test load or strength.
Try with an adult
  • Release an unfastened dry-fit or supported hand-sanding only after the adult checks readiness, prepared parts, and the setup. No assembly, glue, clamps, drilling, nail, brad, or other fastening work is released through this card.
Adult-controlled steps
  • Verify the actual stock and prepare, cut, square, and label all three parts; check the 5/4 alternate separately because its actual dimensions are not specified.
  • Mark and drill the pencil holes to the source callout; prepare all pilot holes and control every cutting or drilling operation. The model layout is not a drilling template.
  • Control all glue and fastening. Purdue's support/block hint names two 8d finishing nails plus glue, while its materials list separately names three 8d nails; the page does not allocate the third nail or give fastener coordinates.
  • Attach the panel to the support with the source-listed 3/4 in wire brads and glue; choose and apply finish, then inspect joints, edges, product readiness, and intended use.
Plan for: Planning estimatePurdue Level 1 · printed page 7View project detailsOpen Purdue plan · p. 7
Plan study · source readingPurdue Level 1

4-H Book Ends

Compare Purdue's finished drawing with the 4 and H patterns. The drawing does not settle exactly where the H touches the upright panel, so use this as a plan-reading study until an adult resolves that joint from reliable evidence.

Who does what?
What you can check
  • Identify the two bases, two shaped panels, and separate 4 and H pieces in the source drawing and patterns.
  • Compare the page 16 drawing with the page 17 patterns and point out which H placement/contact detail remains unclear.
  • Record the question for an adult before preparing or fastening any pieces.
Try with an adult
  • Guide drawing and pattern comparison only; this card does not release cutting, dry-fit, glue, clamping, nail work, or finishing.
Adult-controlled steps
  • Resolve the H contact and fastening layout from reliable evidence before preparing or assembling a physical project.
  • Control all cutting, fastening, finish products, and intended-use decisions if a complete plan is later established.
Plan for: One source-reading sessionPurdue Level 1 · printed pages 16–17View project detailsOpen Purdue plan · p. 16
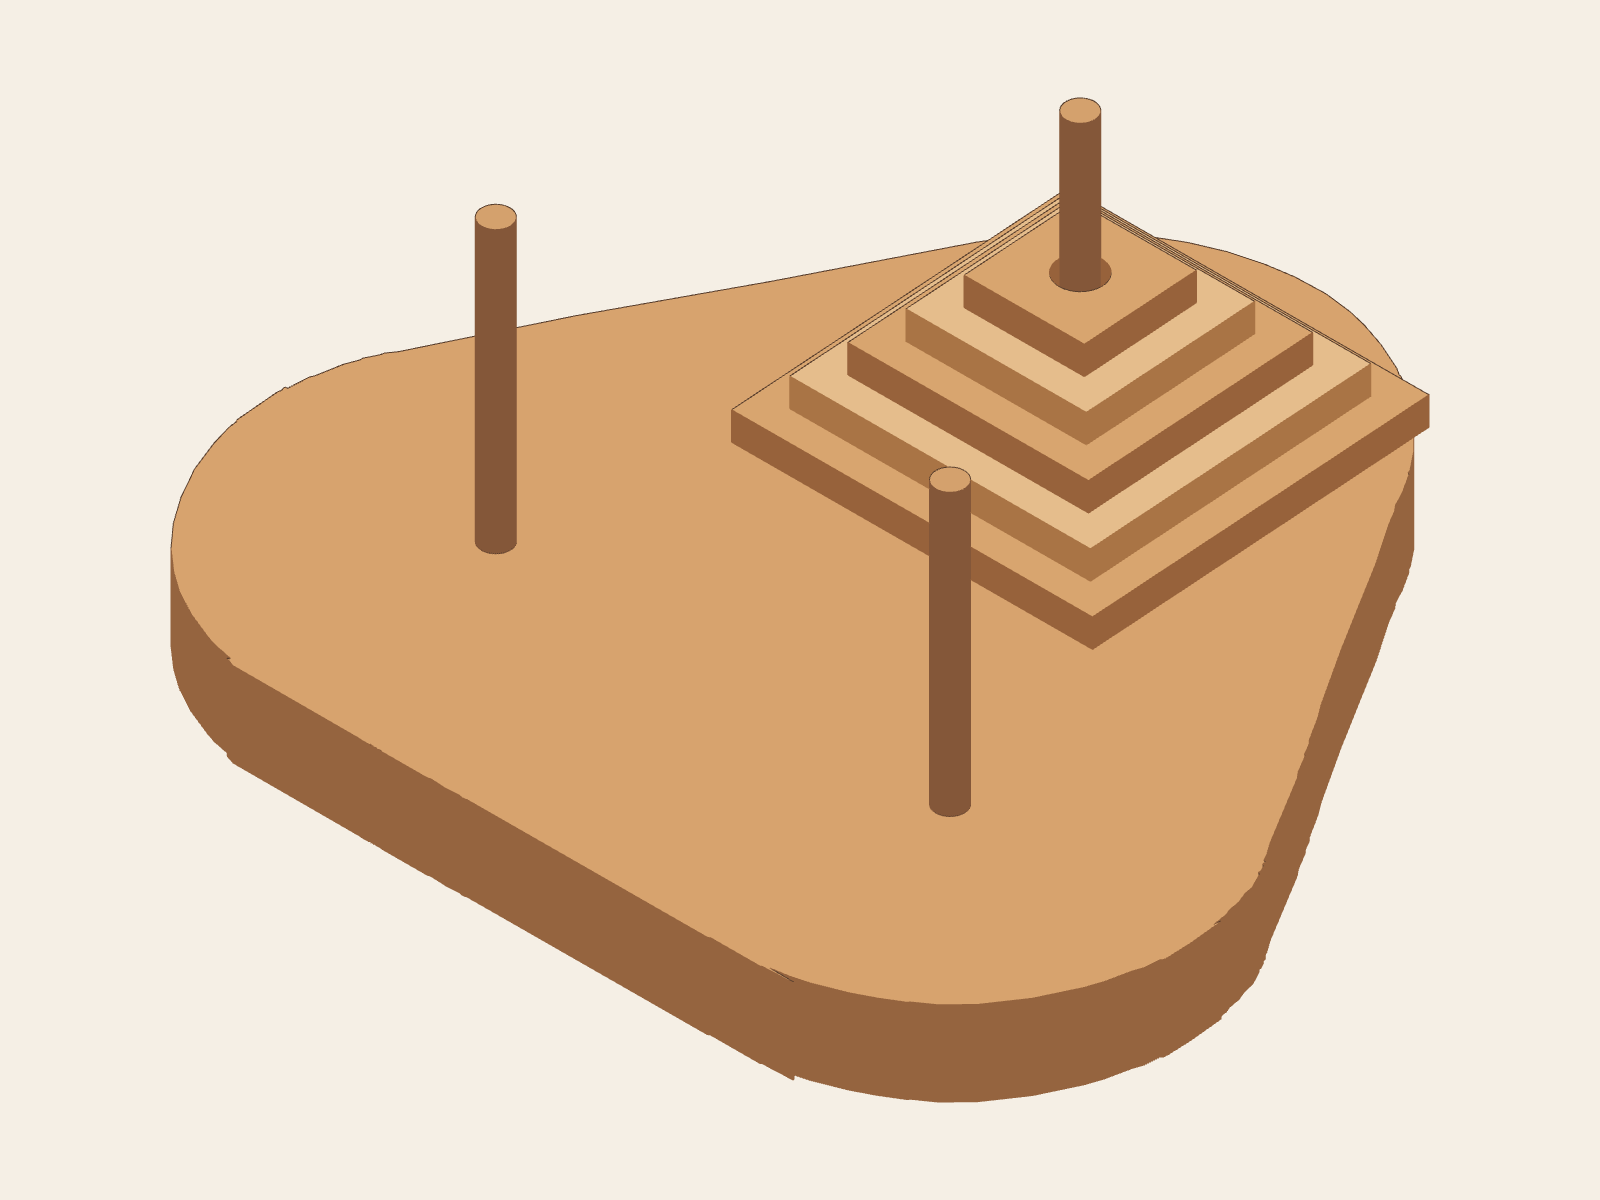
Shifting Pyramid Game with the p.10 pattern-cut base, three source-positioned dowel pegs, and five graduated square pieces on one illustrative peg; the dowel is visibly exposed above the top square, and no starting peg is source-required.
Stage 2 · Build with ConfidencePurdue Level 1

Shifting Pyramid Game

A Purdue Level 1 game with a pattern-cut rounded triangular base, three triangularly placed pegs, and five graduated square or round pieces.

Who does what?
What you can check
  • Compare the square starting stock with the rounded triangular finished-base pattern.
  • Sort the five square-or-round pieces by size and predict the move order.
  • Hand-sand learner-safe edges with the work supported.
  • Test the finished game after inspection and record one fit or sequence observation.
Try with an adult
  • Apply glue to a marked peg location only when the mentor confirms readiness and the setup is appropriate.
Adult-controlled steps
  • Cut the base and pieces, bore all peg and game holes, control glue if not released, apply finish, and inspect every small part and peg.
Plan for: 2 short sessionsPurdue Level 1 · printed pages 9–10View project detailsOpen Purdue plan · p. 9
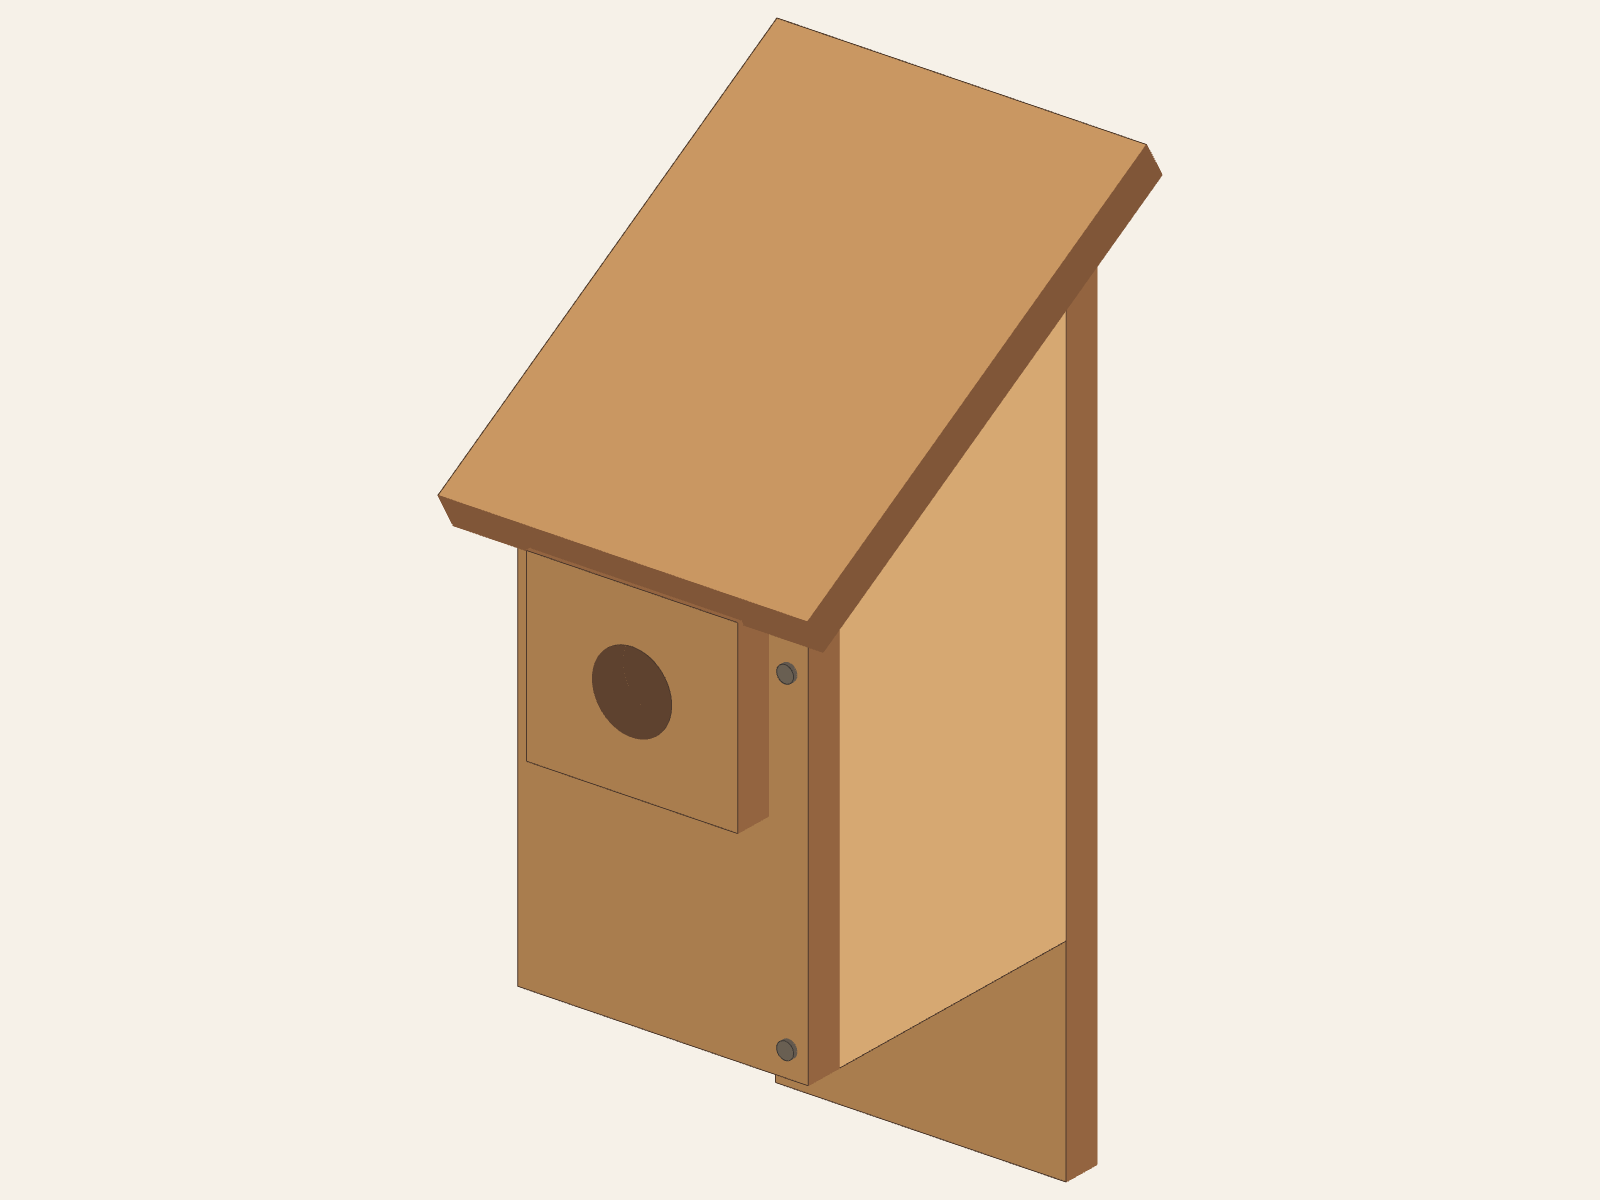
Model of the OSU Bird House with one sloping roof, a centered entrance through the front guard, a right cleaning side, and a tall back extending below the body. No perch is shown.
Stage 2 · Build with ConfidenceOSU Unit II

Bird House

Read the OSU Bird House plan by identifying its seven wood parts, following six source steps, and inspecting the cleaning side with an adult.

Who does what?
What you can check
  • Match labeled parts to the cut list and habitat roles.
  • Hand-sand selected edges with a supported workpiece.
  • Dry-fit the walls and roof and explain the entry, hinge, overhang, and cleanout choices.
  • Complete a placement reflection without mounting the object.
Try with an adult
  • Release supported hand-sanding only after checking the prepared part, workholding, and learner readiness. No drill, saw, rasp, clamp, screw, nail, or mounting task is released through this card.
Adult-controlled steps
  • Select stock; measure and cut all seven wood parts; make the entrance, four drains, and screw pilots.
  • Control all body/roof/guard nails and all three cleaning-side screws; check the pivot and removable lower screw on actual parts.
  • Select products and assess assembly, mounting, wildlife suitability, and intended use separately from this geometry model.
Plan for: Adult-led preparation and inspection; no source durationOSU Unit II · printed page 23 (PDF page 5); pilot reference printed page 17 (separate Tools PDF page 6)View project detailsOpen OSU Bird House plan · p. 23
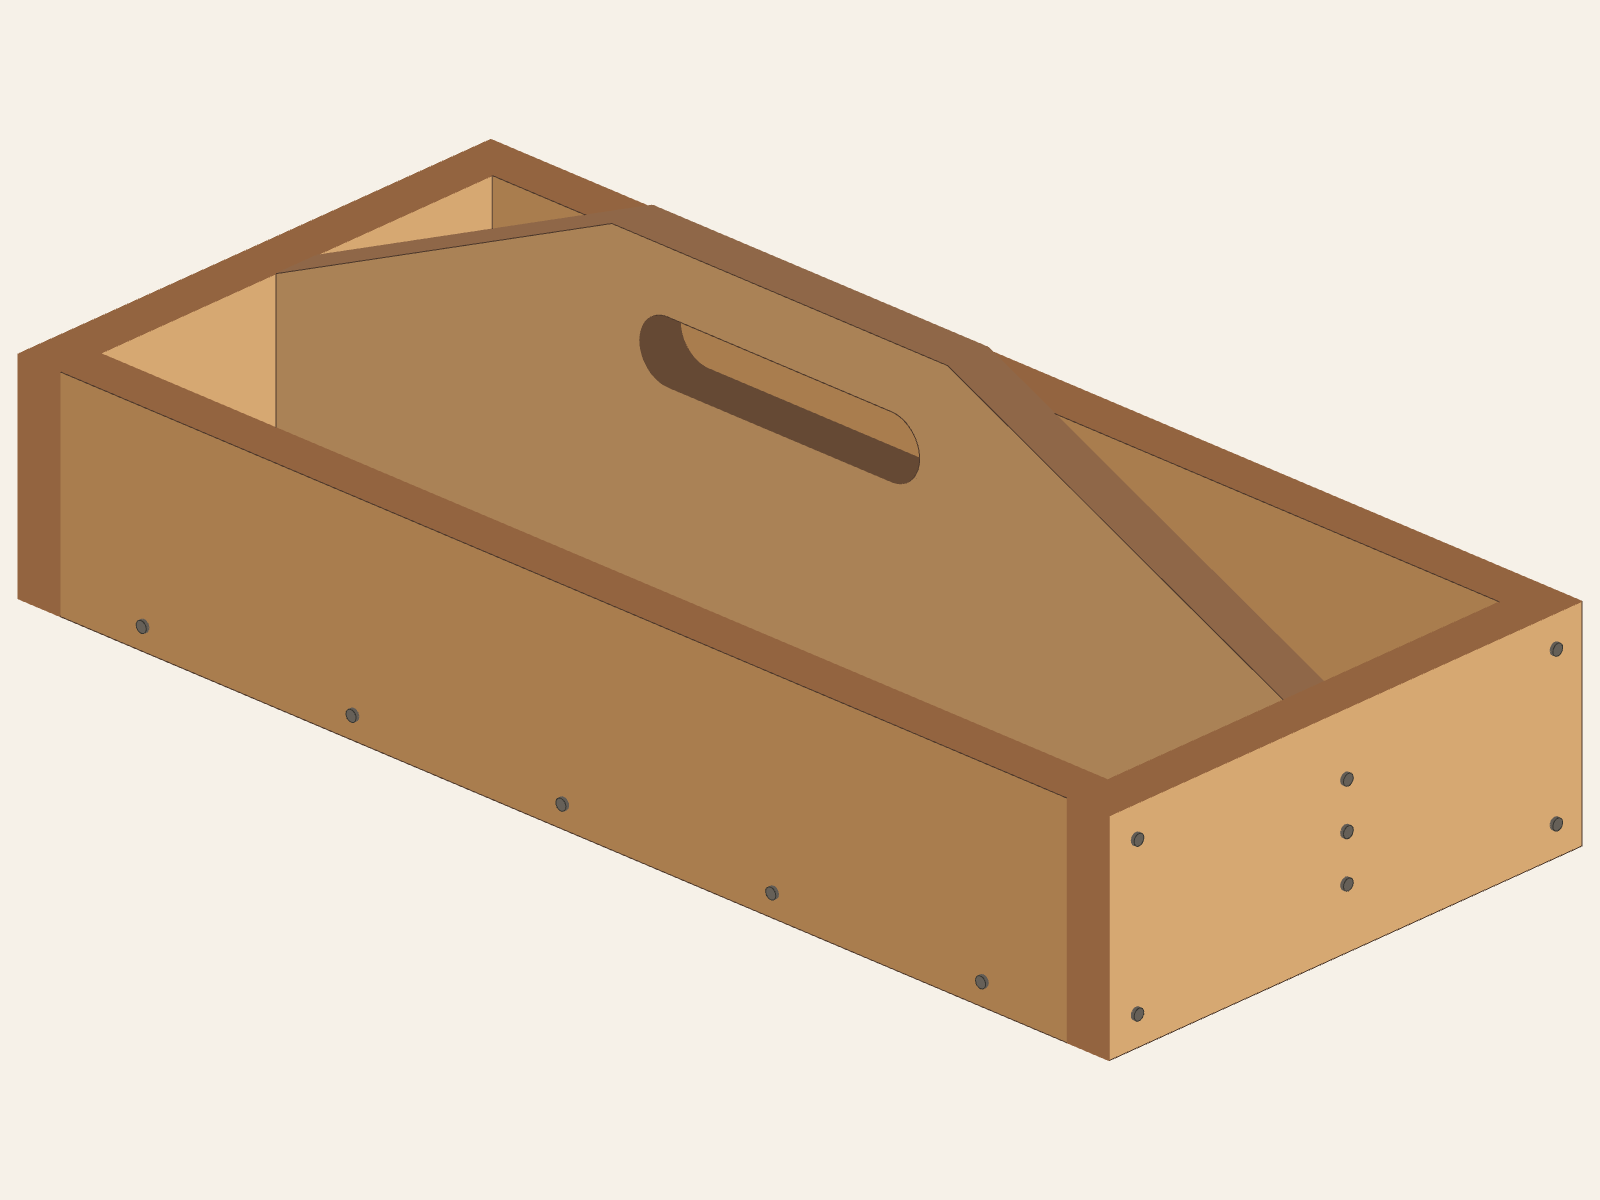
Model of the OSU Tool Box with two long sides, two end boards, a bottom, and a lengthwise sloped carrying panel with a horizontal hand opening.
Stage 2 · Build with ConfidenceOSU Unit II

Tool Box

Read the OSU Tool Box plan through six modeled boards, seven source steps, and distinct adult-controlled screw paths.

Who does what?
What you can check
  • Read and annotate the cut list and part labels.
  • Hand-sand safe edges with the work supported.
  • Dry-fit the case and make a handle-orientation drawing before fastening.
  • Inspect screw seating and record one stability or fit observation.
Try with an adult
  • Release supported hand-sanding only after checking the prepared edge, workholding, and learner readiness. No saw, boring tool, clamp, screwdriver, or fastener task is released through this card.
Adult-controlled steps
  • Check actual stock and cut all six boards, including the sloped handle and adjusted end width; make and smooth the horizontal hand opening.
  • Choose pilot bits and countersinks and control all 25 long and four short screw installations by receiving piece.
  • Inspect actual joints, edges, fastener seating, fit, and any intended carrying use without inferring a load rating from this model.
Plan for: Adult-led preparation and inspection; no source durationOSU Unit II · printed pages 28–29 (PDF pages 10–11); pilot reference printed page 17 (separate Tools PDF page 6)View project detailsOpen OSU Tool Box instructions · p. 28
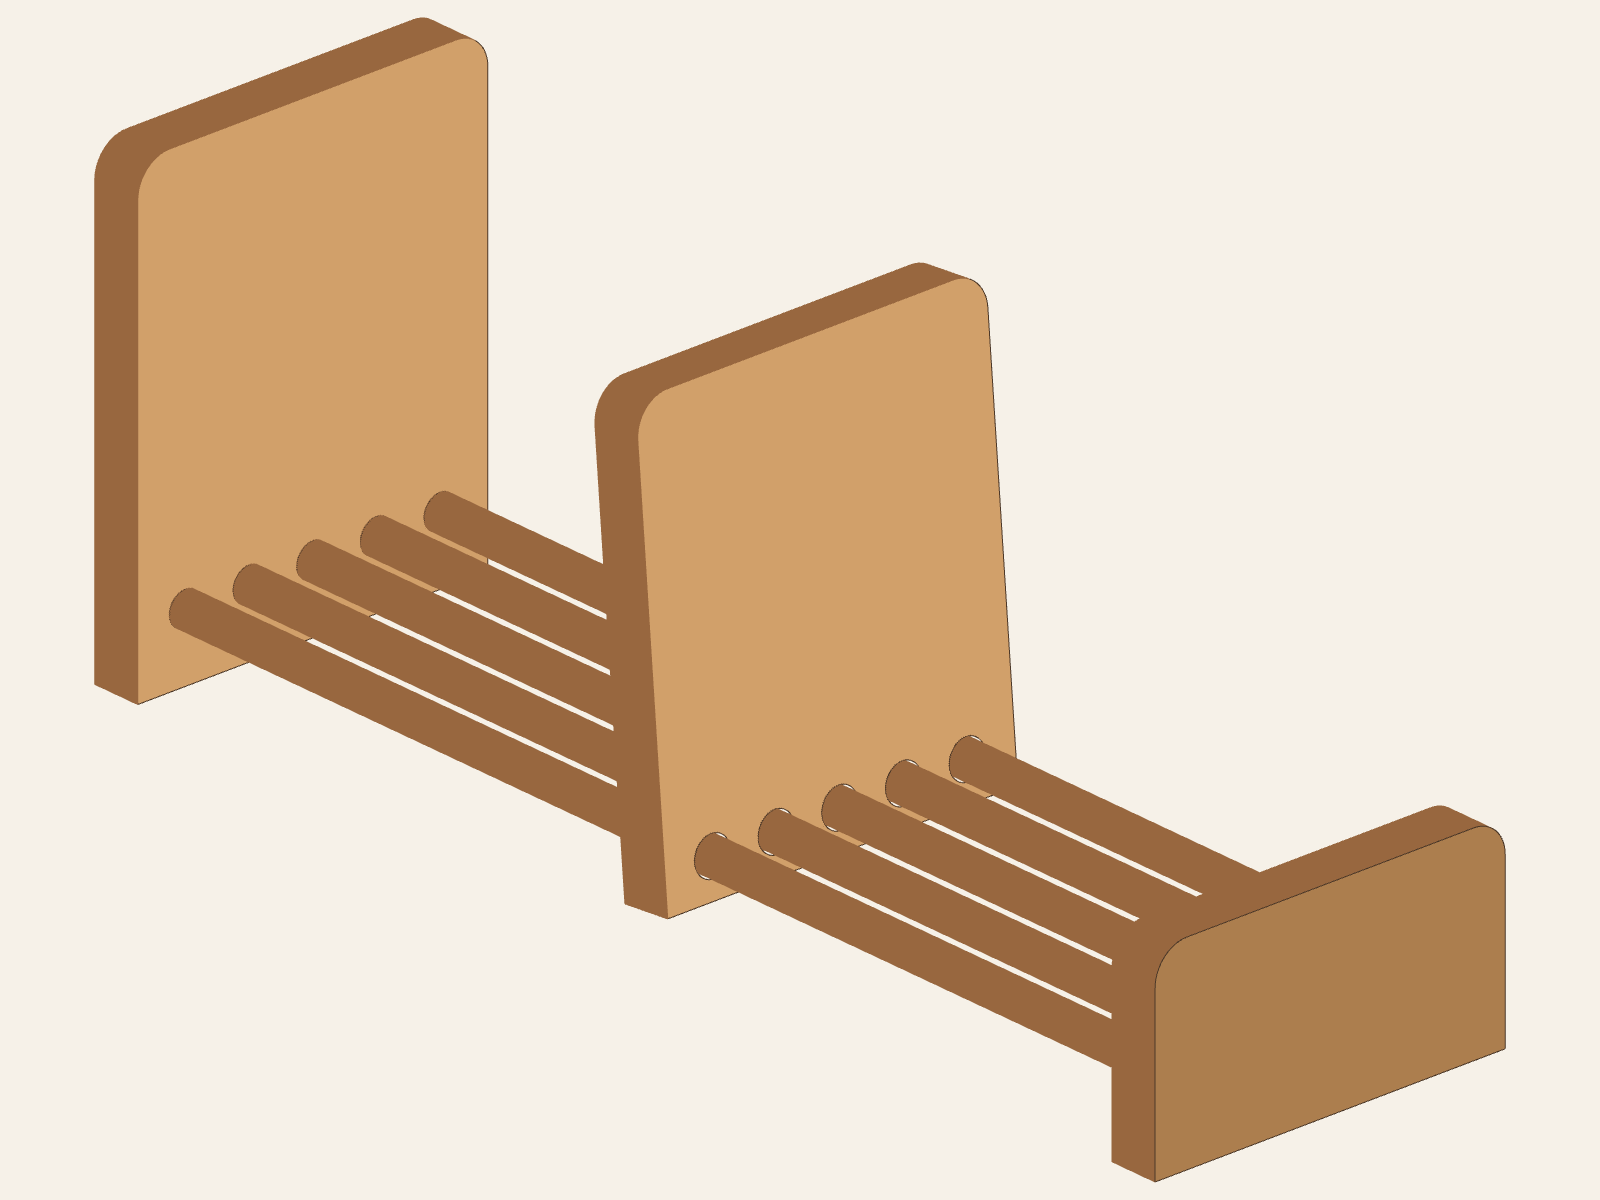
Source-derived Adjustable Book Rack model with the large A end, small B end, tilted C adjustable end, and five equal straight D dowels. No extra base or rails are shown; the image is a geometry model, not physical-fit evidence.
Stage 2 · Build with ConfidencePurdue Level 2

Adjustable Book Rack

A source-linked Adjustable Book Rack lesson for A/B/C/D identification, hole-relationship comparison, and an adult-checked no-force dry-fit.

Who does what?
What you can check
  • Match prepared A, B, C, and five D parts to the source cut list.
  • Compare the five 1/2-inch blind holes in each of A and B with the five 9/16-inch through-holes at 5 degrees in C.
  • After the adult checks the actual parts, try an unfastened no-force dry-fit; stop if a dowel does not align or a part needs force.
  • Name the source boundary: adult controls cutting, every hole, rasp/shaping, glue, clamps, and finish; no physical performance is inferred from the model.
Try with an adult
  • Release parts identification, drawing comparison, or an unfastened no-force dry-fit only after checking learner readiness and the actual prepared parts. Supported hand-sanding may be released separately after the setup is checked. No drilling, rasp use, glue, clamping, fastening, or finish is released by this card.
Adult-controlled steps
  • Select and prepare stock; measure, cut, mark, and drill A/B blind holes and C's angled through-holes.
  • Control shaping/rasp use, sanding of D, all glue and clamping; keep glue off C and do not sand D ends.
  • Select/apply finish under current product directions and inspect readiness. Physical fit, adjustment force, durability, stability, and load capacity are not established.
Plan for: Planning estimatePurdue 4-H · Making the Cut, Level 2 · printed page 4View project detailsOpen Purdue plan · p. 4