Use the linked plan to check the illustration
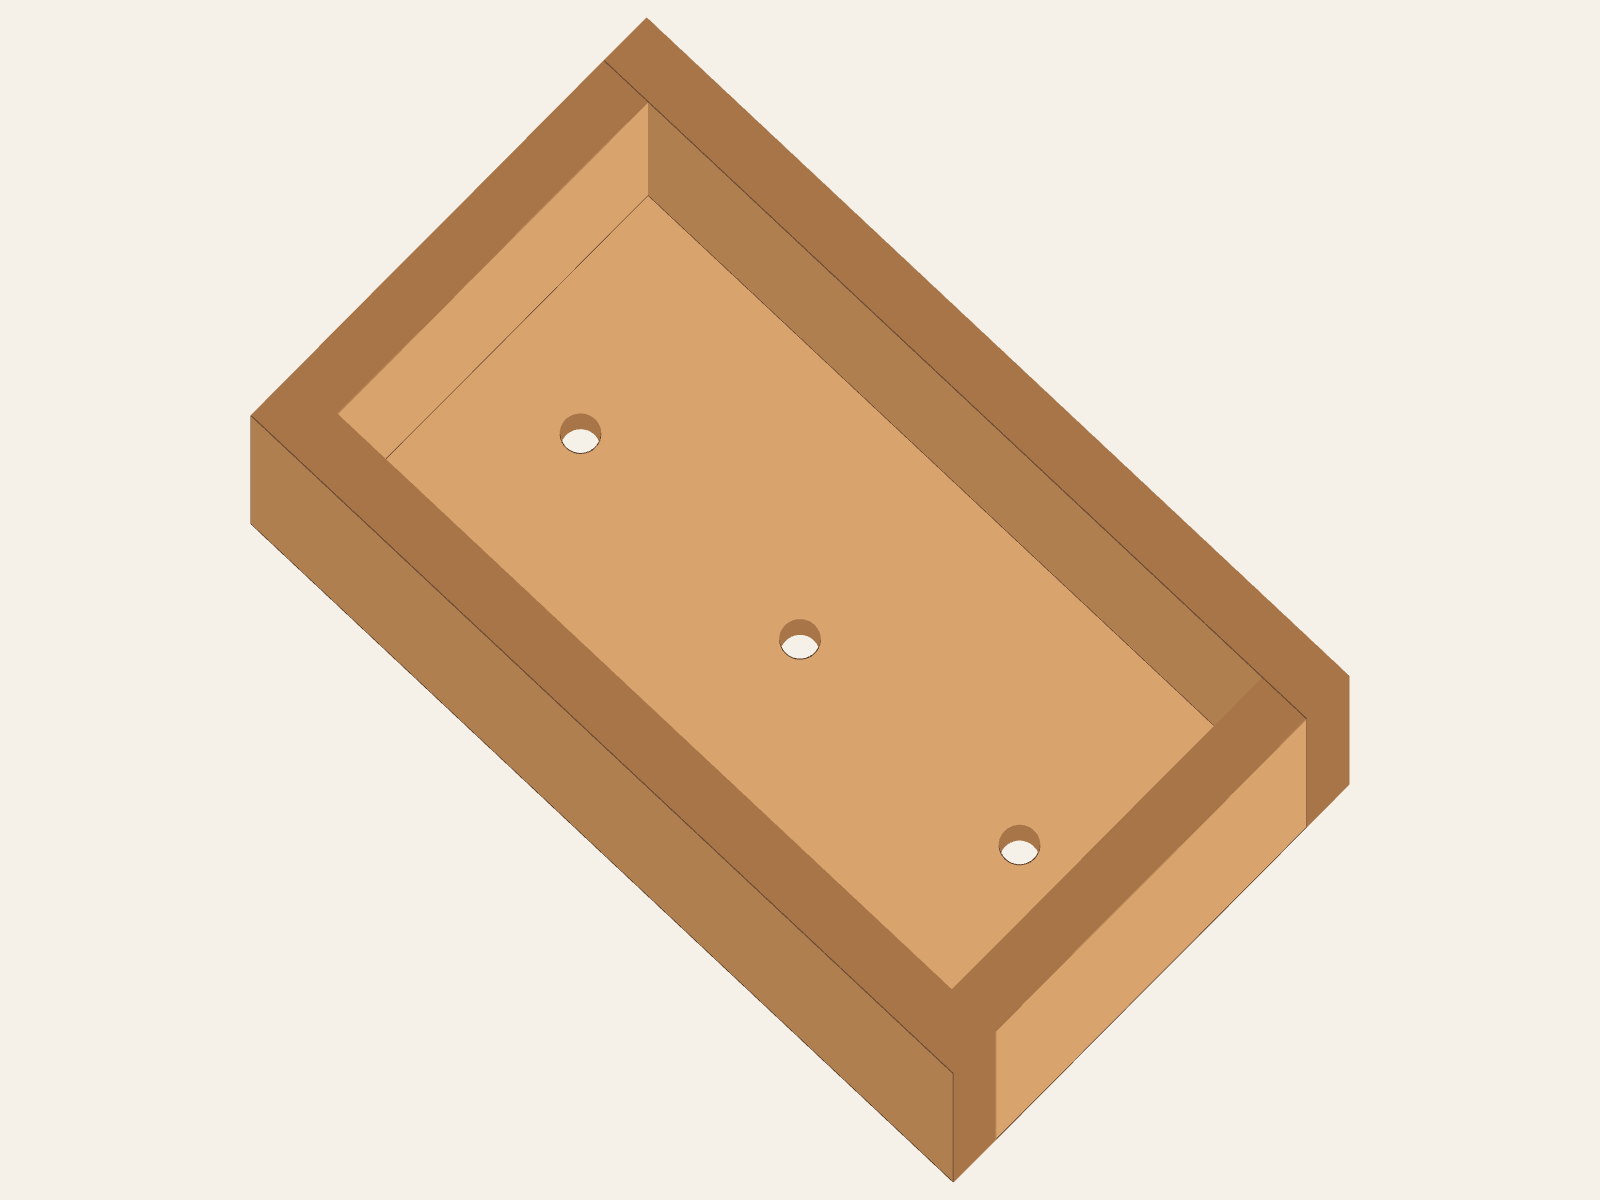
The Illinois activity lists five parts, butt joints, optional glue beads, 8d finishing nails, and three approximately 1/2 in drainage holes in the 10 1/2 in bottom. It does not state actual stock thickness, hole spacing, nail quantity, or nail positions. The pictured hole locations are illustrative.
Illinois 4-H Spark Activity · page 1
Open the illustrated TWG Flower Box lesson
Open Illinois project planWhat the linked plan states
- Source
- Illinois 4-H Flower Box activity
- Materials and parts
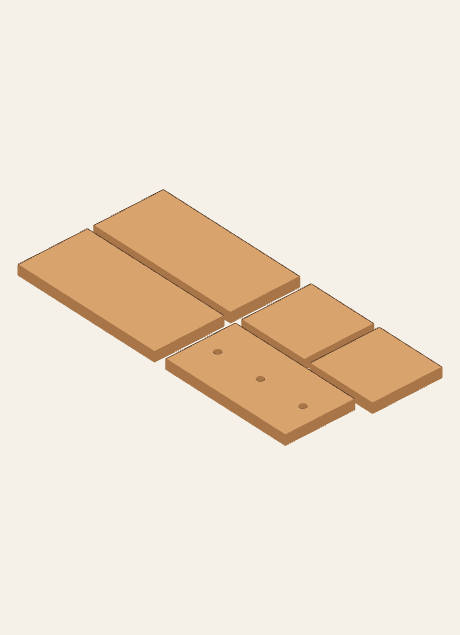
- Five parts: two 12 × 5 1/2 in sides, one 10 1/2 × 5 1/2 in bottom, and two 5 1/2 × 5 1/2 in ends. The bottom has exactly three drainage holes, about 1/2 in diameter; spacing is not stated.
- Stock dimensions and pattern
- One nominal 1 × 6 softwood board, 48 in long, marked into 12 in, 12 in, 10 1/2 in, 5 1/2 in, and 5 1/2 in lengths. The source does not state actual nominal-stock thickness.
- Tools and assembly
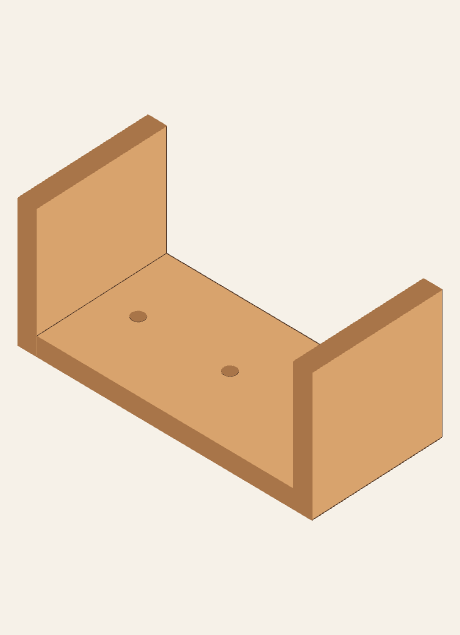
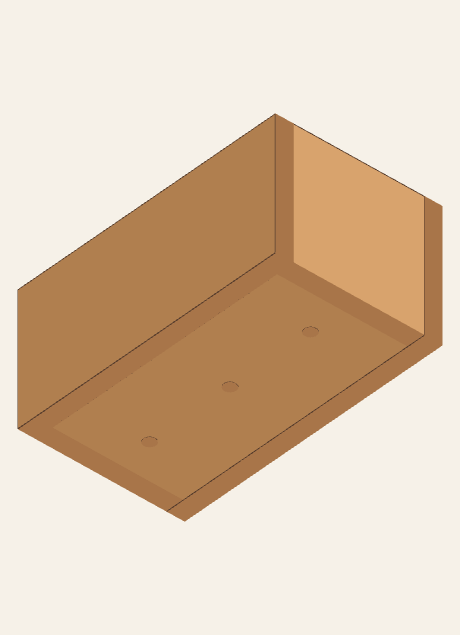
- The source supplies list names 8d finishing nails, wood glue, paint, and 80–120 grit sandpaper. Its directions call for a sharp pencil and saw, squareness checks, and drilling three drain holes. The adult selects and controls actual tools and products. Butt joints. The 10 1/2 in bottom sits between the two 5 1/2 in ends; the two 12 in sides complete the box around them. Use 8d finishing nails. The source says a bead of wood glue may be used between joints before nailing; it does not state nail count or exact positions.
This is a companion summary, not a complete illustrated build lesson. Follow the linked plan or TWG lesson and have an adult check the actual setup before building.
What you can practice
Identify and sort the five prepared parts, measure from a reference edge, check square, hand-sand released supported edges, dry-fit, identify the three-hole bottom and its orientation, and explain the next check before adult-controlled fastening or product use.
Adult preparation and boundary
Open the Illinois activity, prepare clean stock and stable workholding, complete higher-risk operations, keep all five parts labeled, and set product-specific boundaries. Stock selection, sawing, all three drainage holes, nail placement and fastening, glue/paint/finish products, product readiness, and intended-use decision.
Before building
With an adult, compare the prepared parts and actual stock with the plan, find the three drainage openings, and dry-fit the ends and sides before fastening. The adult checks the joint fit and controls nails and products.