TWG design and parts record
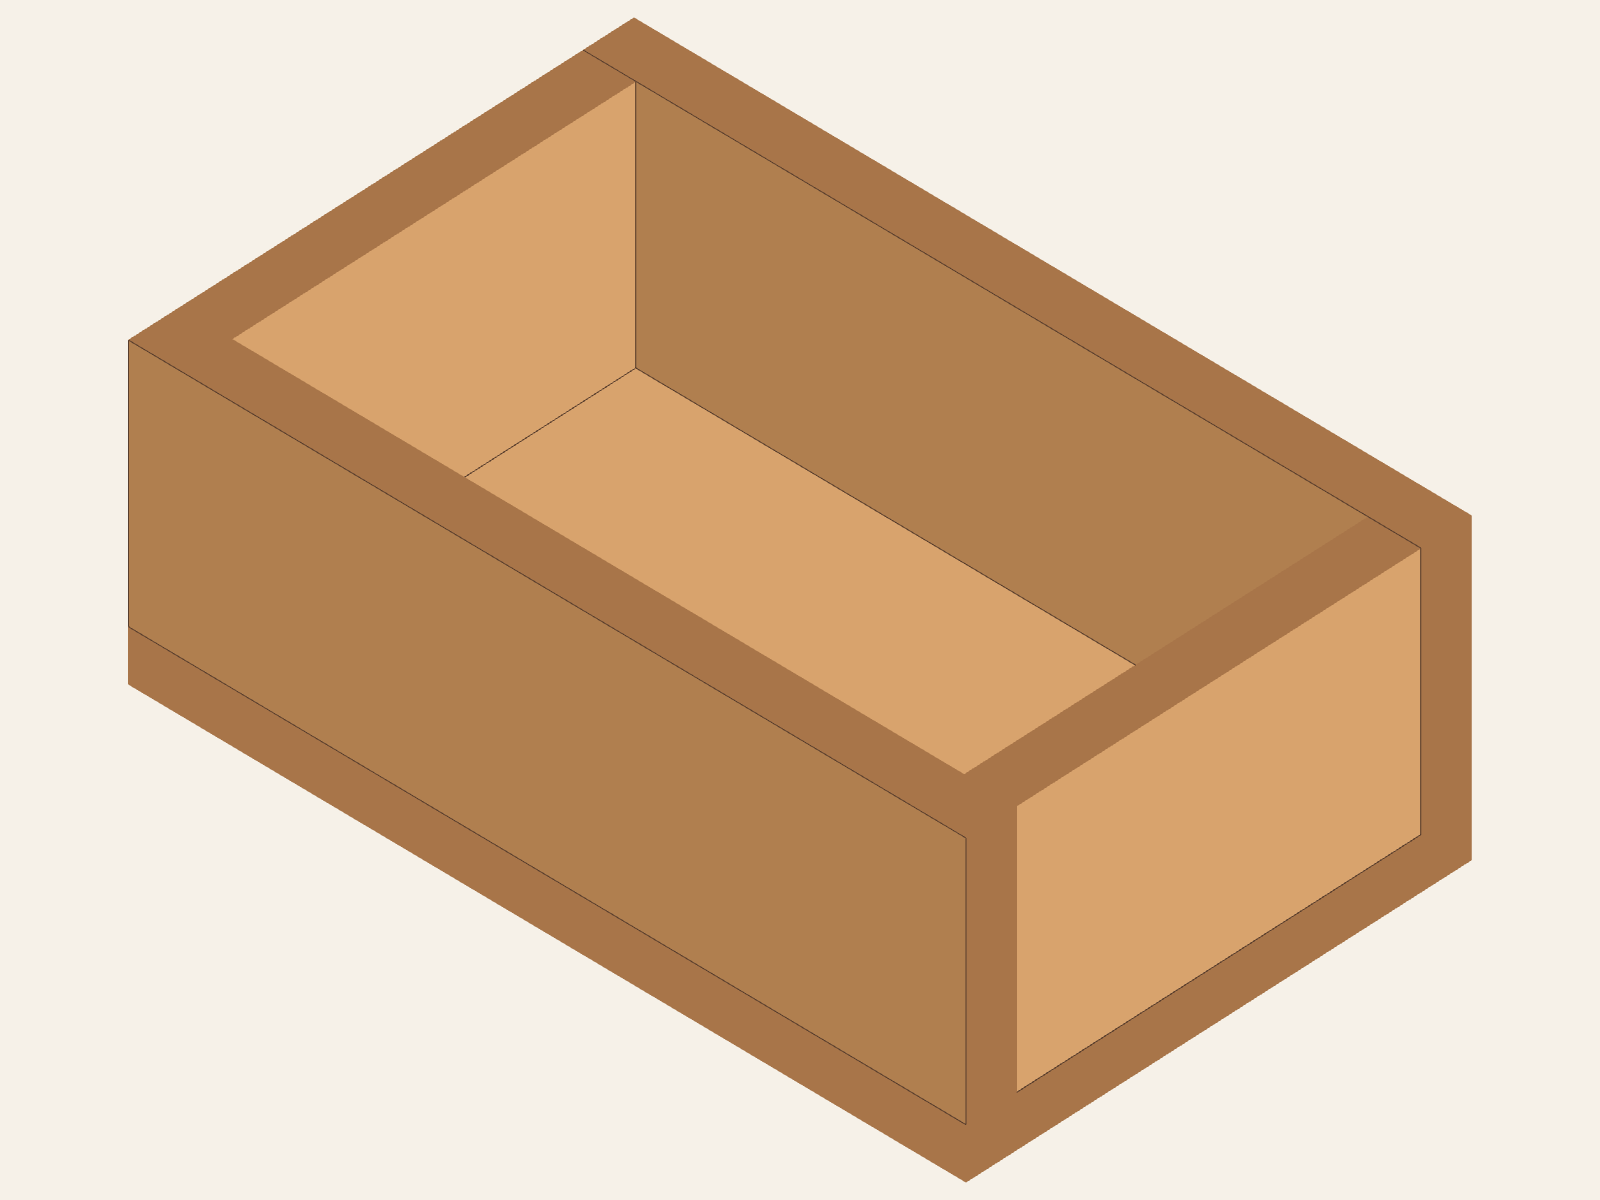
This is an original TWG design: a 1/2 in bottom under four 2 1/2 in walls, with 8 in long walls outside and 4 in end walls between. The listed outside size is 8 × 5 × 3 in and the inside cavity is 7 × 4 × 2 1/2 in. The lesson calls for eight #6 × 1 1/4 in screws; the adult checks actual placement and screw-specific hole preparation before drilling. No load rating is assigned.
Original TWG mentor lesson
Open the full TWG build lesson
Open TWG lessonWhat the TWG lesson specifies
- Source
- Original TWG Simple Wooden Box mentor lesson
- Materials and parts
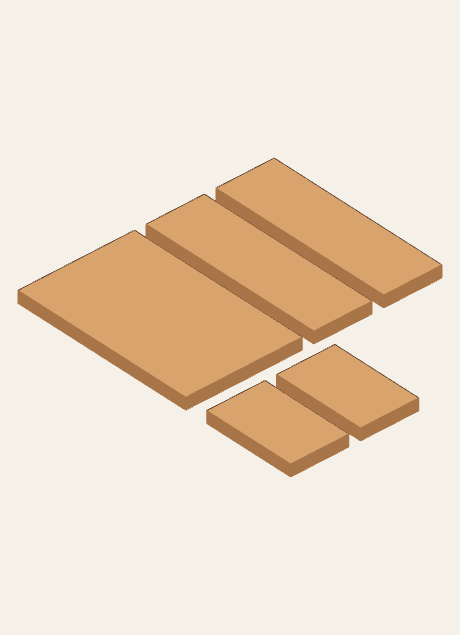
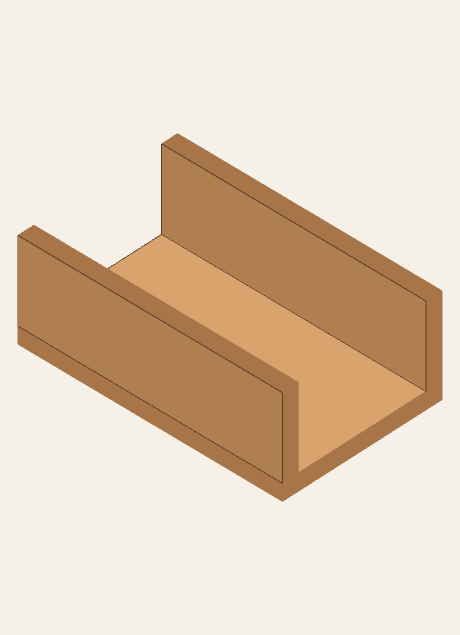
- One 8 × 5 × 1/2 in bottom; two 8 × 2 1/2 × 1/2 in long walls; two 4 × 2 1/2 × 1/2 in end walls. Bottom under all walls; long walls outside; ends between.
- Stock dimensions and pattern
- Outside: 8 × 5 × 3 in. Inside cavity: 7 × 4 × 2 1/2 in. The 2 1/2 in wall height plus the 1/2 in bottom equals the outside height.
- Tools and assembly
- Tape measure, combination square, hand sanding block, adult-selected clamps, and adult-controlled drill/driver with product-appropriate hole preparation and driver bits. Four walls sit on the bottom's top face. The two 8 in long walls stay outside; the two 4 in end walls fit between them. Eight #6 × 1 1/4 in flat-head screws are specified, two per wall. Exact coordinates are not supplied; an adult checks placement against the actual joints and current product guidance.
This is a companion summary, not a complete illustrated build lesson. Follow the linked plan or TWG lesson and have an adult check the actual setup before building.
What you can practice
Identify the five labeled parts, keep reference faces consistent, hand-sand released supported edges, dry-fit, check the 8 × 5 in footprint and square, and explain the adult-controlled underside screw path before assembly.
Adult preparation and boundary
Verify the prepared 1/2 in stock and cut list; label five parts and reference faces; set stable workholding and adult-selected clamps; stage eight lesson-specified #6 × 1 1/4 in screws and keep powered tools under adult control. Check actual stock, select the fastener layout and product-specific hole preparation, and control every cut, drill, screw, glue/product step, cure, and intended-use decision.
Before building
With an adult, check actual prepared stock, match all five parts, and dry-fit the walls on the bottom. The adult approves the screw layout against the real joints and current product guidance, then controls all holes and screws. Follow the chosen glue label for handling and cure.