Build the selected plywood-base, square-piece version. The learner measures, compares, sorts, sands released edges, and checks the game; the adult controls cutting, boring, glue, and finish decisions.
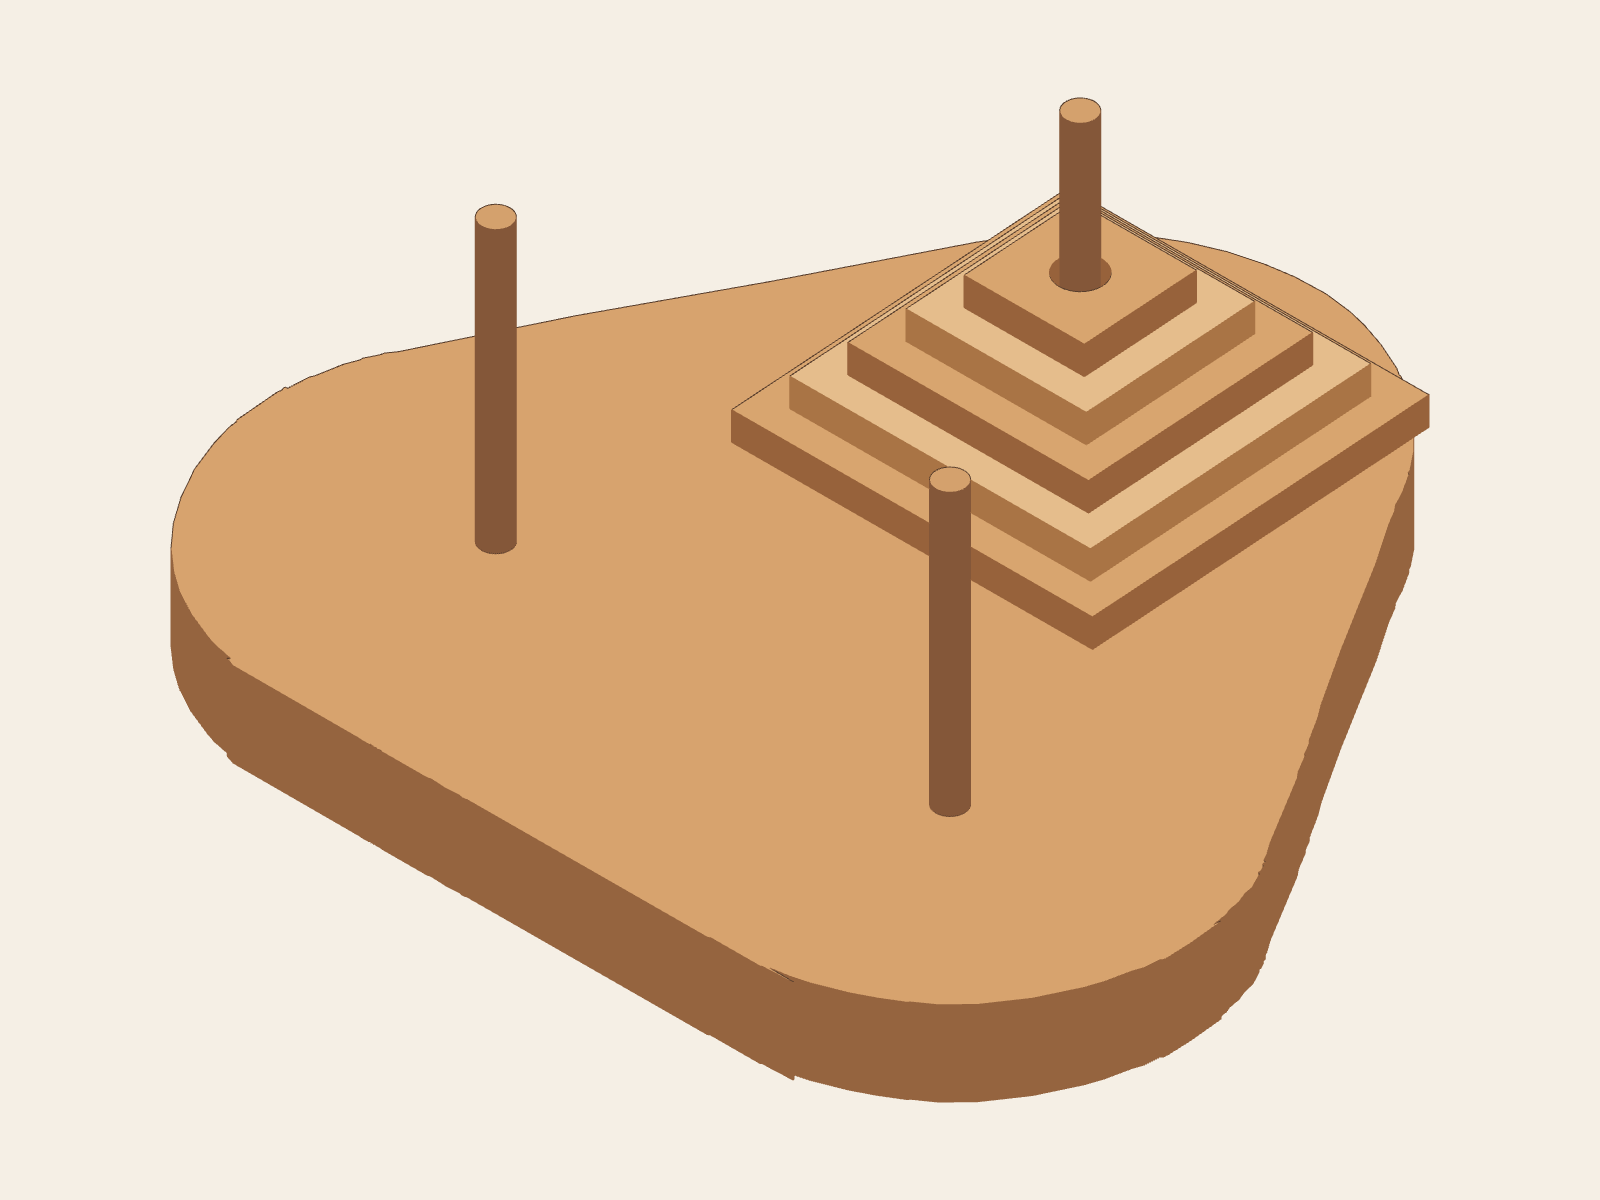
One permitted starting arrangement. Purdue says to begin on one peg but does not require a particular peg.
Official construction authority
Purdue Level 1 woodworking plan
PDF page 9 contains the materials, tools, and construction instructions. PDF page 10 contains the game rules and actual-size base pattern. These are one-based PDF page numbers; if a viewer ignores the fragment, move to the named page content rather than looking for a printed page label.
Gather the selected plywood and square-piece variant
Purdue also permits a lumber base and round movable pieces. This lesson keeps one consistent variant from start to finish.
Base stock
One piece of 3/4 × 8 × 8 in A-D or better plywood. The finished base follows the actual-size pattern on PDF p. 10.
Peg stock
One 1/4 in diameter dowel, 12 in long. Cut three 3 in pegs; each enters a 1/2 in-deep base hole.
Piece stock
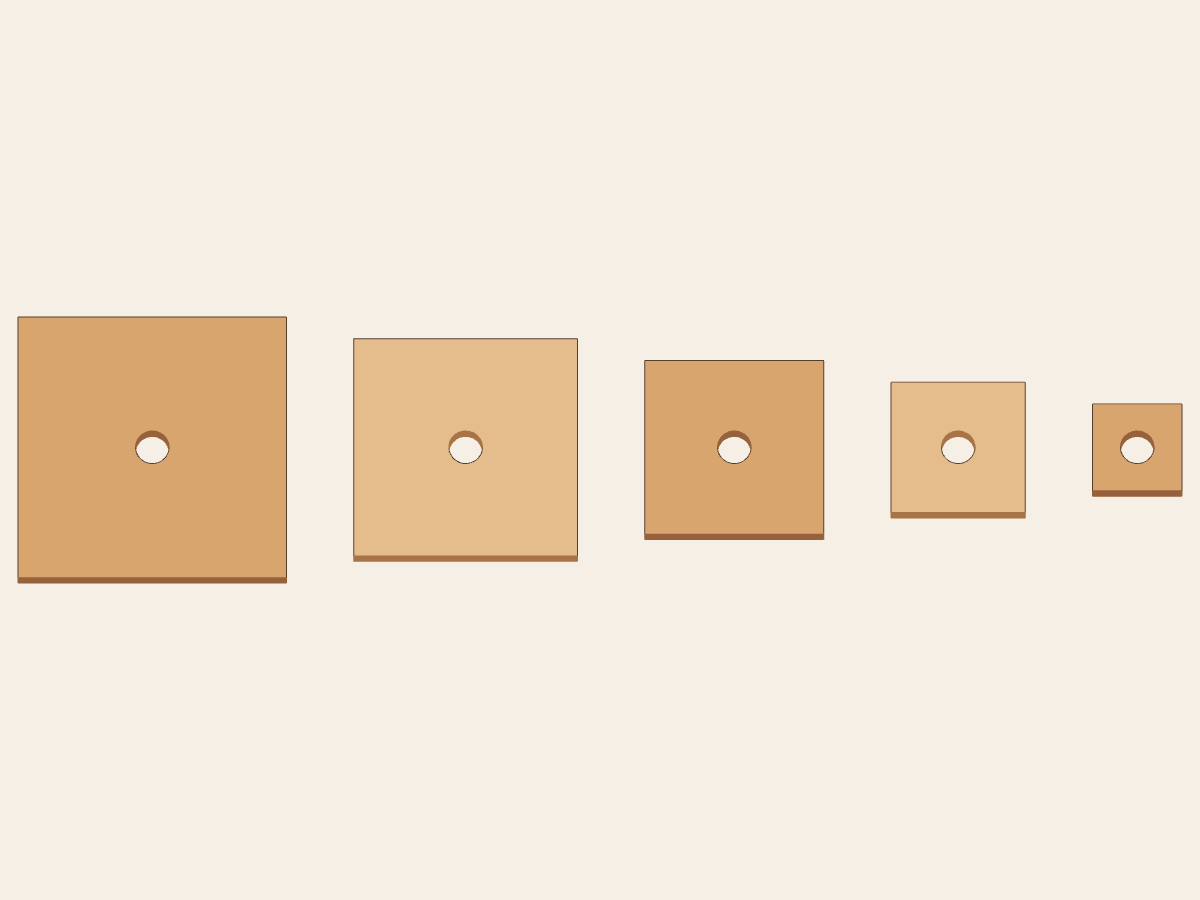
One piece of 1/4 × 6 × 6 in A-D or better plywood. Make five squares: 3, 2 1/2, 2, 1 1/2, and 1 in.
Supplies
Glue, medium and fine sandpaper, carbon paper for the pattern, and optional finishing material selected and controlled by the adult.
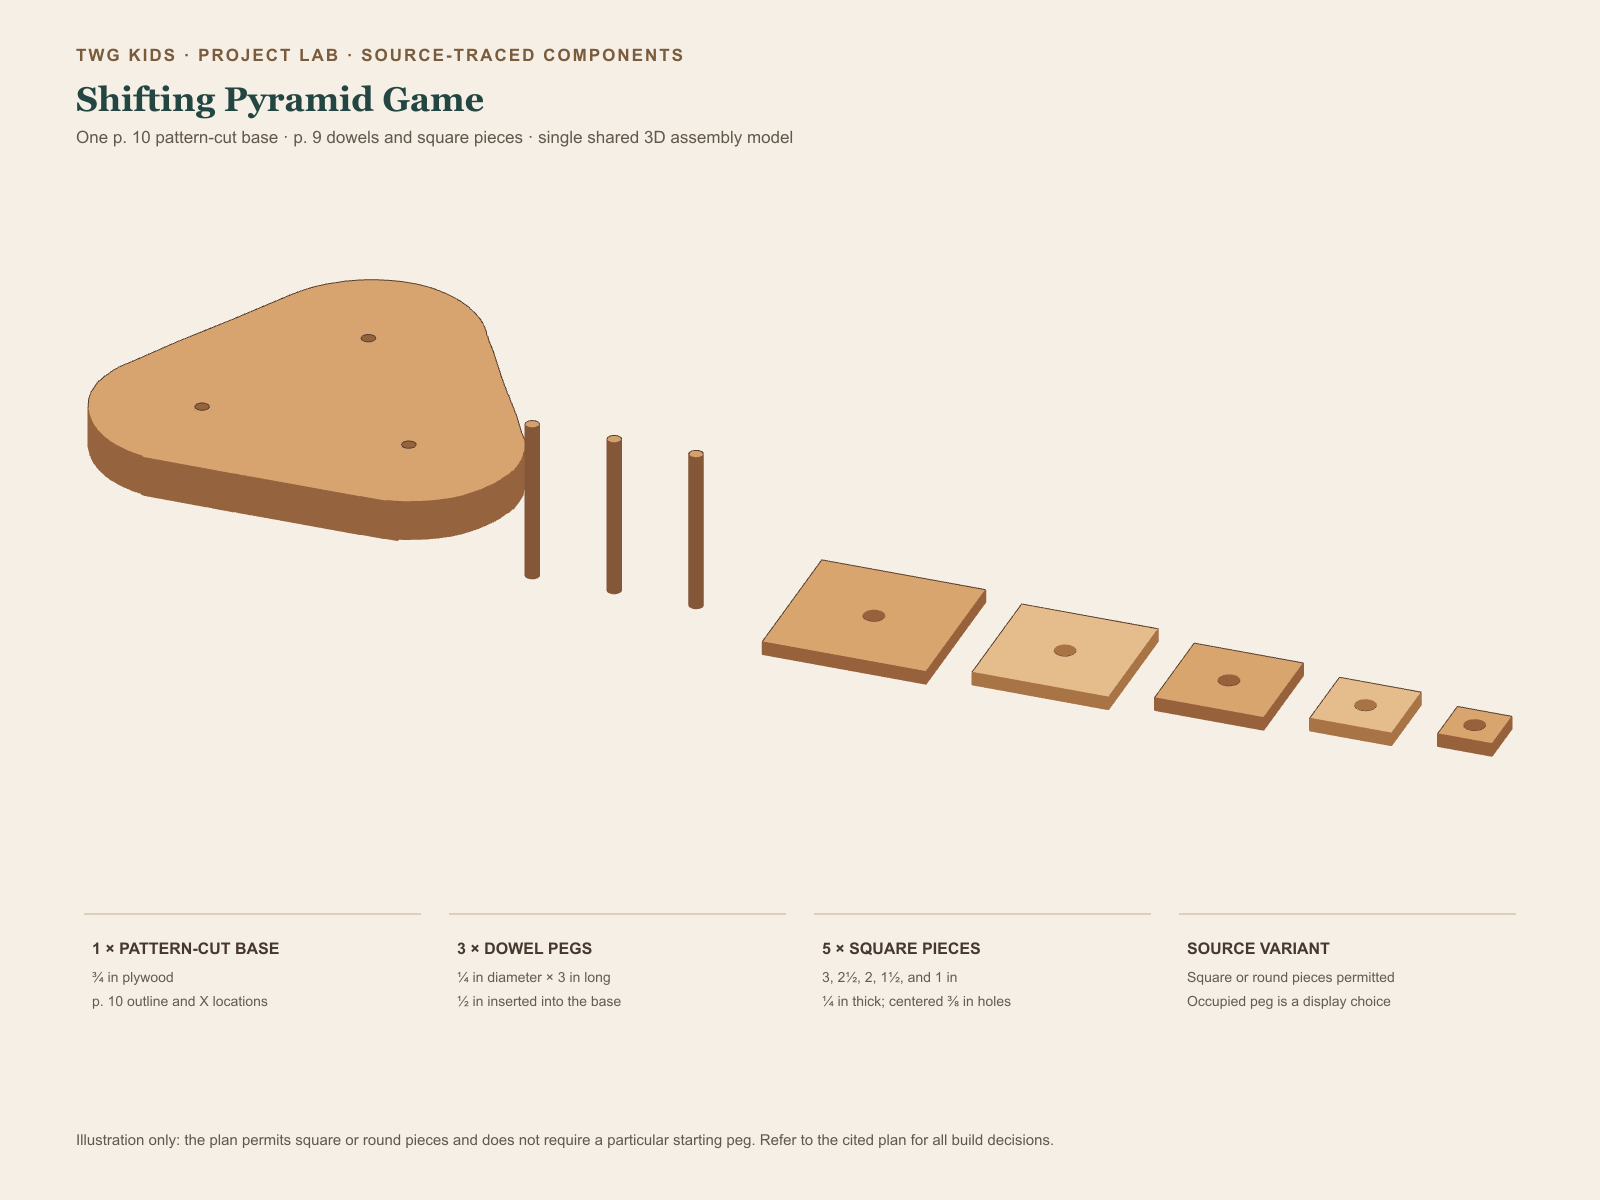
Use this view to identify the base, three pegs, and five graduated pieces. It is not a cutting layout.
Mentor equipment check
Match the plan before the session
Purdue’s page 9 tools list names a coping saw and a boring tool with 1/4 in and 3/8 in bits. The adult selects the actual tools, prepares stable workholding, and keeps every operation adult-controlled unless a specific task is separately released.
Official page 9 tool: coping saw
Official page 9 tool: boring tool with the required 1/4 in bit for the three base holes
Official page 9 tool: boring tool with the required 3/8 in bit for the five piece holes
Source-listed supplies: medium and fine sandpaper and carbon paper
TWG preparation guidance: add suitable clamps or another stable support for the chosen tools and stock, then check the current instructions for every tool, adhesive, and optional finish. The plan does not prescribe one universal shop setup.
What you can do
Compare stock, pattern, dimensions, and finished parts.
Measure, label, sort, and explain the next check.
Hand-sand only a supported part and edge the mentor has released.
Test play only after the adult's final inspection.
Adult-controlled jobs
Select stock and a stable setup; control every cut and bored hole.
Decide whether any sanding or assembly task is released.
Select and control glue and any optional finish.
Inspect fit, joints, surfaces, small parts, and cure before play.
A stage label is not tool permission. Readiness is task-specific, and the mentor keeps any operation adult-controlled when the learner, setup, tool, material, or product conditions are not ready. See Purdue Mini 4-H, “Safety Rules,” on one-based PDF page 7; if the viewer ignores the fragment, locate the page headed “SAFETY RULES.”
Build the game
Follow every construction transition
Each checkpoint names the action, who owns it, the source measurement, and the check to make before moving on.
Step 01
Transfer the base pattern
Purdue PDF p. 9, instruction 1; actual-size pattern on PDF p. 10
Who
Together
Do this
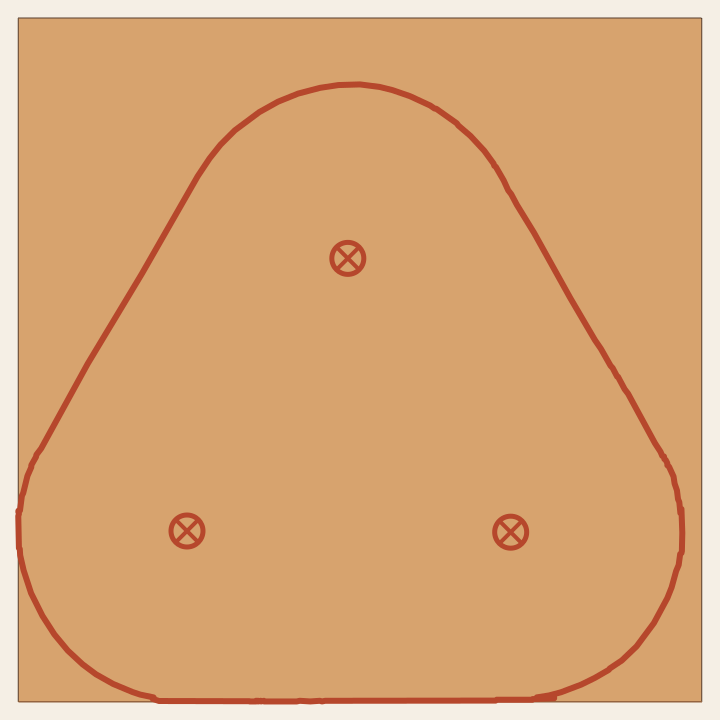
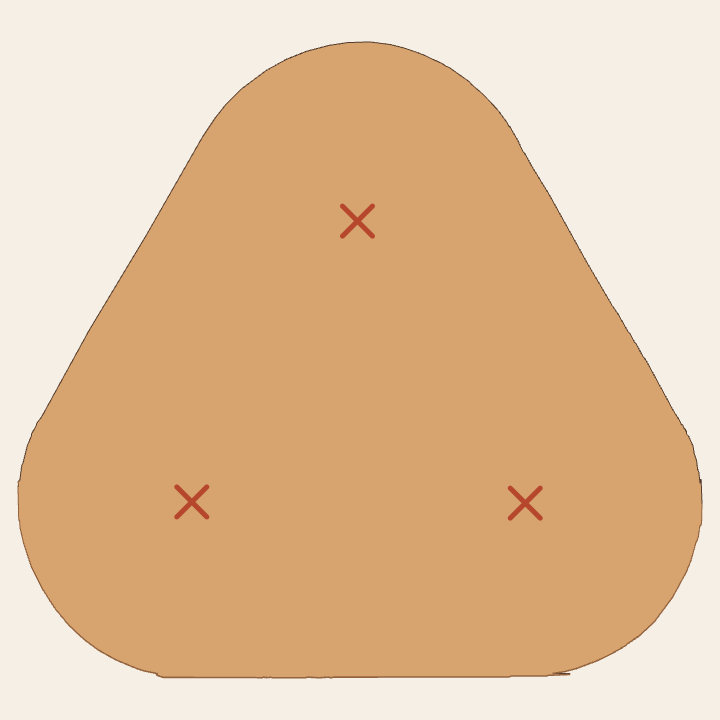
Start with 3/4 × 8 × 8 in plywood. Compare that square stock with the rounded triangular pattern, then transfer the outline and all three X marks from the printed pattern. The adult decides which face receives the pattern by following Purdue’s pull-stroke note and the actual saw that will be used.
Check
The complete outline fits on the stock and all three X marks transferred. Use the official actual-size pattern; this website view is not a calibrated cutting template.
Before · mark the stock
After · finished base outline
Compare the square stock with the finished outline. Use Purdue PDF p. 10—not this illustration—as the actual-size pattern. Open the combined diagram larger.
Step 02
Cut, bore, and smooth the base
Purdue PDF p. 9, instructions 2–4
Who
Adult-controlled, with a released learner sanding task if appropriate
Do this
The adult controls the cutting setup and cuts the base to the transferred outline. At the three X marks, the adult bores 1/4 in holes 1/2 in deep. Sand the base surfaces and edges; a learner may hand-sand only the supported edges the mentor has specifically released.
Check
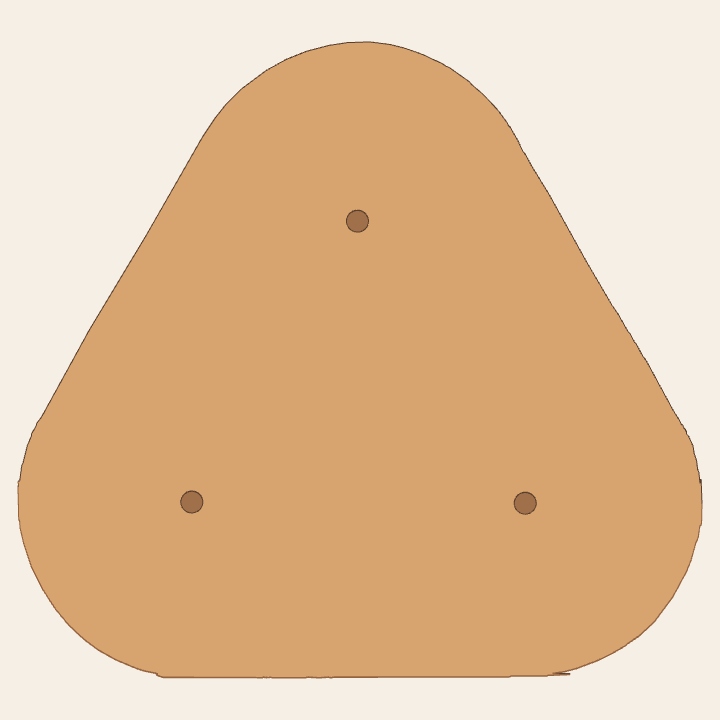
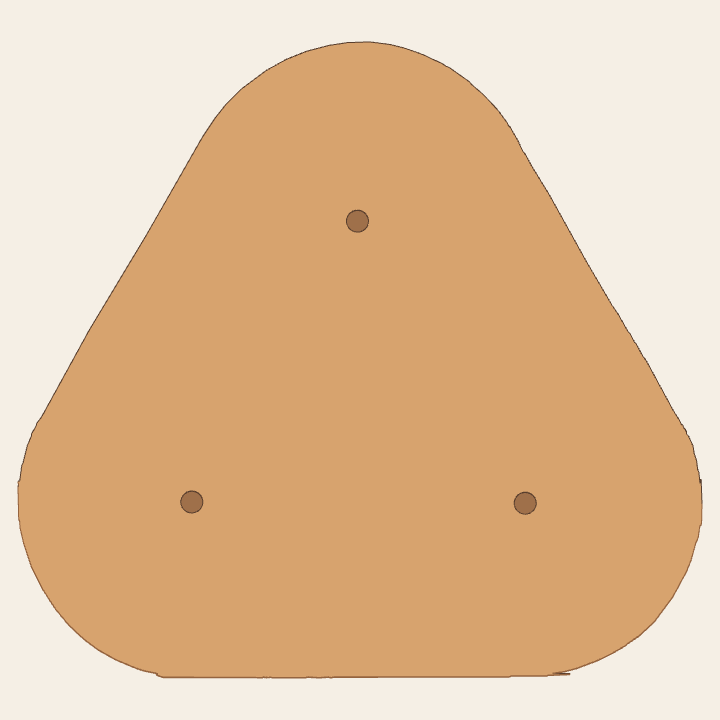
The base follows the printed outline, has exactly three blind holes at the X marks, and has no sharp or splintered edge before the next stage.
Before · three X marks
After · three blind holes
First check the three marks. After the adult-controlled cutting and boring, check the outline, hole count, and smooth edges. Open the combined diagram larger.
Step 03
Prepare three pegs
Purdue PDF p. 9, instructions 5–6
Who
Adult-controlled cutting; together for measuring and inspection
Do this
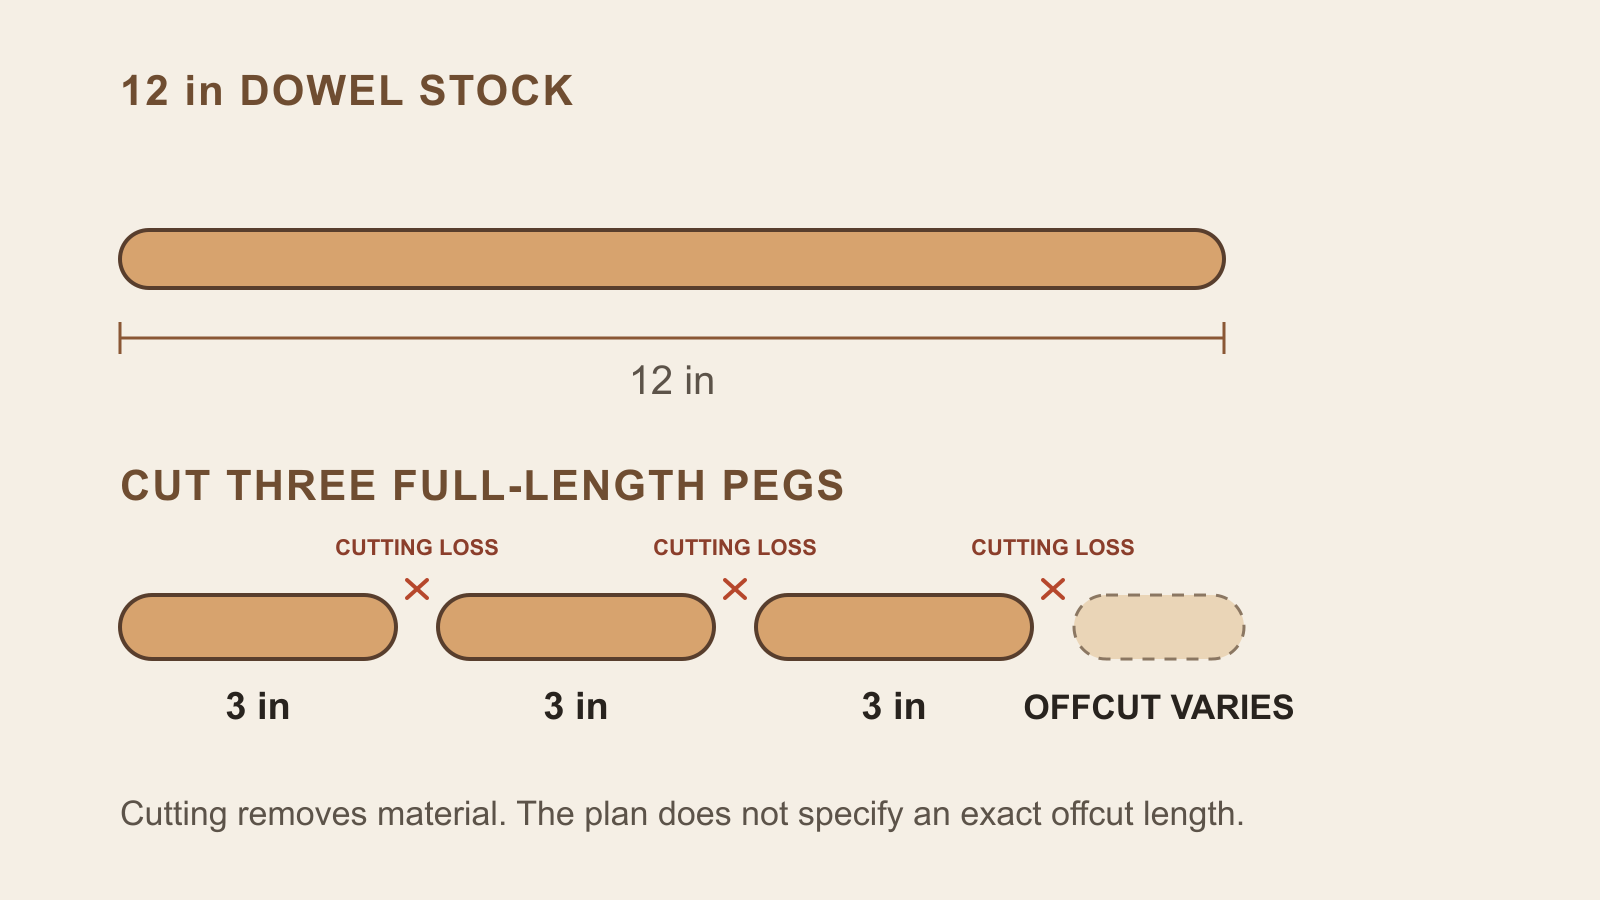
From the 1/4 in diameter, 12 in dowel stock, the adult cuts three full 3 in pegs. Each cut removes some material, so do not plan around an exact leftover length. Sand each peg and round its top end. The learner can compare lengths and, if released, hand-sand a supported peg away from the cutting operation.
Check
There are exactly three smooth 1/4 × 3 in pegs, their top ends are rounded, and none is split or damaged. Treat the remaining offcut as unmeasured until it is checked after cutting.
Cut three full 3 in pegs. Cutting removes material, so the source does not promise an exact leftover length; measure any offcut only after the cuts are complete. Open the combined diagram larger.
Step 04
Glue the pegs into the base
Purdue PDF p. 9, instruction 7
Who
Adult-controlled glue and assembly; learner checks the three locations
Do this
Following the adhesive label, the adult applies glue to the sides of each hole with a small stick, then seats one peg in each hole. Keep the work supported while the joints set.
Check
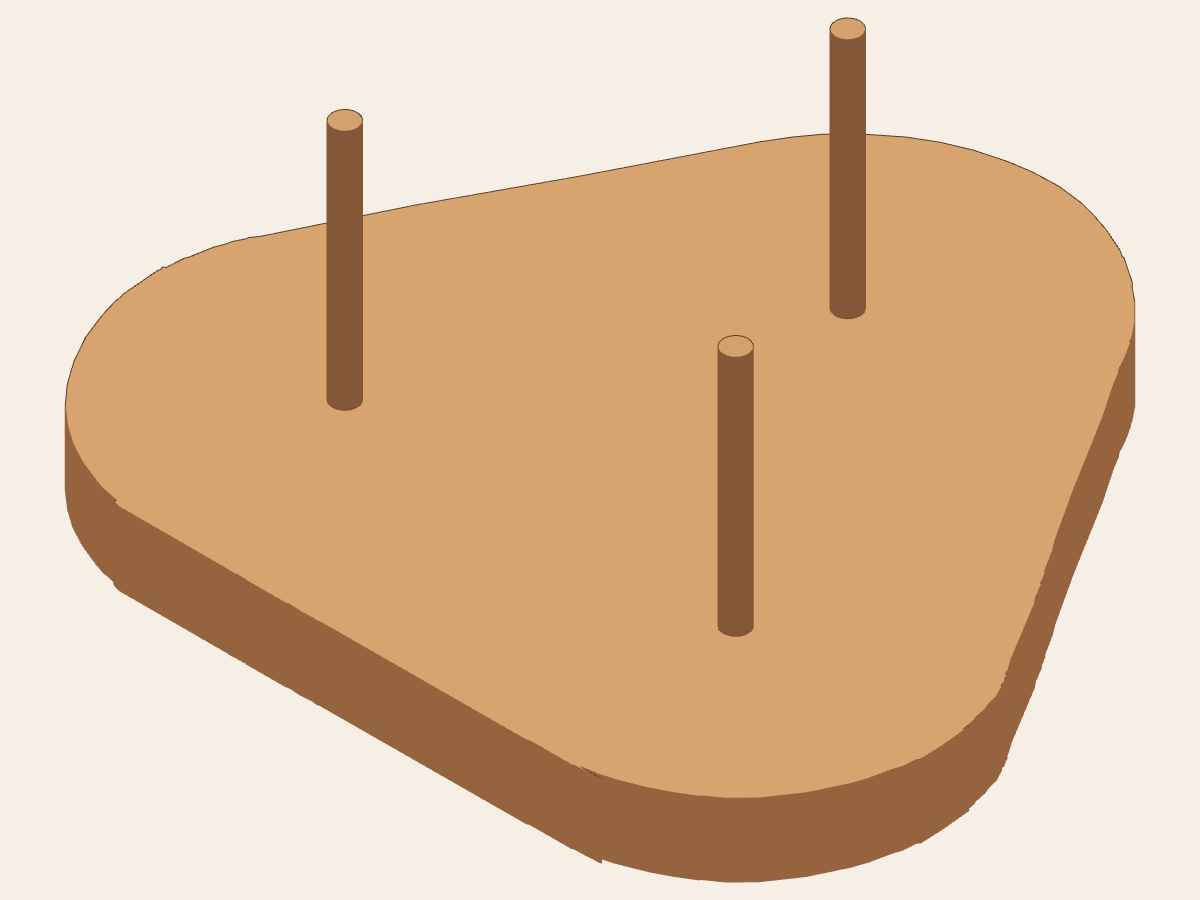
All three pegs are seated at the source-marked locations and stand upright. Follow the selected adhesive’s label for open time, clamping or support, handling time, cure, ventilation, and cleanup; this lesson does not supply a universal time.
Check one upright peg at each of the three marked locations. Follow the adhesive label for support and intended-use readiness. Open the combined diagram larger.
Step 05
Make the five square pieces
Purdue PDF p. 9, instructions 8–9
Who
Together for layout and labels; adult-controlled cutting and boring
Do this
Keep the selected square-piece variant. Mark and cut five 1/4 in plywood squares: 3, 2 1/2, 2, 1 1/2, and 1 in. Mark the center of each finished square, then the adult bores a 3/8 in hole completely through it.
Check
All five sizes are present in order, each center is marked, and every finished piece has one centered through-hole. The illustrated spacing is for comparison, not a plywood cutting layout.
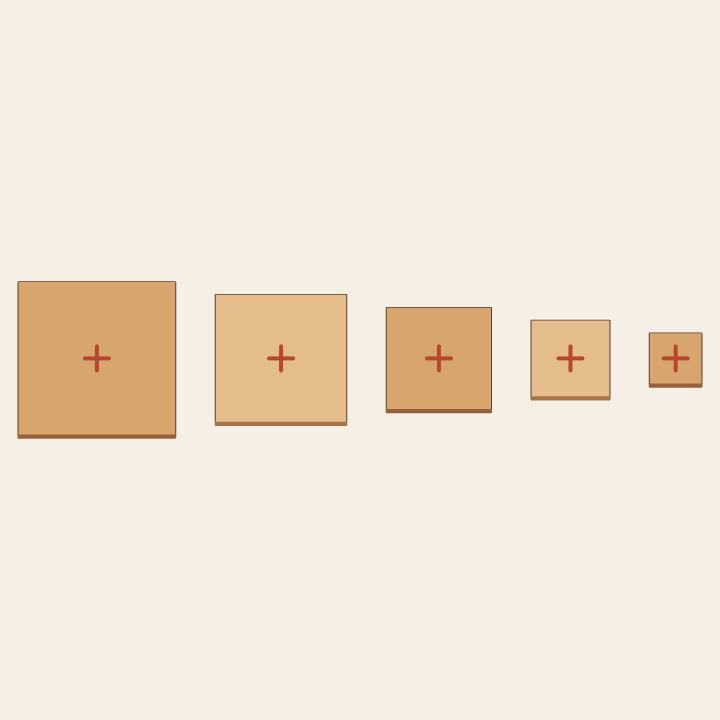
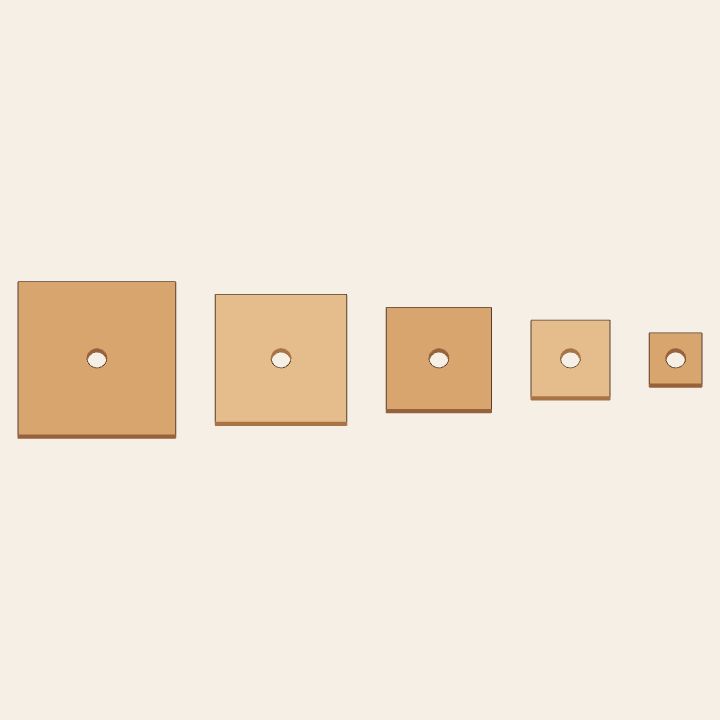
Before · mark five centers
After · bore five through-holes
Mark every center before the adult-controlled boring step, then check for one centered through-hole in each finished piece. Open the combined diagram larger.
Step 06
Sand and, if chosen, finish the pieces
Purdue PDF p. 9, instruction 10
Who
Together for sorting and inspection; adult controls finish selection and use
Do this
Sand every piece smooth. Finish is optional. If a finish or paint is used, the adult chooses a product compatible with the wood and intended use, reads its current label and safety data, and follows the manufacturer’s preparation, ventilation, protective equipment, coat, drying, cure, and intended-use conditions.
Check
The five pieces remain identifiable from largest to smallest, and the holes and edges are smooth. Before play, the adult inspects the actual pieces and confirms that the coating has met the manufacturer’s conditions for this intended use; being dry enough to handle is not by itself a play-readiness check.
Sort the five finished pieces from largest to smallest. Purdue also permits round pieces; this lesson keeps the square option. Open the combined diagram larger.
Step 07
Check the fit before play
Purdue PDF p. 9 dimensions; physical fit remains an adult inspection
Who
Together, after the adult has cleared every part for handling
Do this
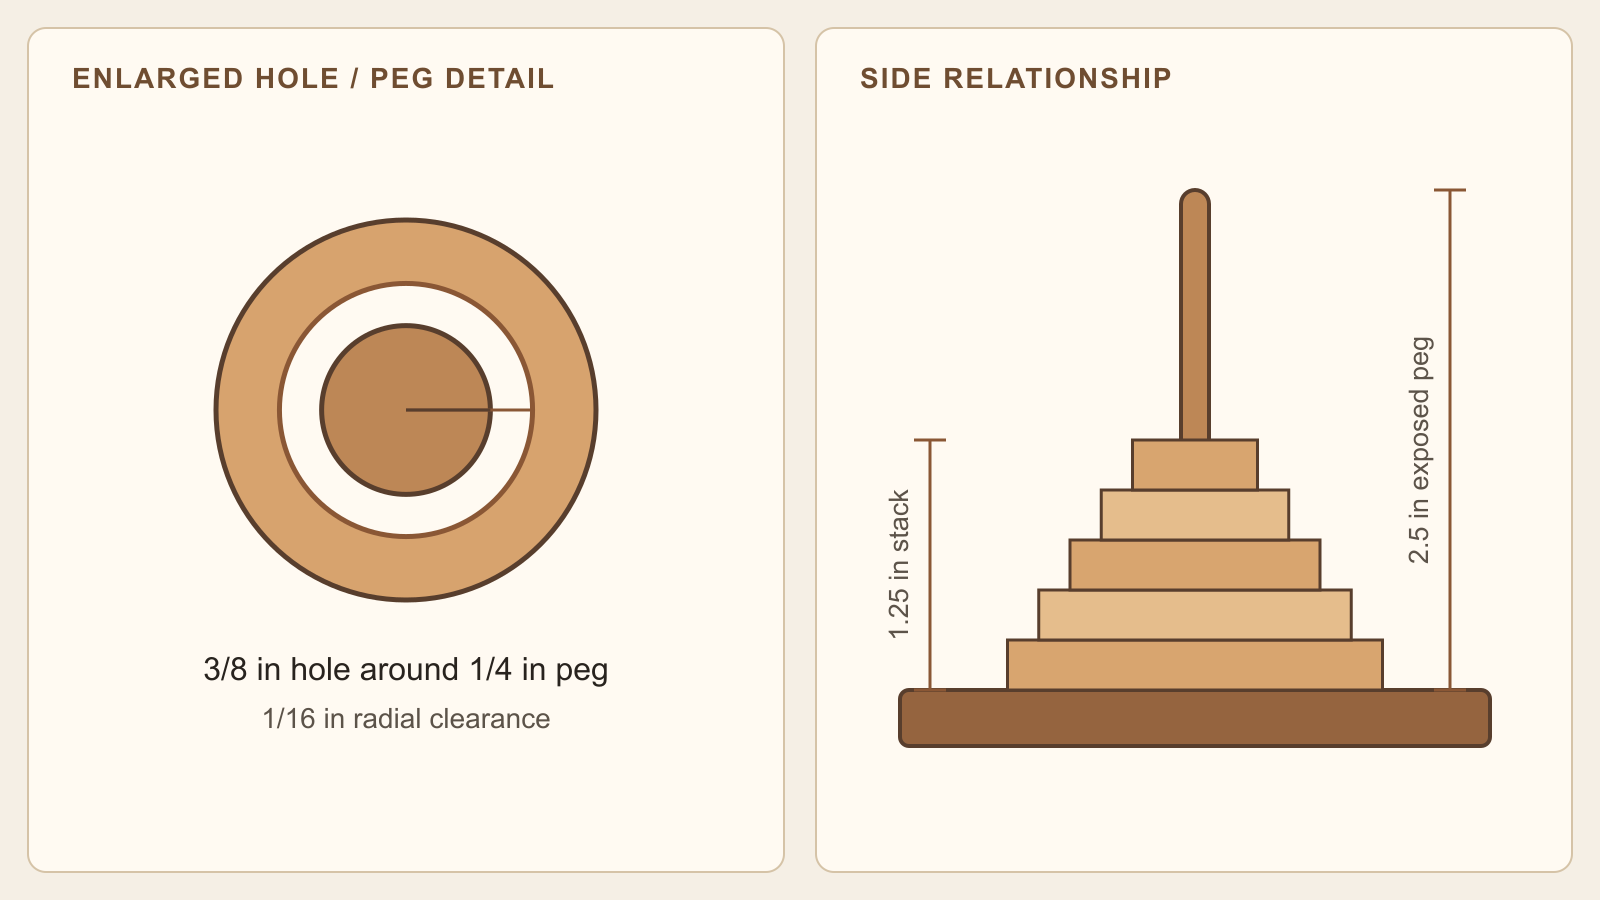
Compare the 3/8 in piece hole with the 1/4 in peg and slide each actual piece over a peg one at a time. The selected five 1/4 in-thick pieces make a 1 1/4 in stack; the peg extends 2 1/2 in above the base after its 1/2 in insertion.
Check
Each piece moves without binding, the stack sits flat, the peg remains exposed above it, the joints are sound, and there are no sharp edges, splinters, loose pegs, tacky finish, or damaged small parts.
Use these dimensions as a comparison guide, then inspect the actual pieces: every piece should slide without binding and the peg should remain exposed above the stack. Open the combined diagram larger.
Check the fit
Stop until every part is ready
The base matches the PDF p. 10 outline and has three pegs at the three X locations.
Each of the five pieces has one smooth centered through-hole and moves on each peg without binding.
The size order is clear: 3, 2 1/2, 2, 1 1/2, then 1 in.
The five-piece stack sits flat and remains below the exposed peg top.
The pegs and glue joints are sound; no part is loose, split, sharp, splintered, or tacky.
The adult has cleared the actual build, small parts, finish condition, and play area.
The model explains intended dimensions and relationships. It does not prove that a physical sample fits, that a product has cured, or that a learner is ready for a tool.
Ready to play?
Move one piece at a time
After the adult's final inspection, place all five pieces on any one peg in pyramid order. Move the whole stack to another peg, one piece at a time. A larger piece may never sit above a smaller one.
Purdue asks whether you can complete the five-piece puzzle in 31 moves. It also suggests seven blocks as a harder variation; that extension is not part of this five-piece build.
Mentor and source note
Use the official plan with this teaching guide
Purdue PDF p. 9 supplies the selected dimensions, materials, tools, and construction instructions 1–10. PDF p. 10 supplies the actual-size base pattern, three peg marks, and game rules. The seven checkpoints, responsibility labels, and inspection prompts are TWG teaching guidance.
Purdue’s “Level 1” is its publication label, not a TWG stage or tool permission. Before play, the adult checks the actual fit, joints, surfaces, small parts, and intended-use readiness of any glue or optional finish by following the current manufacturer instructions.