
Vertical post
The round shank wedges inside a correctly sized bench hole. Keep its surface clean enough to grip without damaging the hole.
Secure a board with one quick mallet tap, using the bench hole and the holdfast's springing steel geometry.
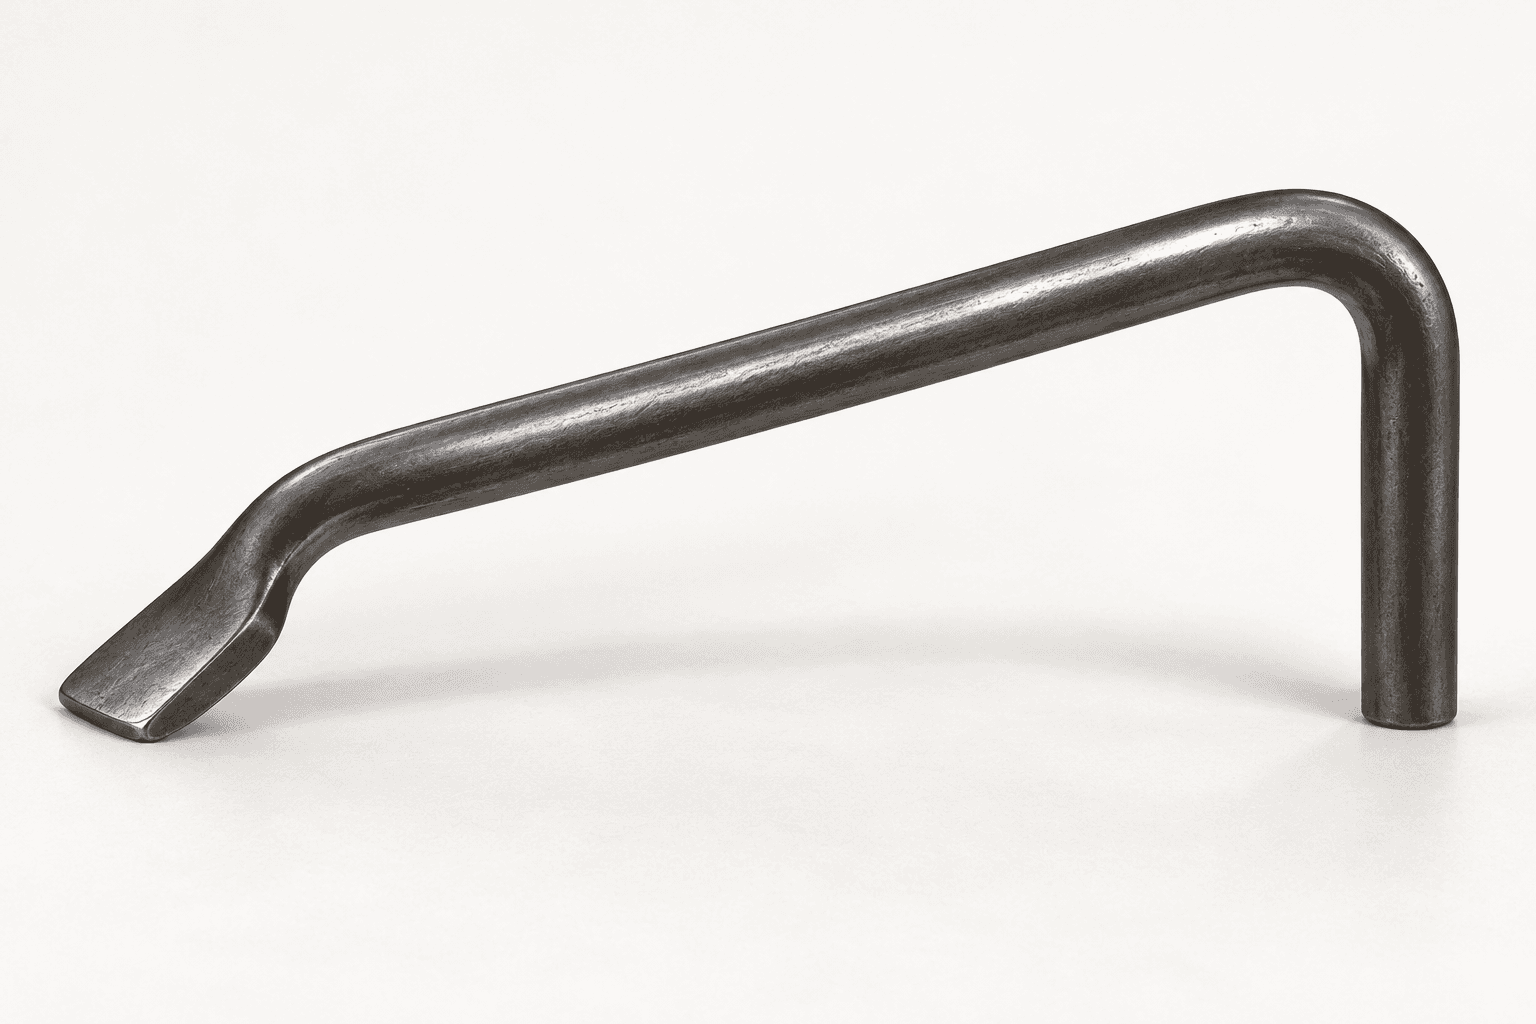
An original educational poster identifies 5 documented features of this one-piece tool. The numbered descriptions remain readable below the artwork on narrow screens.
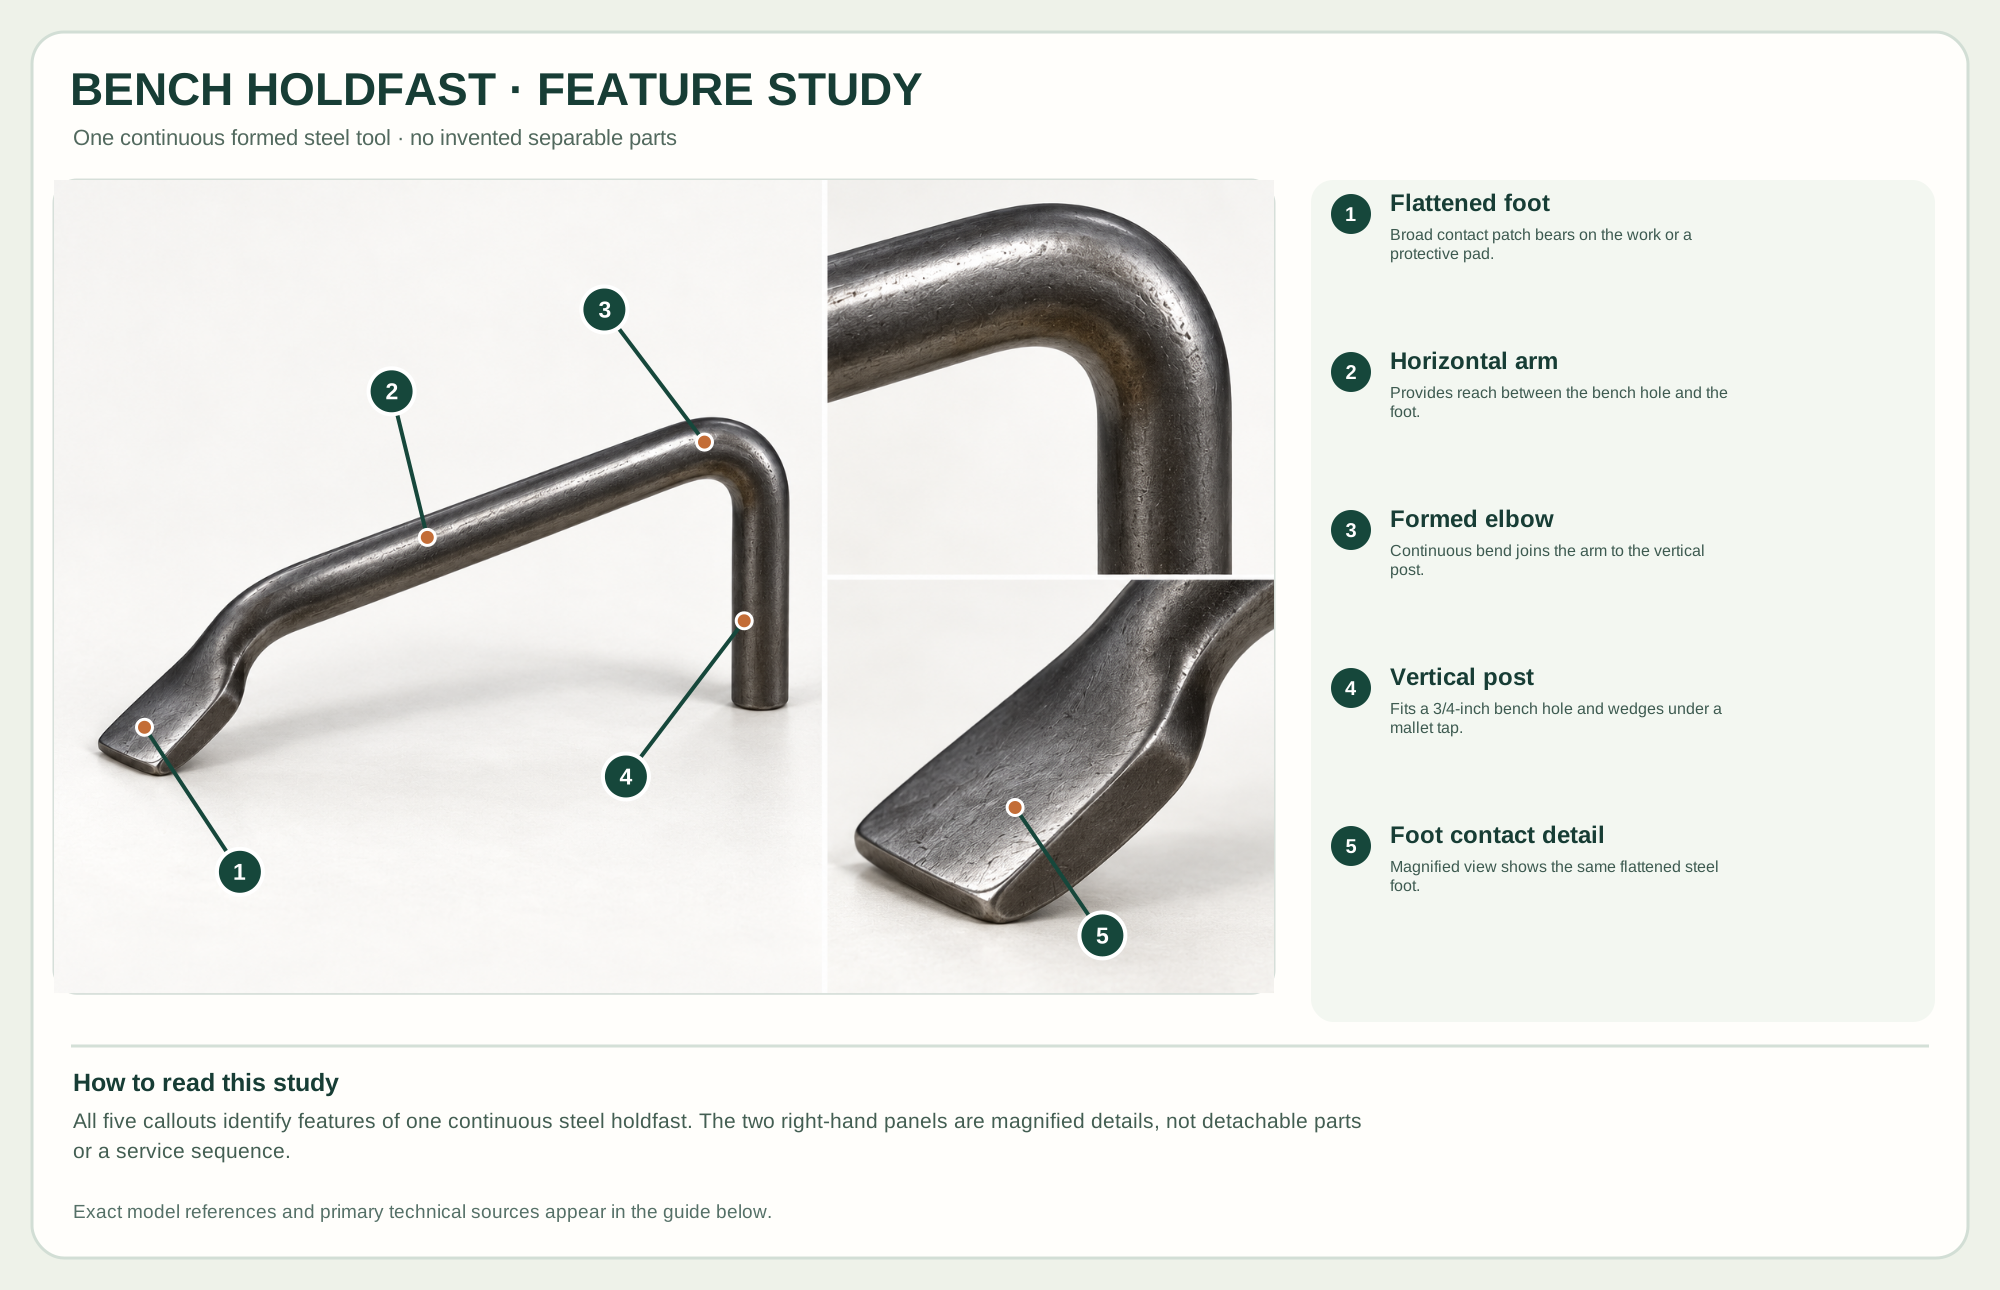
Broad contact patch bears on the work or a protective pad.
Provides reach between the bench hole and the foot.
Continuous bend joins the arm to the vertical post.
Fits a 3/4-inch bench hole and wedges under a mallet tap.
Magnified view shows the same flattened steel foot.
Technical references: Gramercy Tools holdfast official product and use. The maker describes this holdfast as one cold-formed steel piece. The study magnifies the elbow and foot; those views are details of the same intact tool, not removed components. Original educational artwork depicts the intact tool and magnified features; the additional views are not detachable parts.
The Gramercy Tools holdfast is one continuous cold-formed steel piece, not a threaded clamp or a forged multi-part assembly. Its 3/4-inch post fits a suitable bench hole; a mallet tap at the arm sets it, and a tap at the side of the stem releases it. It is fast for planing stops and bench-top workholding when the bench thickness and hole fit suit the maker's instructions.
The post enters the bench hole with a little clearance. A tap flexes the arm and cants the post so it grips opposing sides of the hole. The flattened foot bears on the work. The maker specifies a bench at least 1 3/4 inches thick and a 3/4-inch hole; fit, reach and wood condition matter. The anatomy poster shows an intact tool with magnified elbow and foot views, not removable components.
The round shank wedges inside a correctly sized bench hole. Keep its surface clean enough to grip without damaging the hole.
The continuous bend and horizontal reach spring under a mallet tap; there is no hinge or screw to adjust.
The broad end transfers pressure to the work; use a pad when its steel face could mark a finished surface.
These decisions make the mechanism useful at the bench.
Use a 3/4-inch hole in a sound bench meeting the maker's thickness minimum. Test fit before clamping valuable work.
Seat the foot on the work and strike the arm near the bend using a suitable mallet; increase force only as needed.
Tap the side of the upright near the bench to free the wedge; support the work first.
Pin a board against a stop while leaving much of its upper face clear.
Secure a broad workpiece without a clamp bar crossing the active area.
Hold a batten or auxiliary fence on a suitable bench when its foot has a safe purchase.
Use the steps for a first pass, then inspect the work before changing the setup.
The post cants and bears against the bench hole; a loose or too-short hole may fail to hold.
The foot and elbow close-ups are the same continuous tool, not exploded pieces.
Place the foot over supported stock and pad delicate work to avoid a dent.
This reference is cold-formed wire steel. Forged holdfasts from other makers can differ in spring and reach.
Hole diameter, thickness and wear change holding. Follow the selected maker's fit guidance.
Leather or wood pads spread force but require retesting grip and clearance.
Secure the work, protect sharp edges and release any stored clamping pressure before adjustment or maintenance.
Check hole diameter and bench thickness; clean the hole and consider the maker's light post-scuffing guidance.
Use a clean leather or wood pad and position the foot over solid support.
Support the work and tap the side of the stem as the maker describes; avoid levering against the bench.
Use the exact model documentation for setup, limits and replacement parts. These lessons, documents and model pages teach relevant techniques or help compare real variations.
These maker-owned links document relevant tools and tool brands. A product brand may use another company's factory; compare the exact model before choosing parts or accessories.
Handles, irons, saw plates, clamping pads and other replacements vary by maker and model. Use the maker's documentation before changing a component.
Compare the Bench Workholding family →Continue through the Tools library