
Drive center and #2 taper
The headstock taper registers the drive end in a compatible lathe; seat clean tapers without forcing or modifying them.
Center pen blanks between a lathe's headstock and tailstock with an adjustable mandrel shaft and matched collet-style centers.
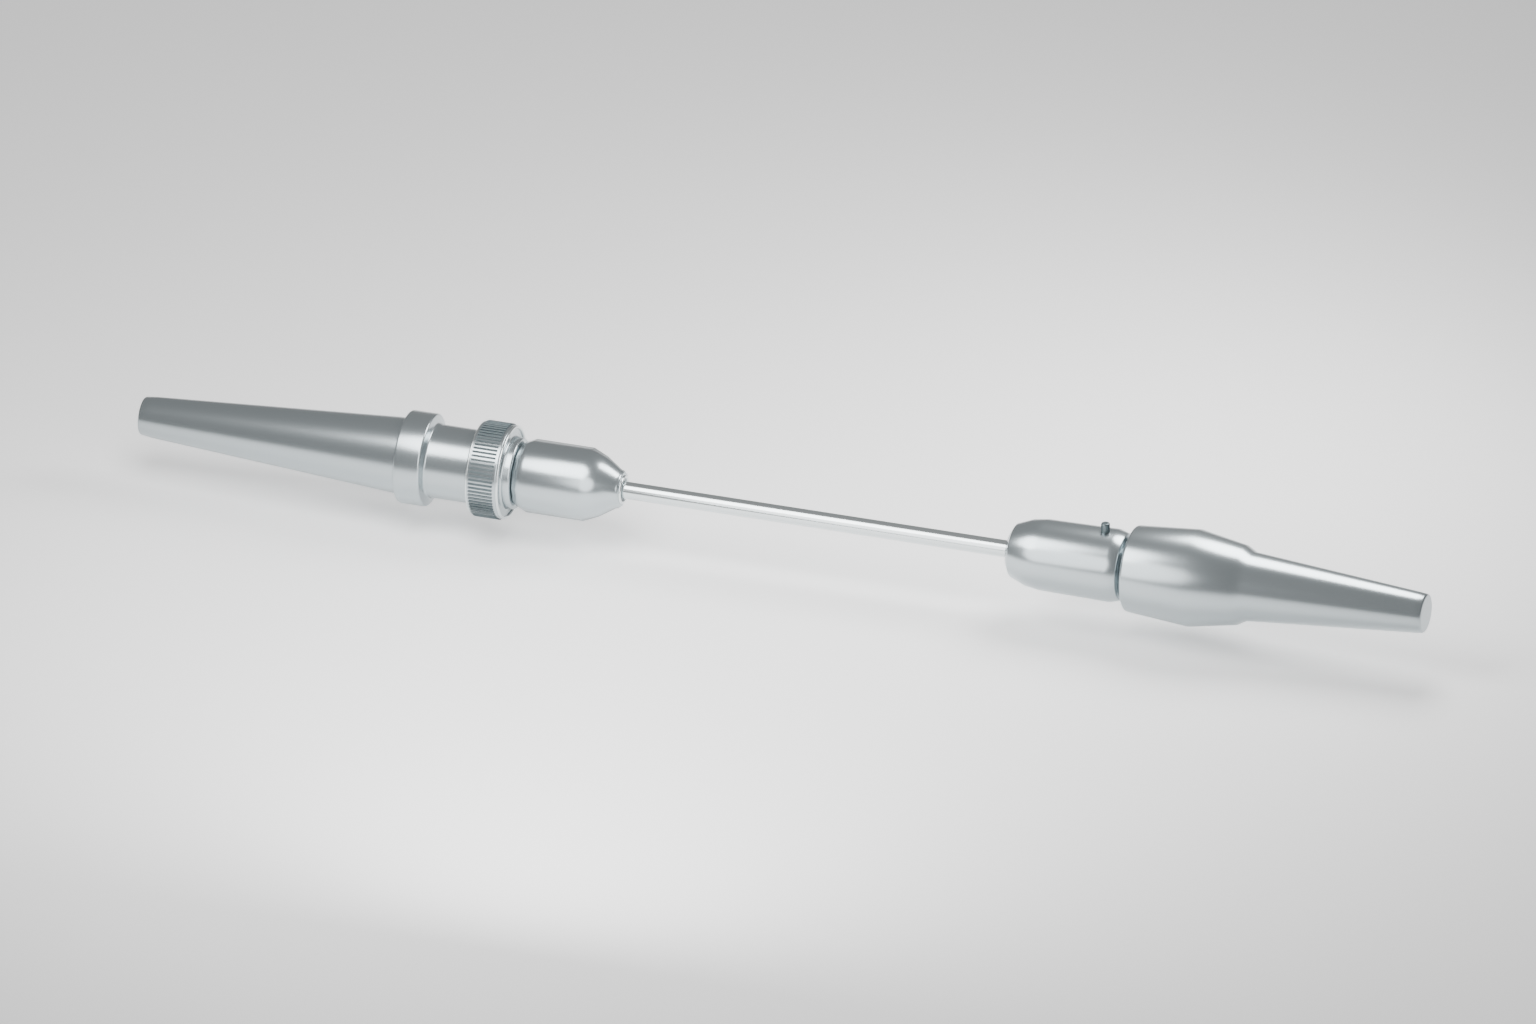
An original educational poster identifies 6 documented construction features. The numbered descriptions remain readable below the artwork on narrow screens.
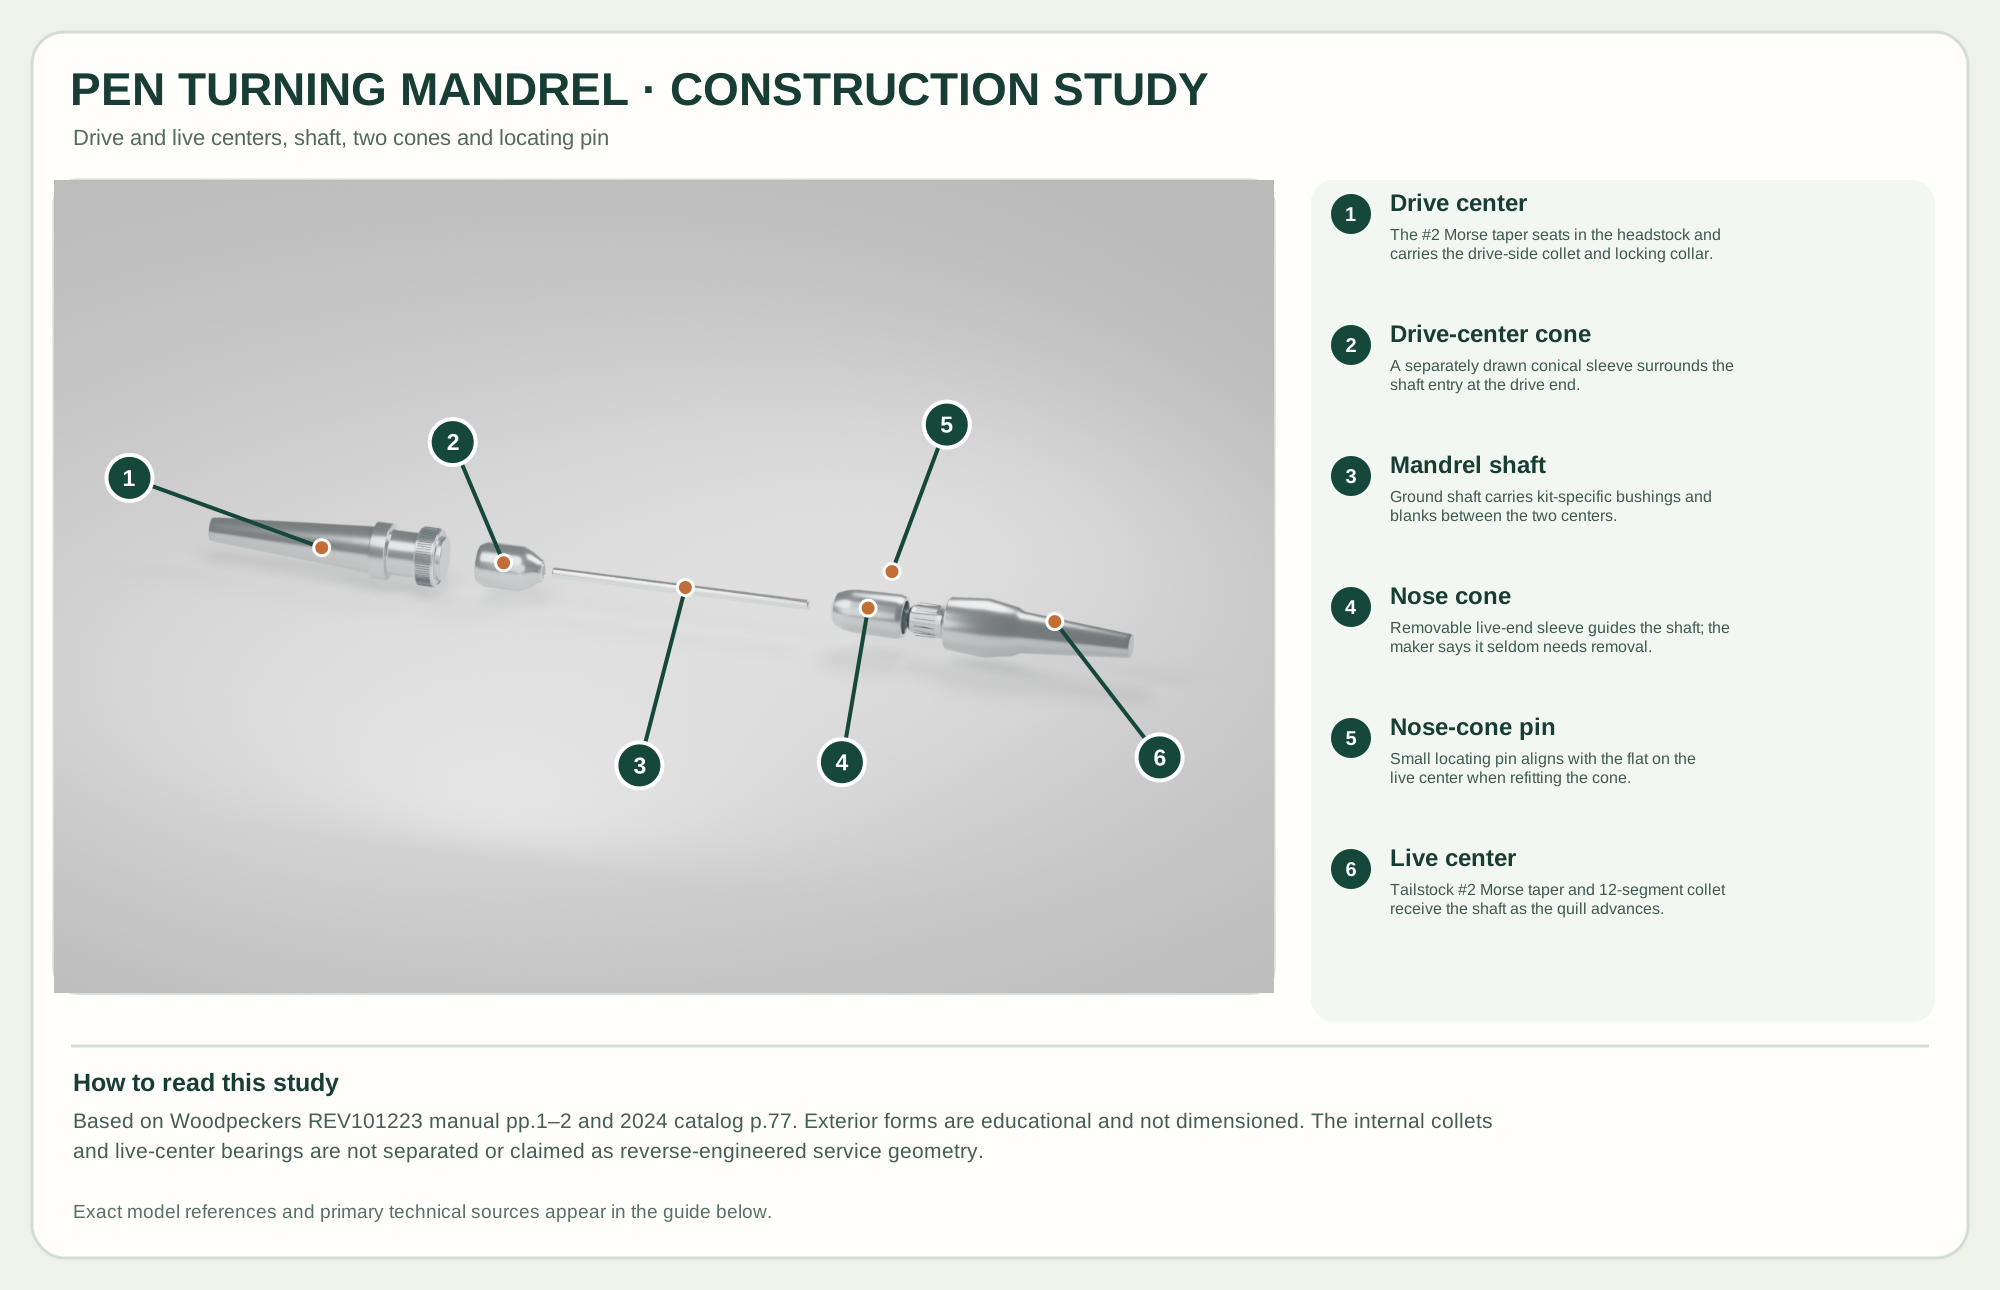
The #2 Morse taper seats in the headstock and carries the drive-side collet and locking collar.
A separately drawn conical sleeve surrounds the shaft entry at the drive end.
Ground shaft carries kit-specific bushings and blanks between the two centers.
Removable live-end sleeve guides the shaft; the maker says it seldom needs removal.
Small locating pin aligns with the flat on the live center when refitting the cone.
Tailstock #2 Morse taper and 12-segment collet receive the shaft as the quill advances.
Technical references: Woodpeckers Pen Mandrel System owner manual REV101223, pp.1–2 · Woodpeckers 2024 catalog, p.77, USPMD. The drive center and live center seat in the lathe headstock and tailstock. The mandrel shaft passes through the drive-center cone and into the live-center nose cone. The small pin locates the cone against a flat on the live center. Bushings and wooden blanks are separately selected accessories and are omitted from this tool-only construction study. Original educational artwork depicts documented component groups and their relationships; it is not a service sequence or a replacement for the exact model manual.
Woodpeckers identifies USPMD as its Pen Mandrel System for #2 Morse Taper lathes. Its 2023 owner manual shows the drive center, drive-center cone, mandrel shaft, removable nose cone with locating pin, and live center. The 2024 maker catalog describes a 12-segment collet at each end: a headstock collar locks the exposed shaft length and advancing the tailstock compresses the opposite collet. Pen-kit bushings and wooden blanks are selected separately; the catalog lists precision bushings as a distinct product. The illustration omits branding and does not claim dimensioned manufacturing geometry or internal bearing detail.
A #2 Morse taper seats the drive center in the lathe headstock. The slim mandrel shaft slides into its conical collet end, and the knurled collar fixes how much shaft is exposed. Kit-specific bushings and drilled pen blanks slide over the shaft. At the tailstock, the shaft enters the live center through its nose cone; advancing and locking the quill grips the shaft and the work between the two ends. The small nose-cone pin locates a flat on the live center. The maker says this cone normally stays installed and is removed only when cleaning requires it. The construction study separates only the parts labeled in that manual, along their common axis, and is educational rather than a service sequence.
The headstock taper registers the drive end in a compatible lathe; seat clean tapers without forcing or modifying them.
The shaft enters the headstock collet; the collar fixes the required exposed length for the current blanks and bushings.
The straight shaft carries the separately chosen bushings and prepared pen blanks; avoid bending it with excessive tailstock force.
The removable nose cone aligns on a flat via its locating pin. The live-center collet grips the shaft when the tailstock quill advances.
These decisions make the mechanism useful at the bench.
Leave room for all bushings and blanks plus at least 3/4 inch of shaft inside the live center, as the maker instructs.
Keep #2 Morse taper seats clean and fully engaged in compatible headstock and tailstock bores.
Lock the tailstock, then advance only enough to hold the shaft and work without bending the mandrel.
Mount a prepared blank between its matching kit bushings and shape it progressively to the target diameter.
Arrange both blanks and their specific bushing order on the shaft, exposing only the length needed.
Use light, even pressure and protect the metal bushings from abrasive contamination while refining the barrels.
Use the steps for a first pass, then inspect the work before changing the setup.
The pen kit defines bushing diameters and order; the USPMD system does not make every bushing interchangeable.
Set only the length needed for the work while retaining the manual's minimum live-center engagement.
The maker permits removal for cleaning; align its locating pin with the live-center flat when reinstalling.
Choose shaft exposure and bushing sequence to match the pen kit rather than adding unneeded spacers.
Buy the dimensions specified for the pen kit; Woodpeckers lists precision bushings separately from USPMD.
This reference is USPMD for #2 Morse Taper; verify both lathe sockets before choosing any mandrel system.
Stop the tool and disconnect power before investigating a fault or changing a part.
Stop and inspect clean taper seating, shaft straightness, bushing order and quill pressure.
Check the headstock collar lock, live-center shaft engagement and tailstock quill setting.
Inspect for debris and align its locating pin with the live-center flat; do not force it.
Check blank balance and tube prep, then inspect mandrel shaft runout and center seating before resuming.
Use the exact tool manual for setup, limits and replacement parts. These lessons, documents and model pages teach relevant techniques or help compare real variations.
These maker-owned links document relevant tools and tool brands. A product brand may use another company's factory; compare the exact model before choosing parts or accessories.
Cutters, abrasives, guards, guides, dust fittings and service parts vary by tool. Check the model plate and manufacturer manual before ordering or changing a component.
Compare the Wood Turning family →Continue through the Tools library